Version 3.1.0 comes with major changes for CDESK that make it an even more user-friendly and versatile tool with deployment possibilities in a wide range of scenarios. The new version brings about many useful features as well as a redesign of selected components of the system.
RELEASE DATE : February 14th, 2022
Connector allowing interconnection of multiple CDESKs
If both the customer and the supplier use CDESK, the new connector is there to interconnect them. This allows both users to work on requests in their own environment without the need to create new accounts in other environments. Changes made to requests are shown on both sides. Whether it is to add a discussion, create and approve an offer, or change the status of a request.
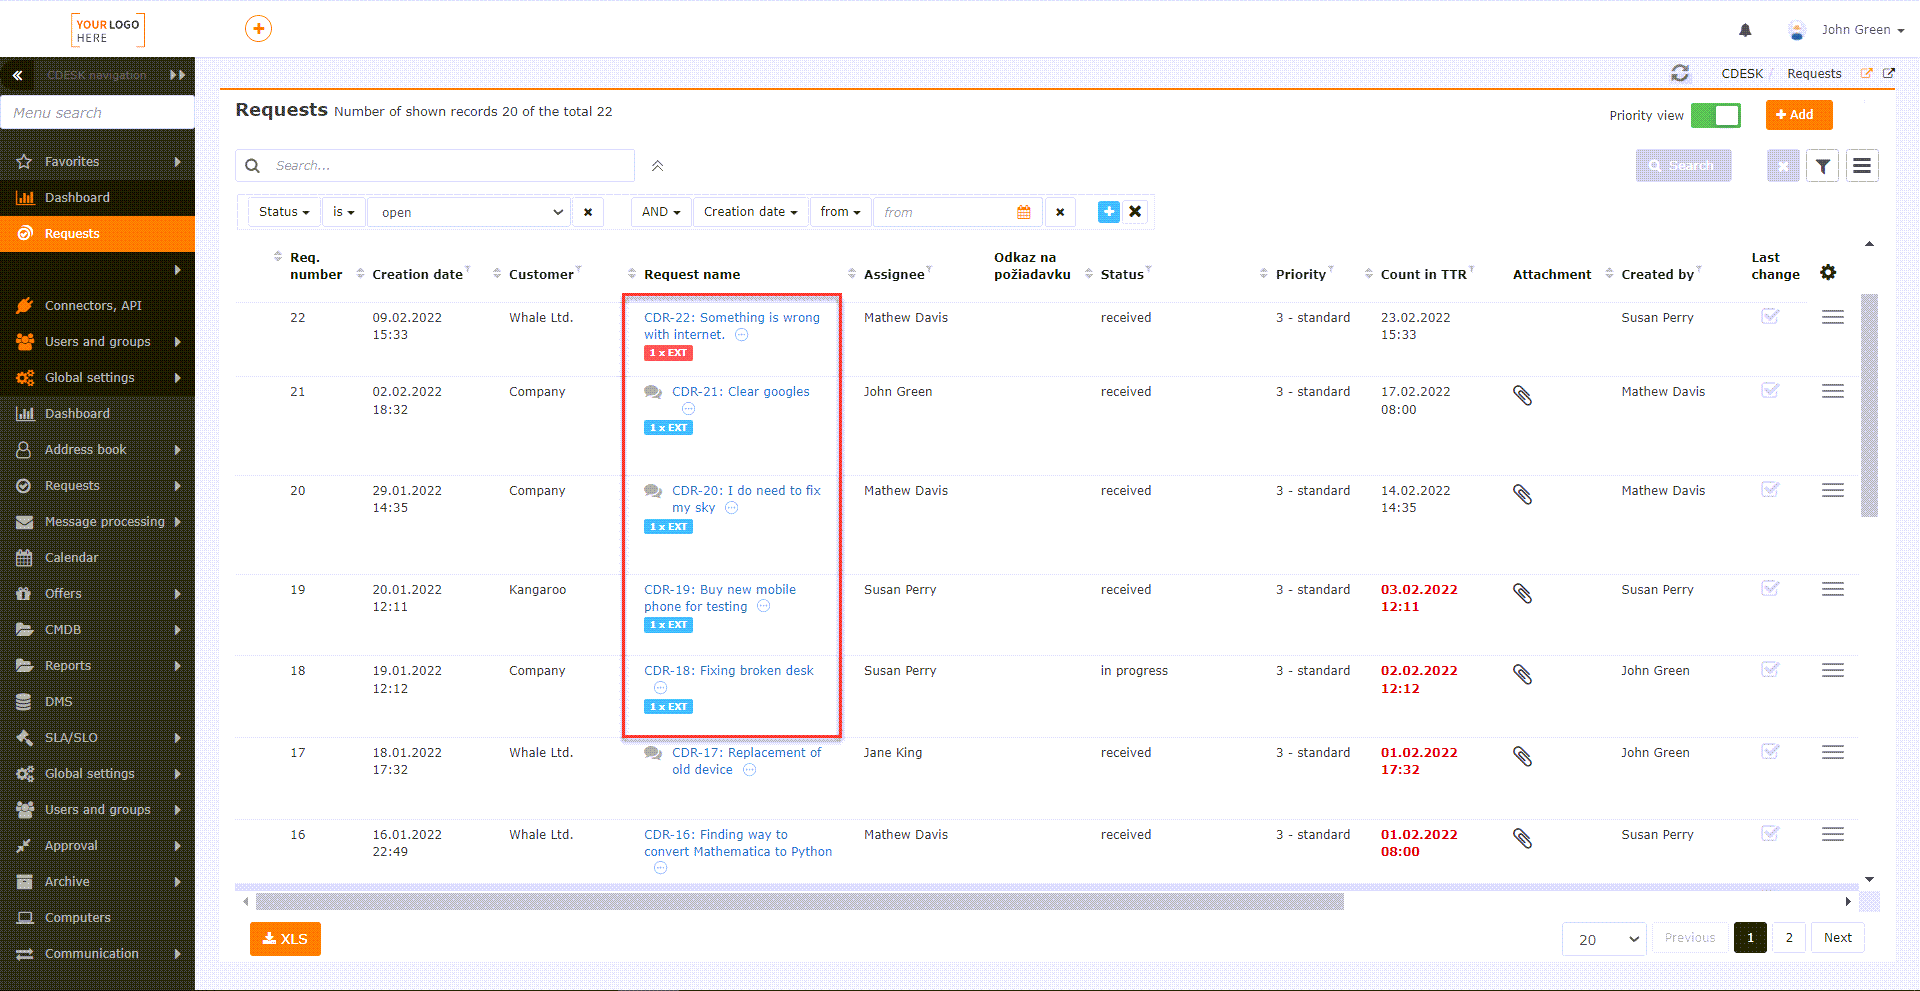
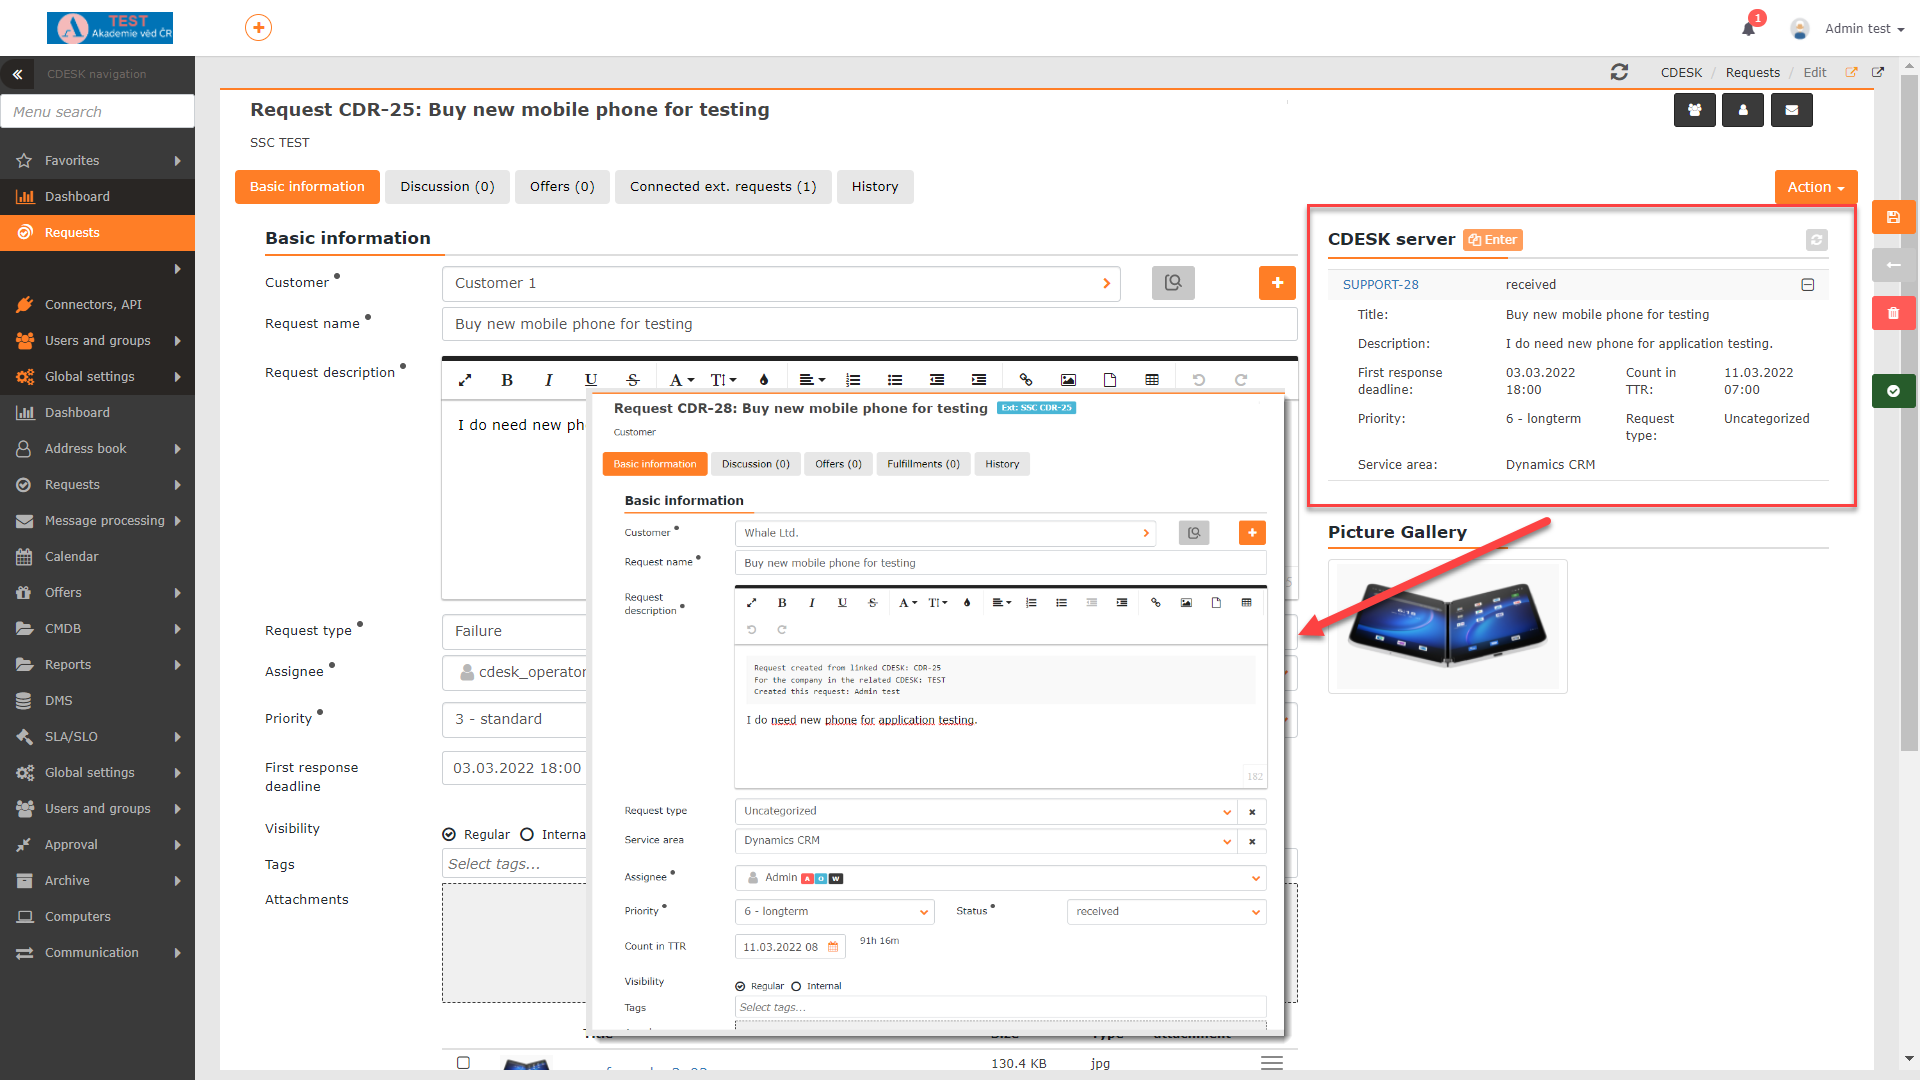
The customer enters the request in their CDESK. Once the request is saved, an icon will appear in the form that allows the request to be automatically created in the environment of the supplier as well. Requests created in this way are marked in the list.
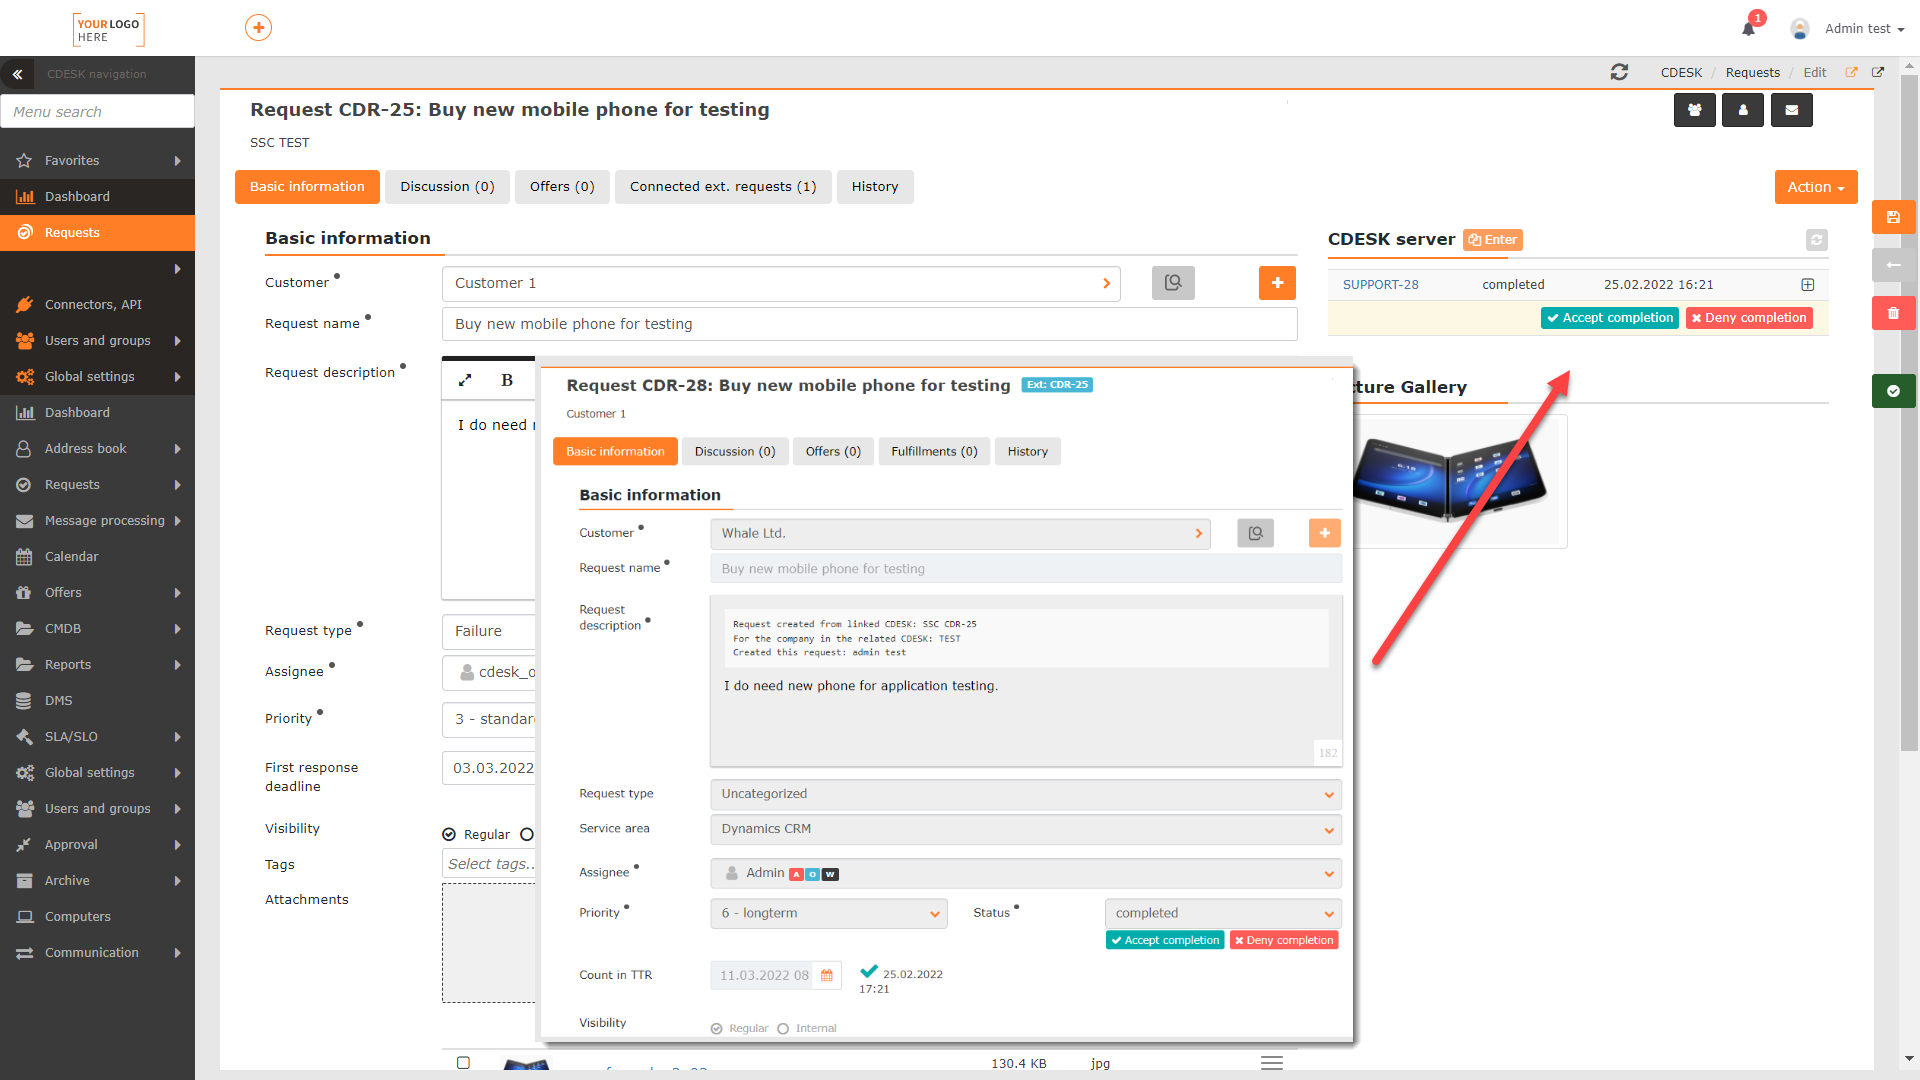
The parameters of automatically created requests on customer’s side are also displayed in supplier’s requests. If the supplier adds an offer on their request, the customer can approve it on theirs. Likewise, the customer can comment when the supplier changes the status of the request to Customer Testing or Completed.

Free Approval
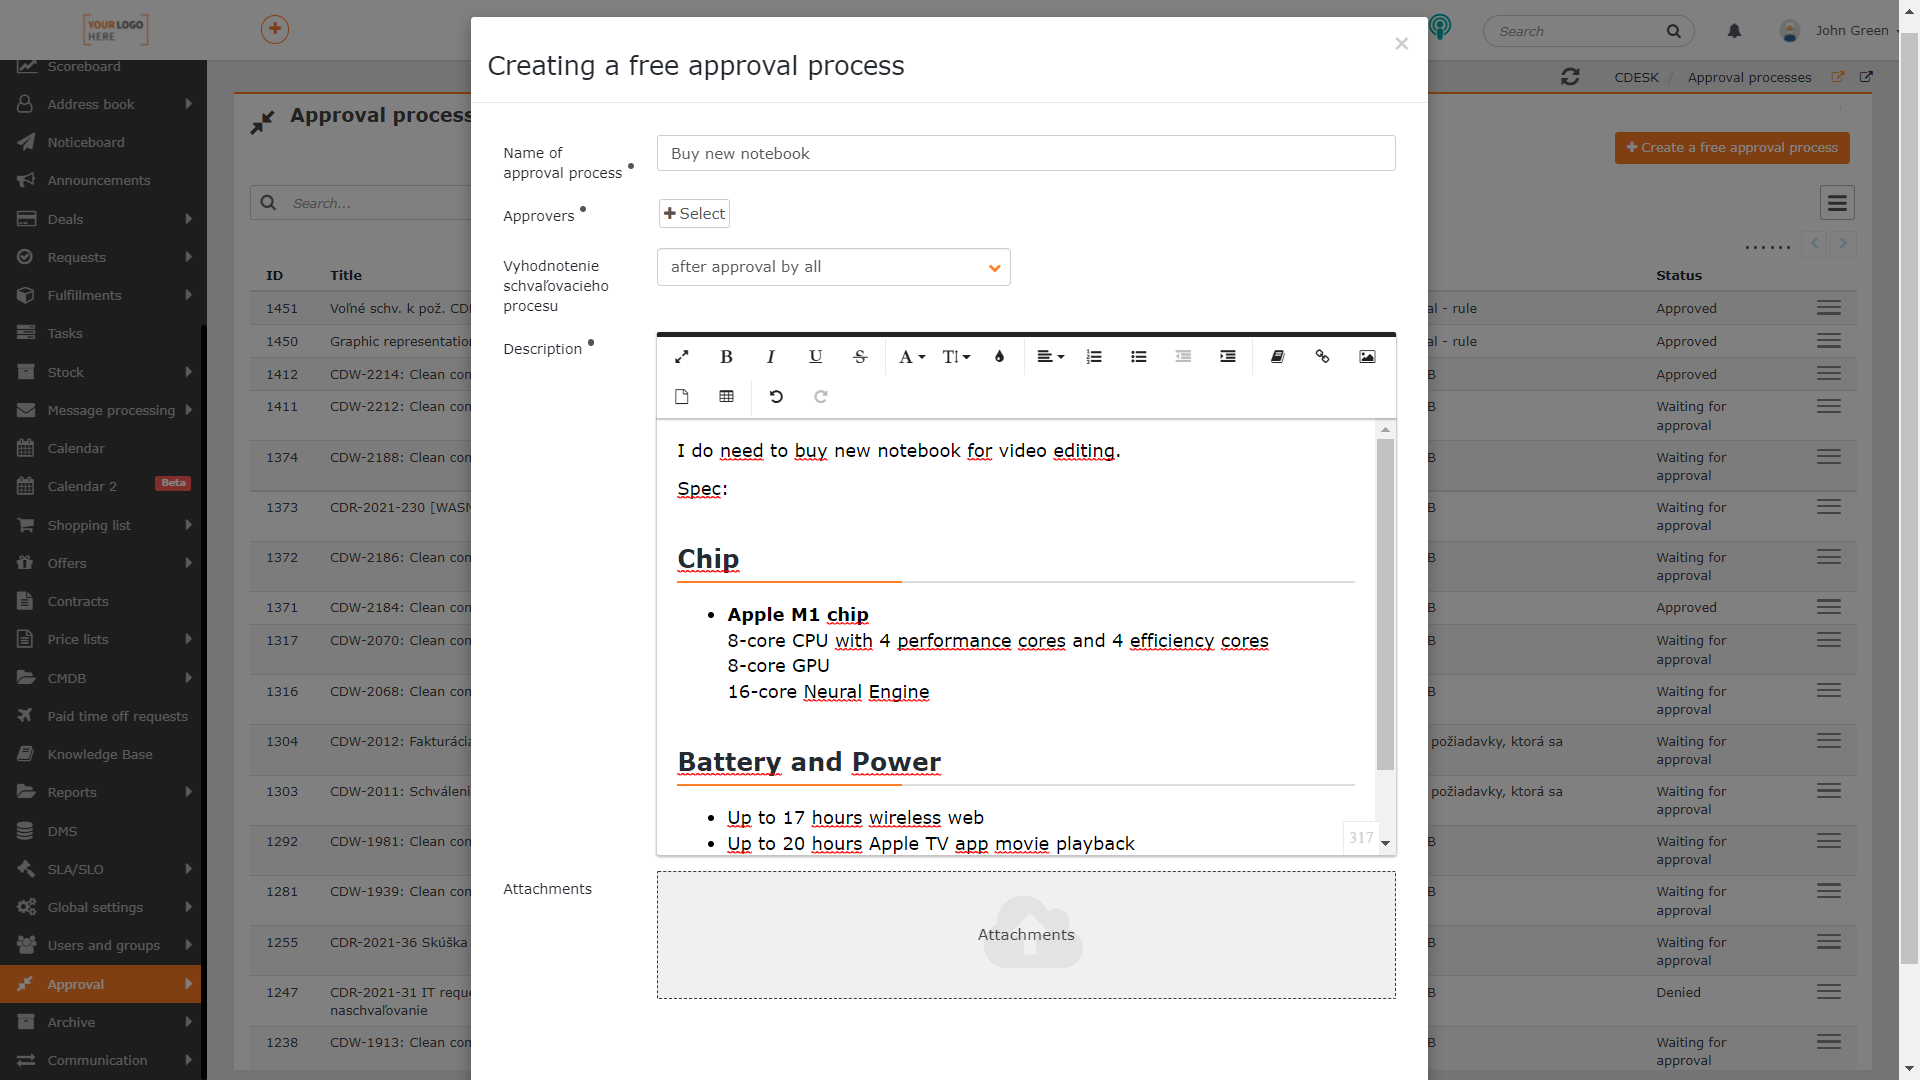
With the latest update, the approval options have also been expanded to include free approval. Unlike the approval already present in CDESK, it is not bound to a request or work order template. As a result, the free approval feature offers a dynamic and simple solution for any situation that requires approval. Free Approval requires the definition of only one rule, which is defined in the Approval rules module. This rule will then be applied to all approval processes of free approval.
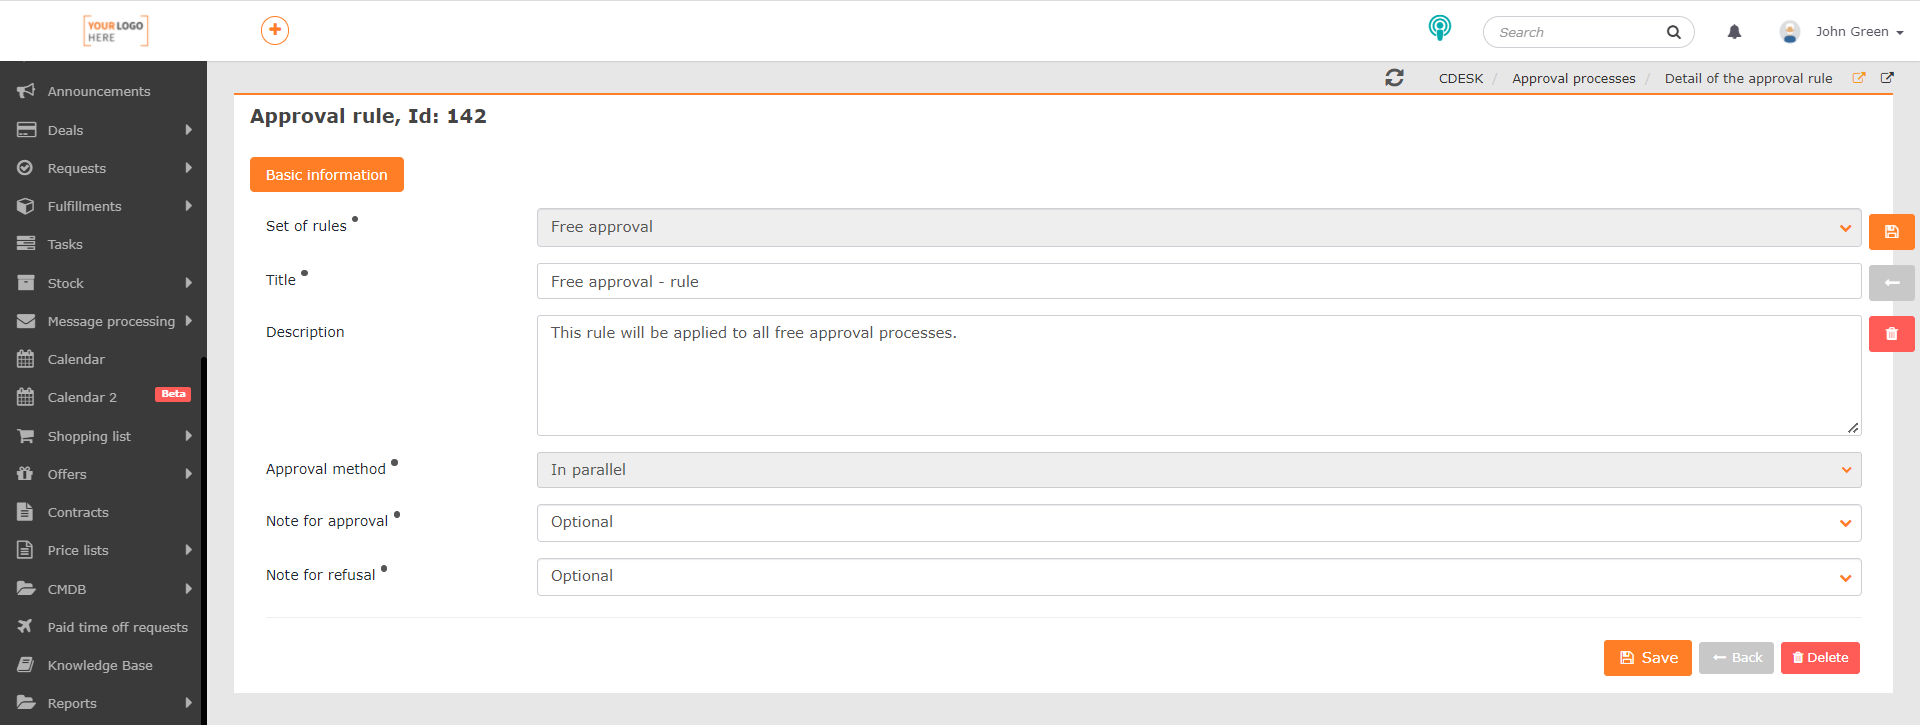
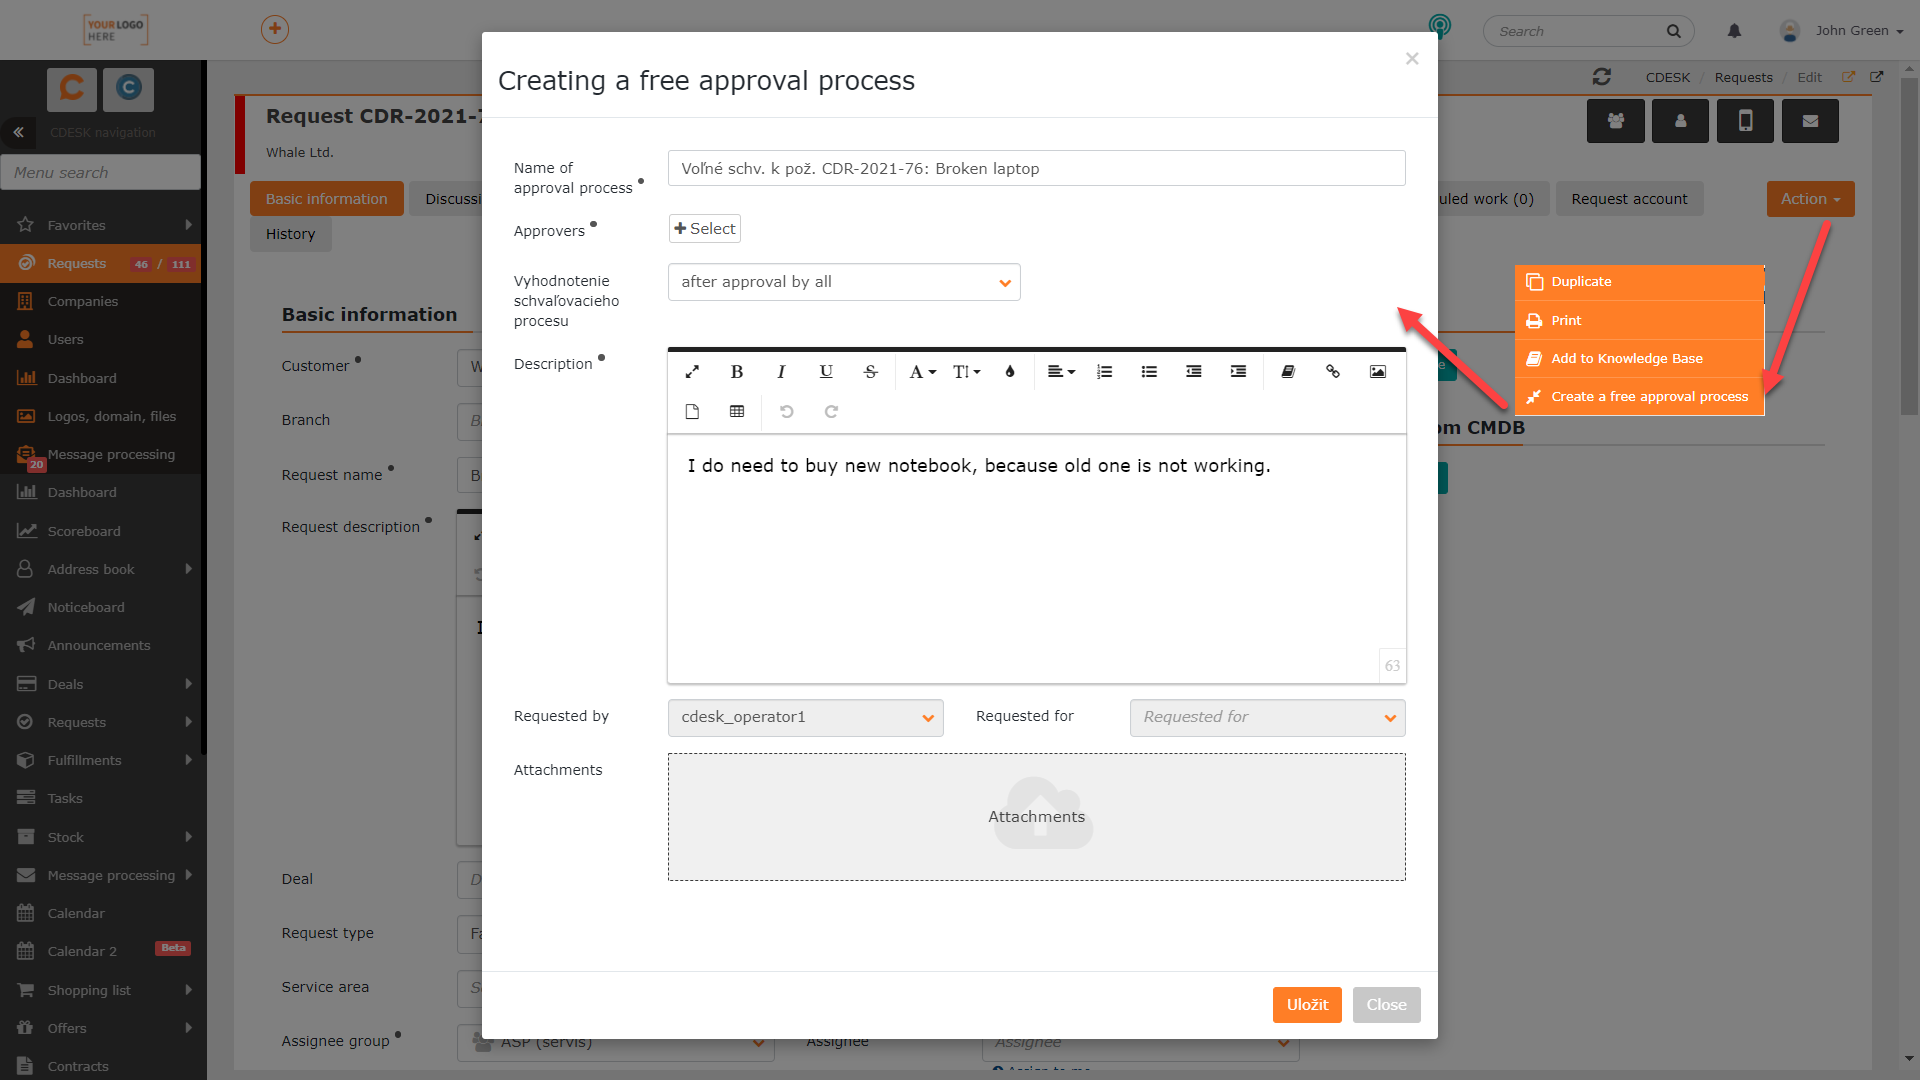
Free approval can be created without being bound to any module, or directly in the request with the link to it.
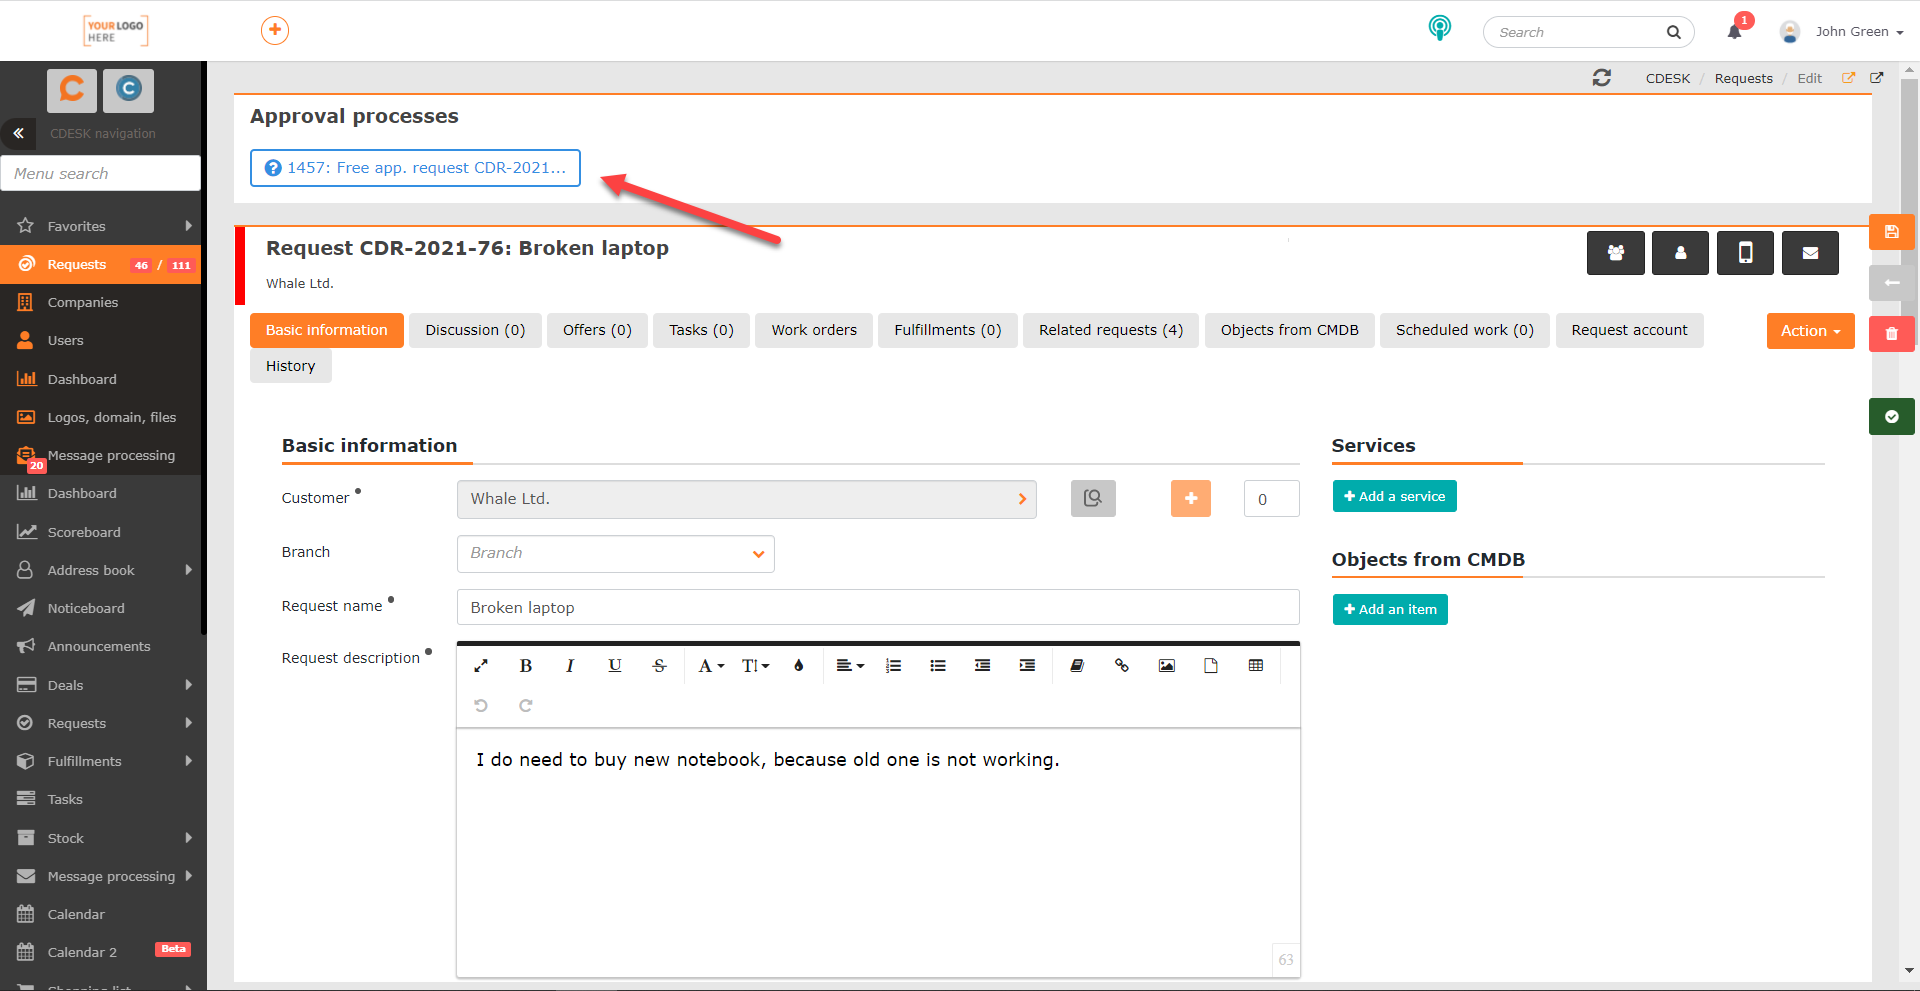
If the free approval is linked to a request, the information about it is displayed directly in the request form.
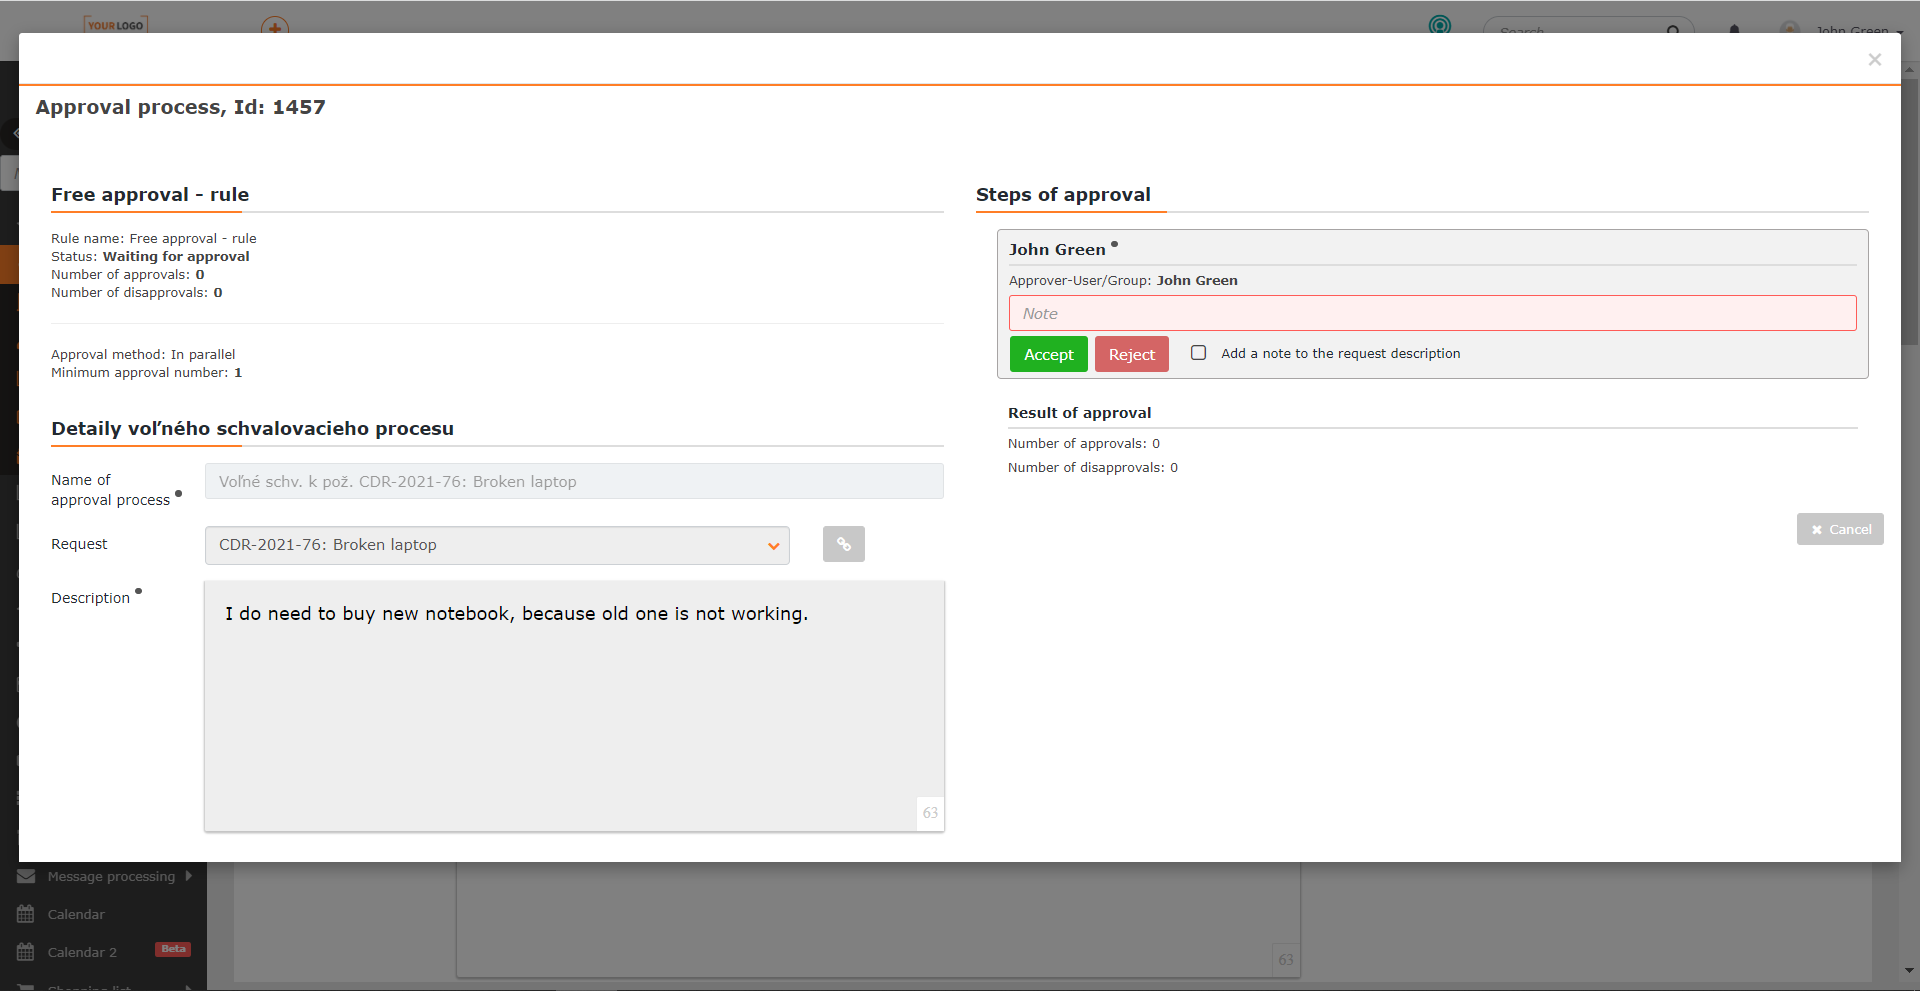
Once approval created, with or without a link to the request, approvers are notified via email notification as well as via push notifications directly in the system. Subsequently, the approval in both cases proceeds in the same way as for approval via request template or work order.
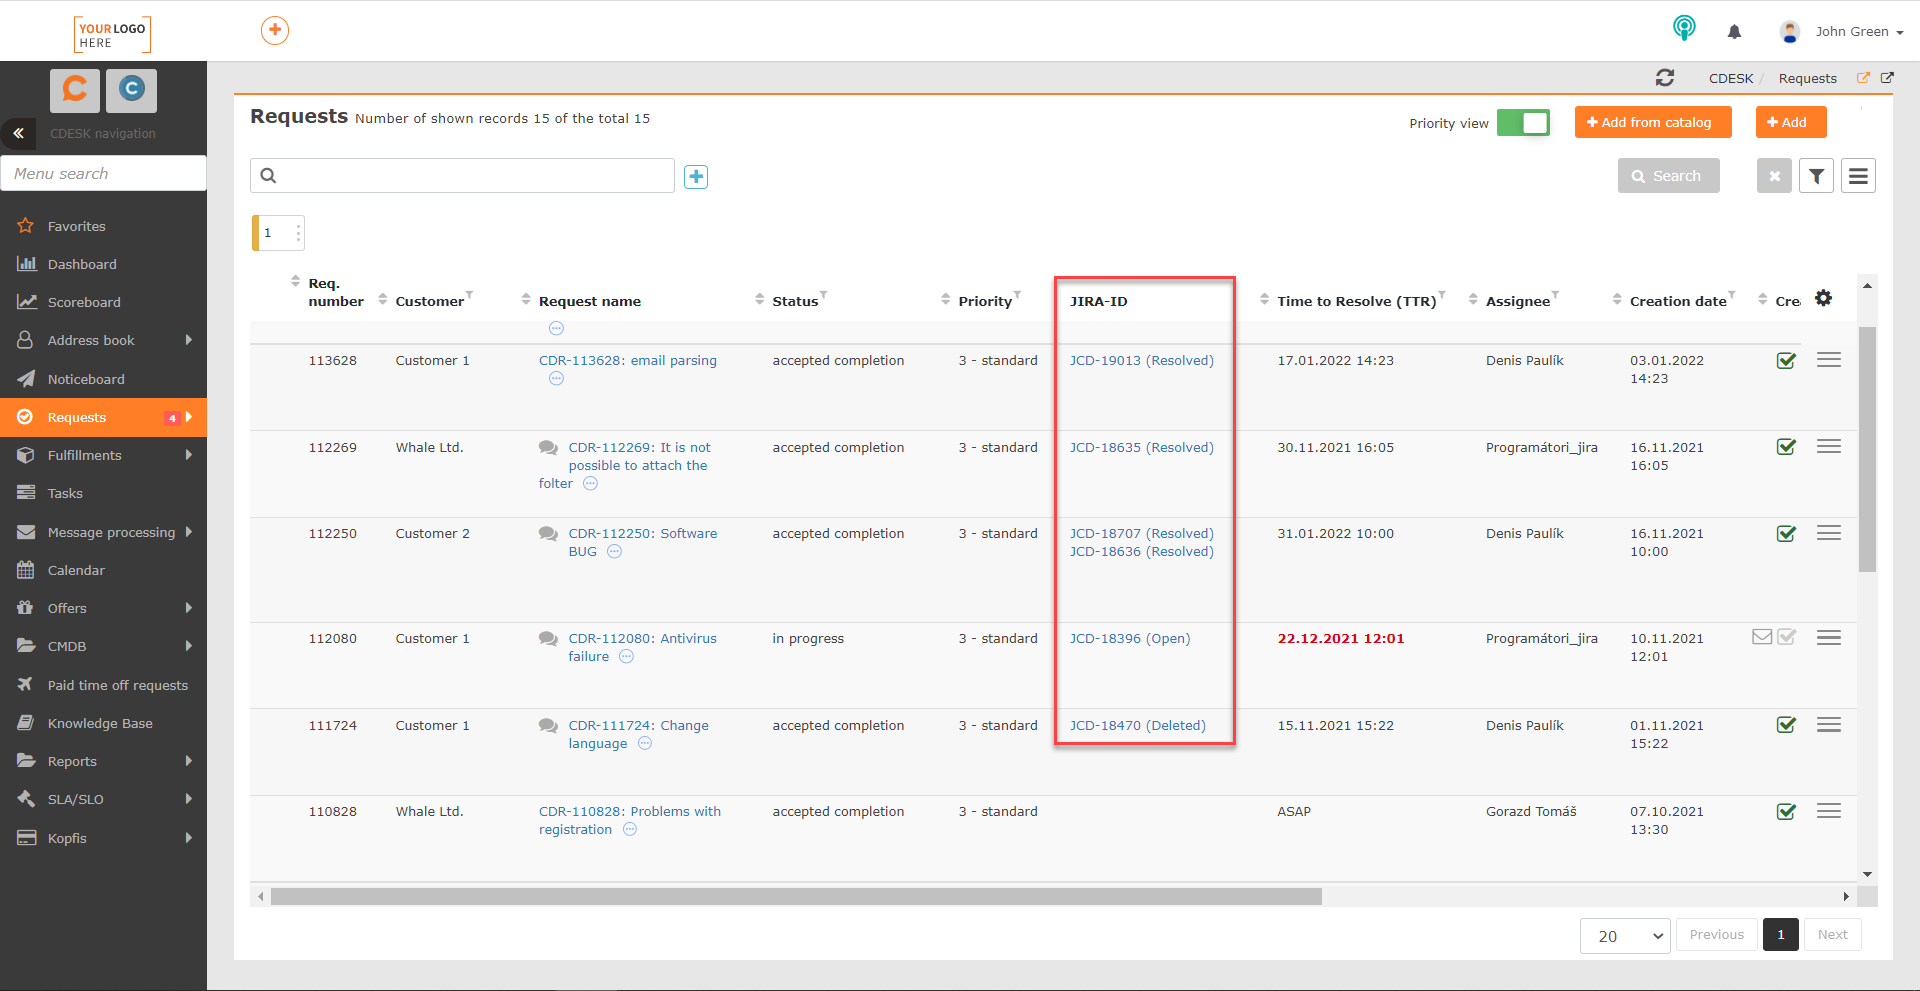
Completion of the First Phase of the Interconnection with JIRA
The possibilities of working with requests have also been expanded thanks to the JIRA connector, which provides a two-way interconnection between CDESK and the JIRA system. After activating and configuring the connector in Global Settings, the JIRA tab will appear on the request. On the tab, there are buttons to create a new JIRA task, or to connect an existing one.
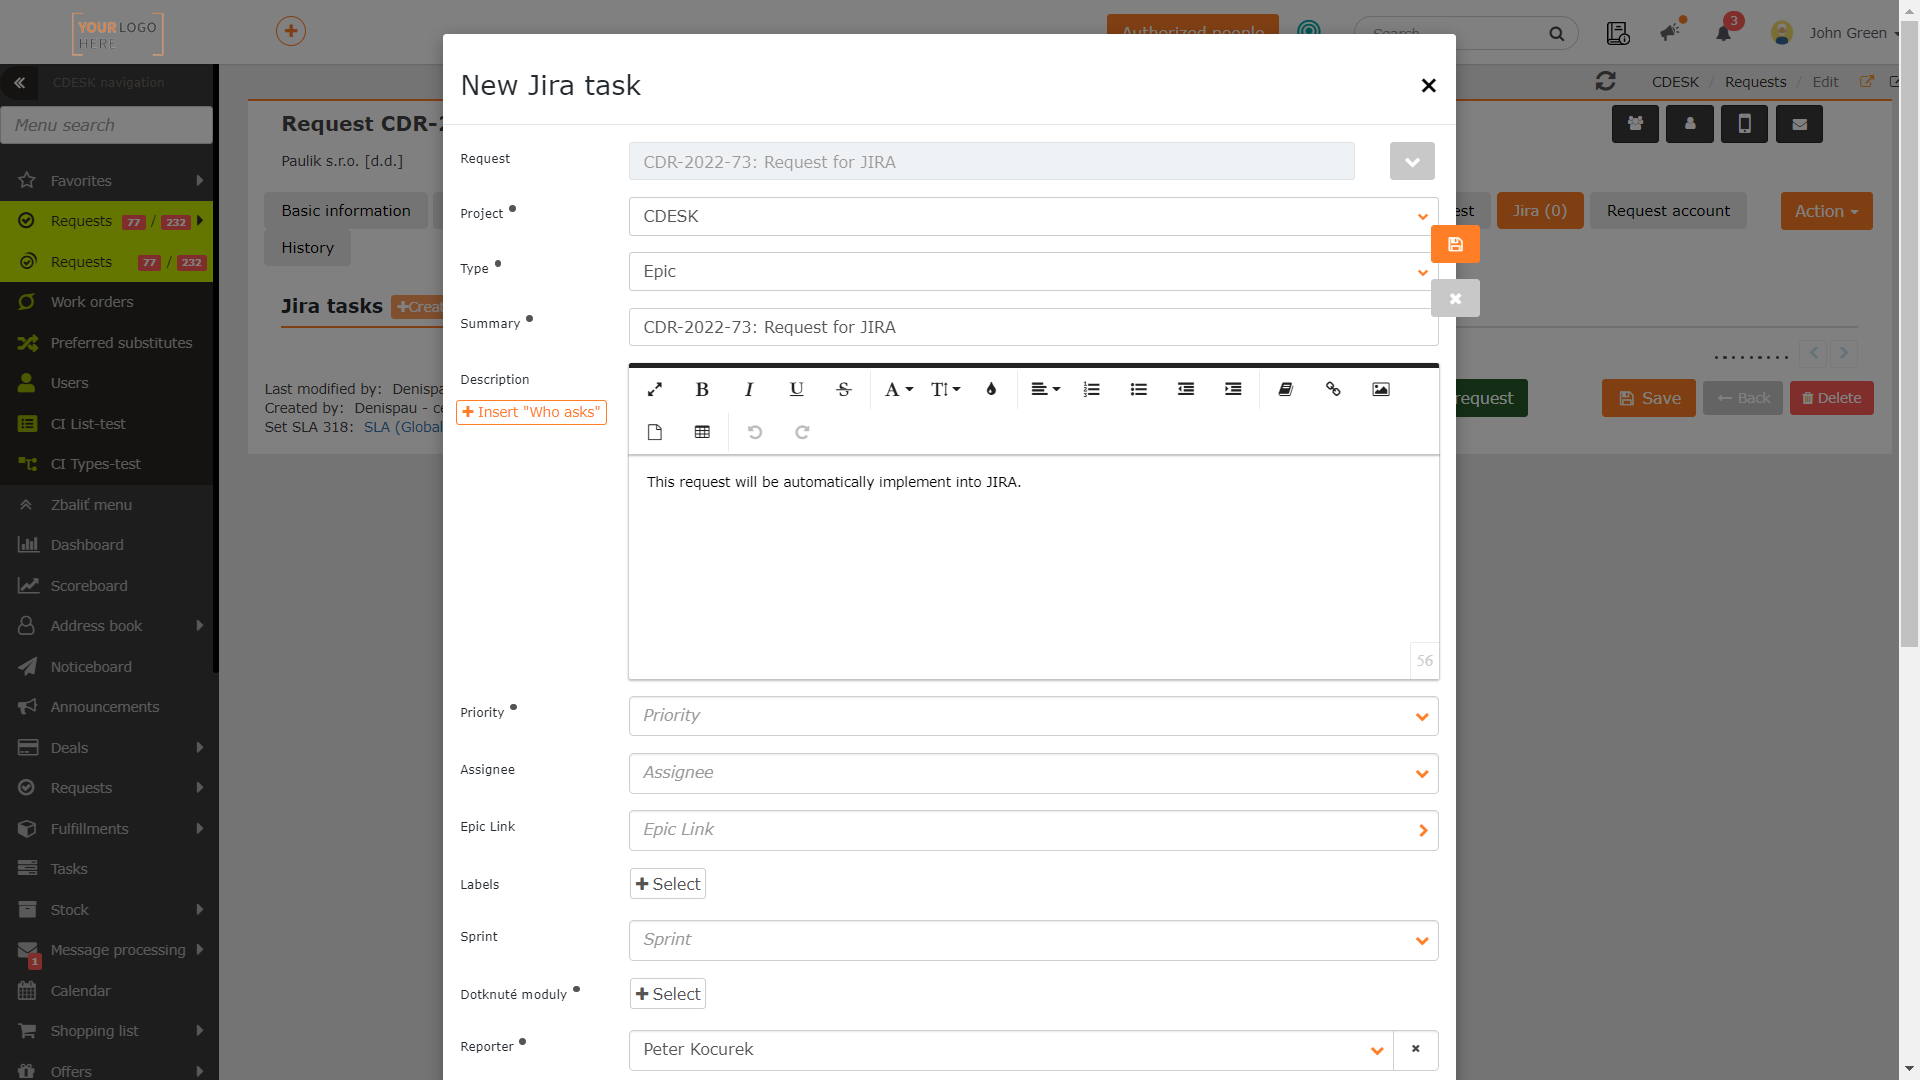
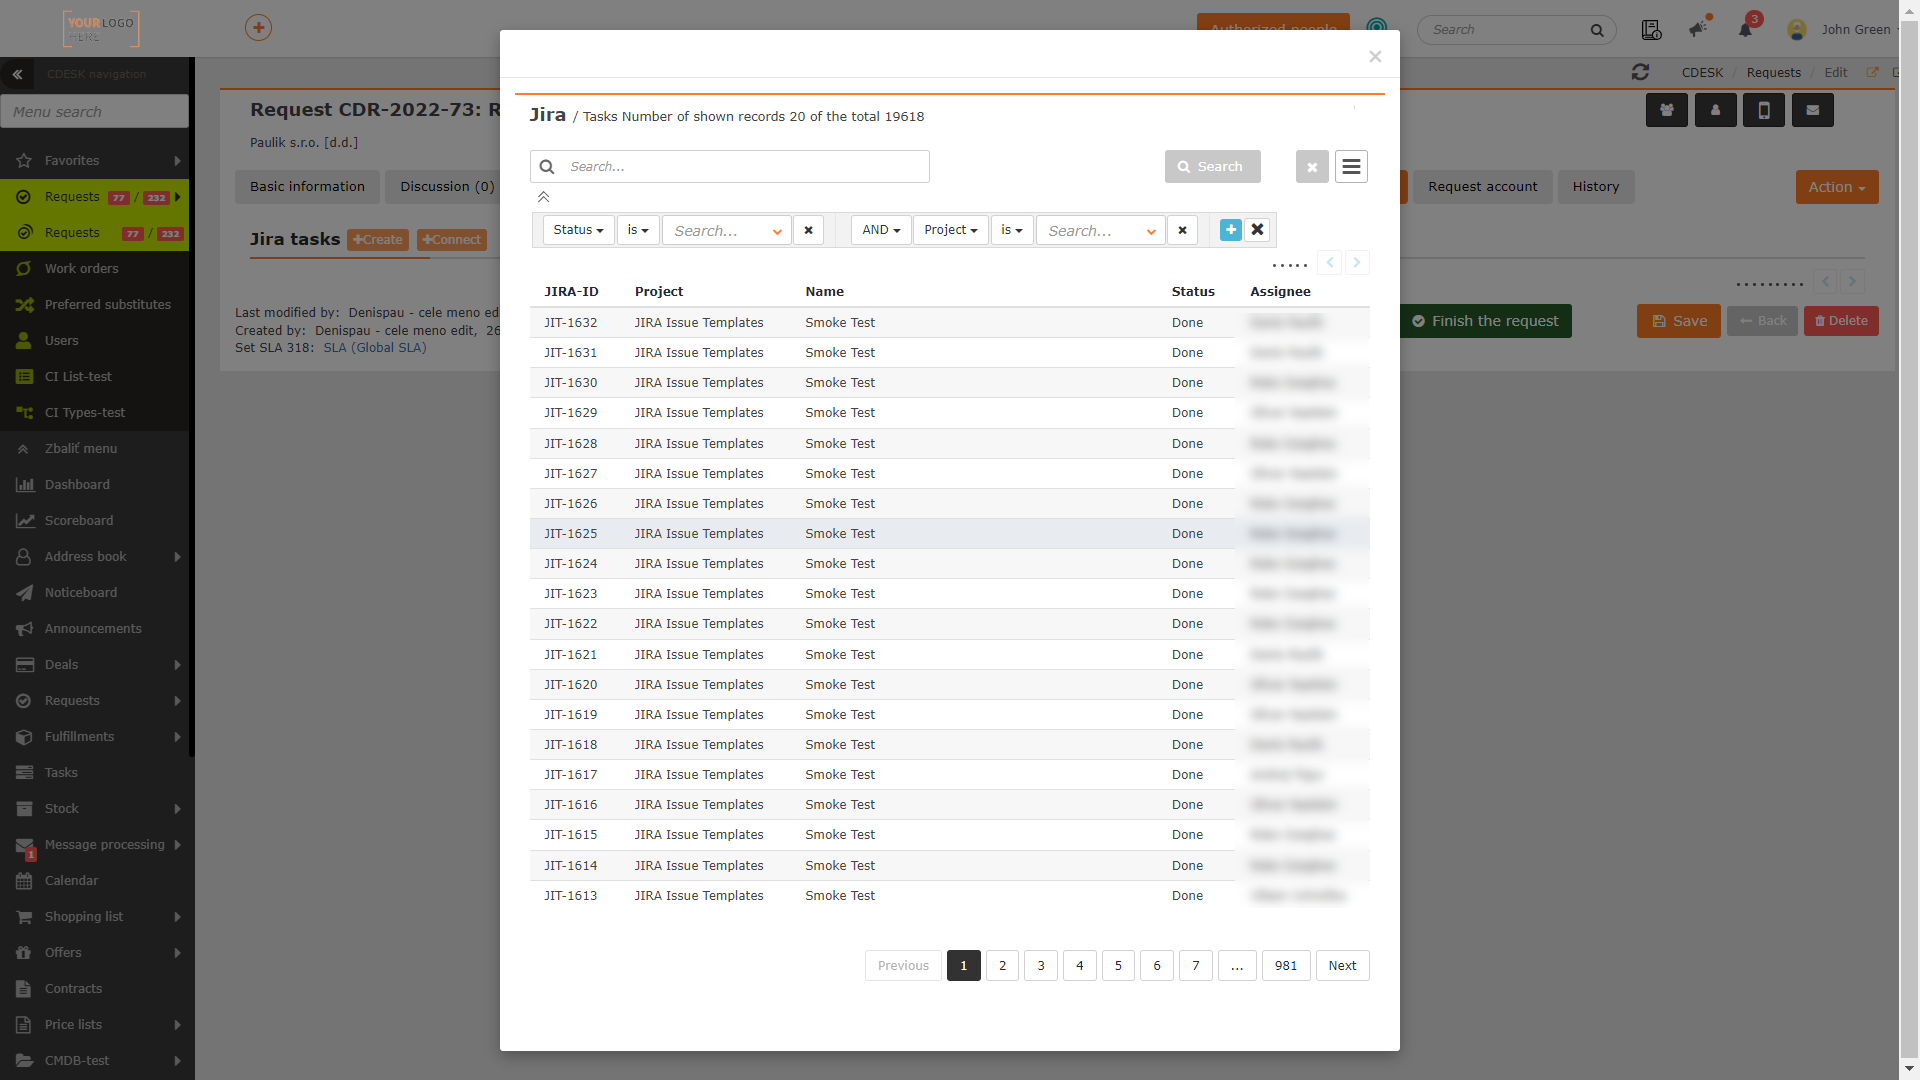
One of the goals of this interconnection is for the software project support staff to see in CDESK the status of the tasks related to the request. This information can also be made available to end customers.
Interconnection with JIRA can also be added for other purposes, for example, the work of the support team will make a record of the work done in CDESK, and then these will be transferred to the worklog in JIRA.

Simple Filter for the List of Requests
Since version 3.1.0, you can use two types of filters in the list of requests – advanced and simple filter. Unlike the advanced filter, the simple filter contains only those filtering conditions that are most often used when working with requests. Also, configuring individual conditions is easier and faster.
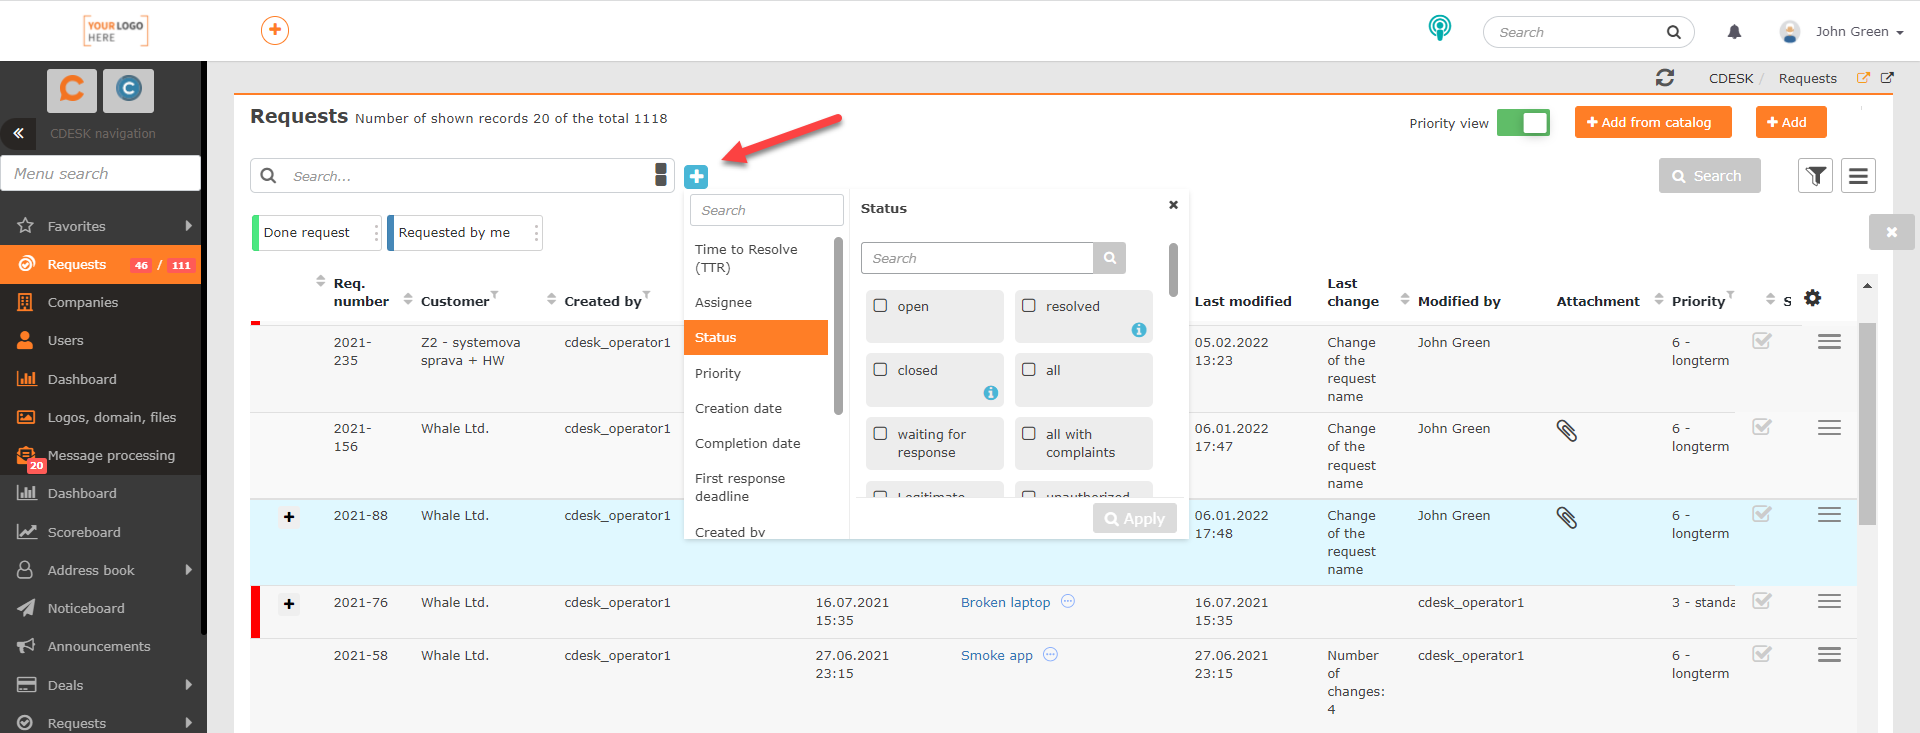
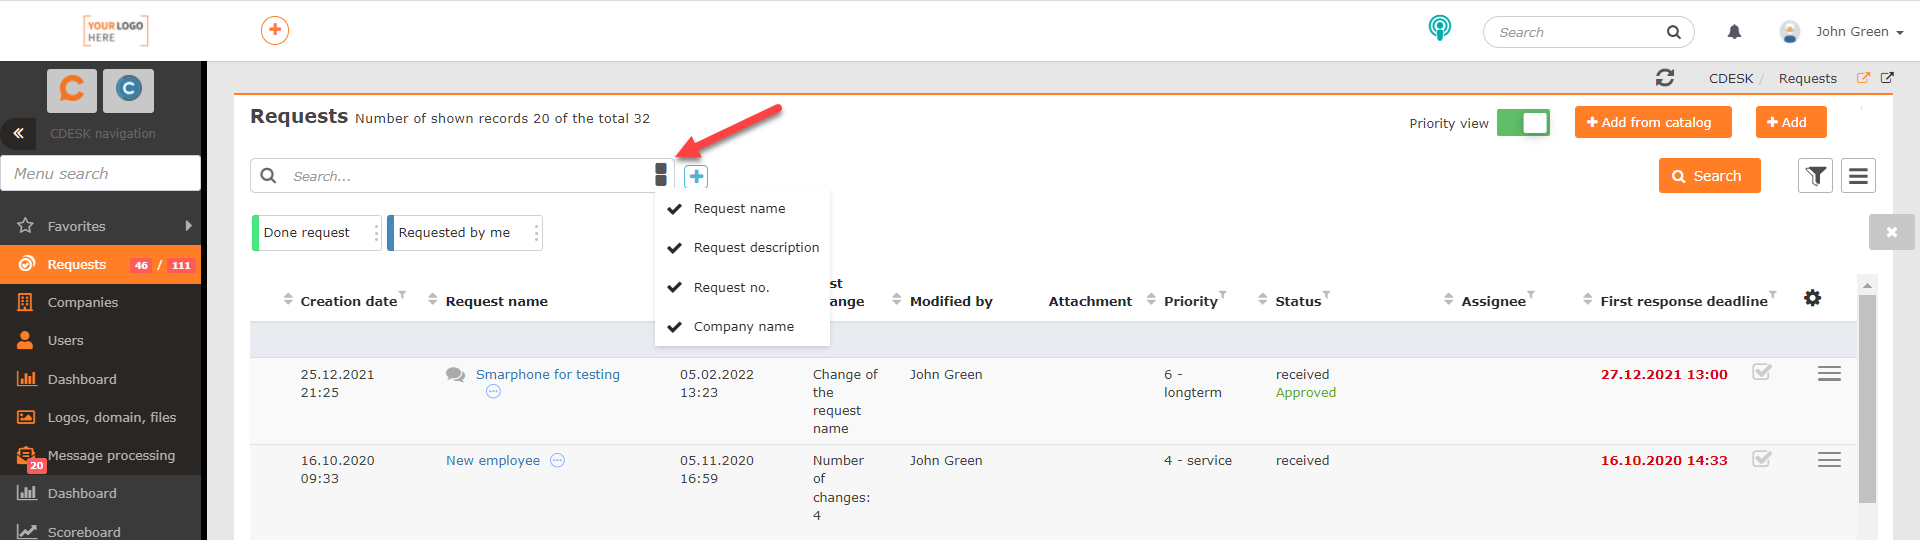
When you activate the simple filter, the search bar will also change. It will display buttons to set the criteria to be used for the search.
The conditions set within the simple filter can be carried over to the advanced filter. However, due to the number of conditions to filter and the options of their setting, backward compatibility of the advanced filter to the simple filter is not possible. Also, conditions in the simple filter can only be bound by the AND condition.
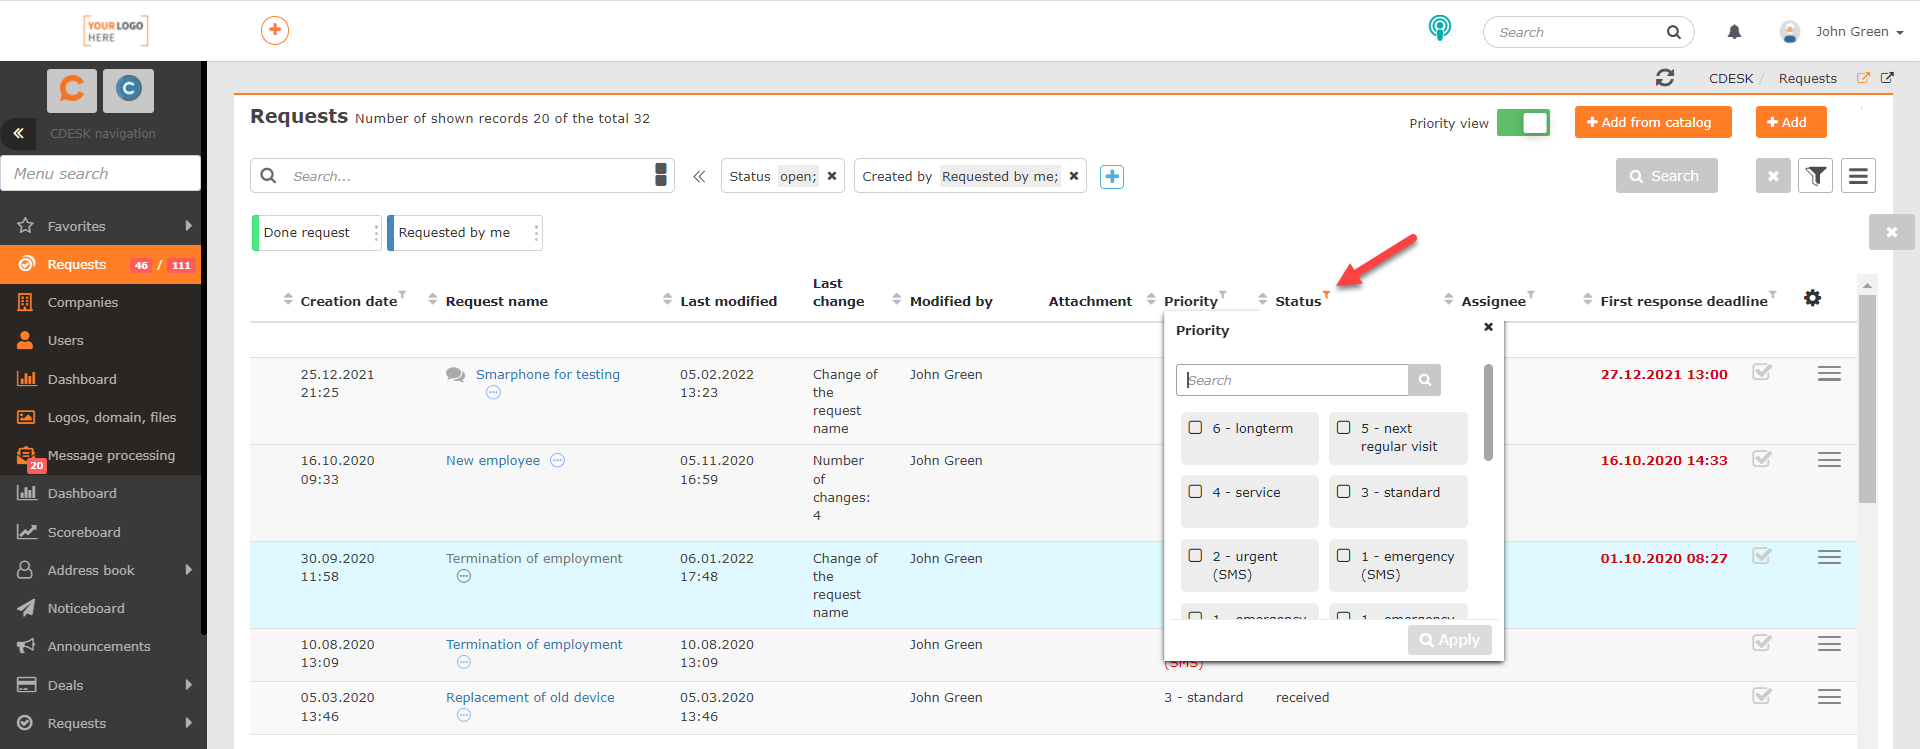
The new version of CDESK, however, also brings the ability to filter the results in the list of requests without the need of direct filter setup (simple/advanced). Clicking on the column name will display conditions as when using the simple filter. This allows quick filtering of records based on a single criterion belonging to a given column.
We continue to develop the simple filter to make the search and filtering of data in lists as simple as possible. We will keep you informed of improvements in future releases.
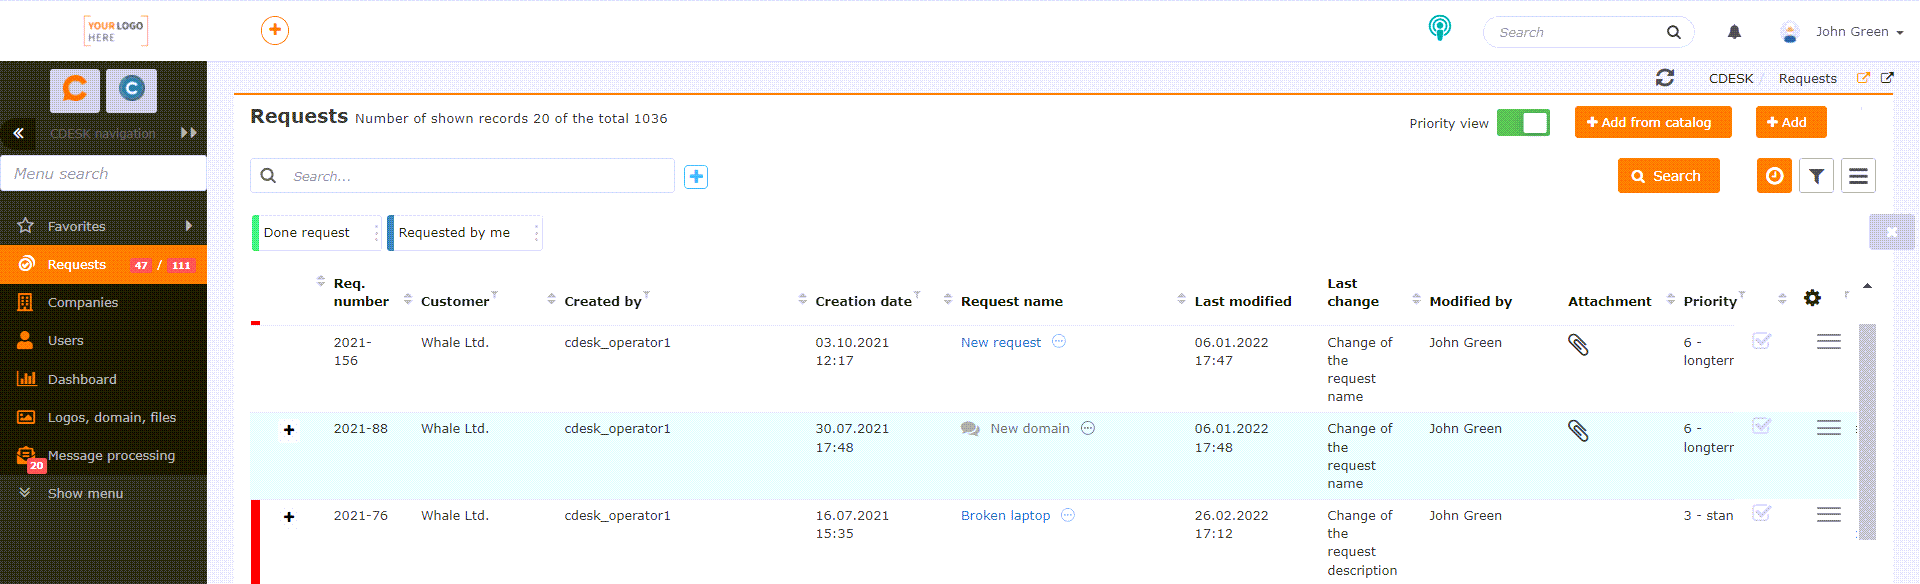
Enhanced Buttons with Saved Filter Conditions
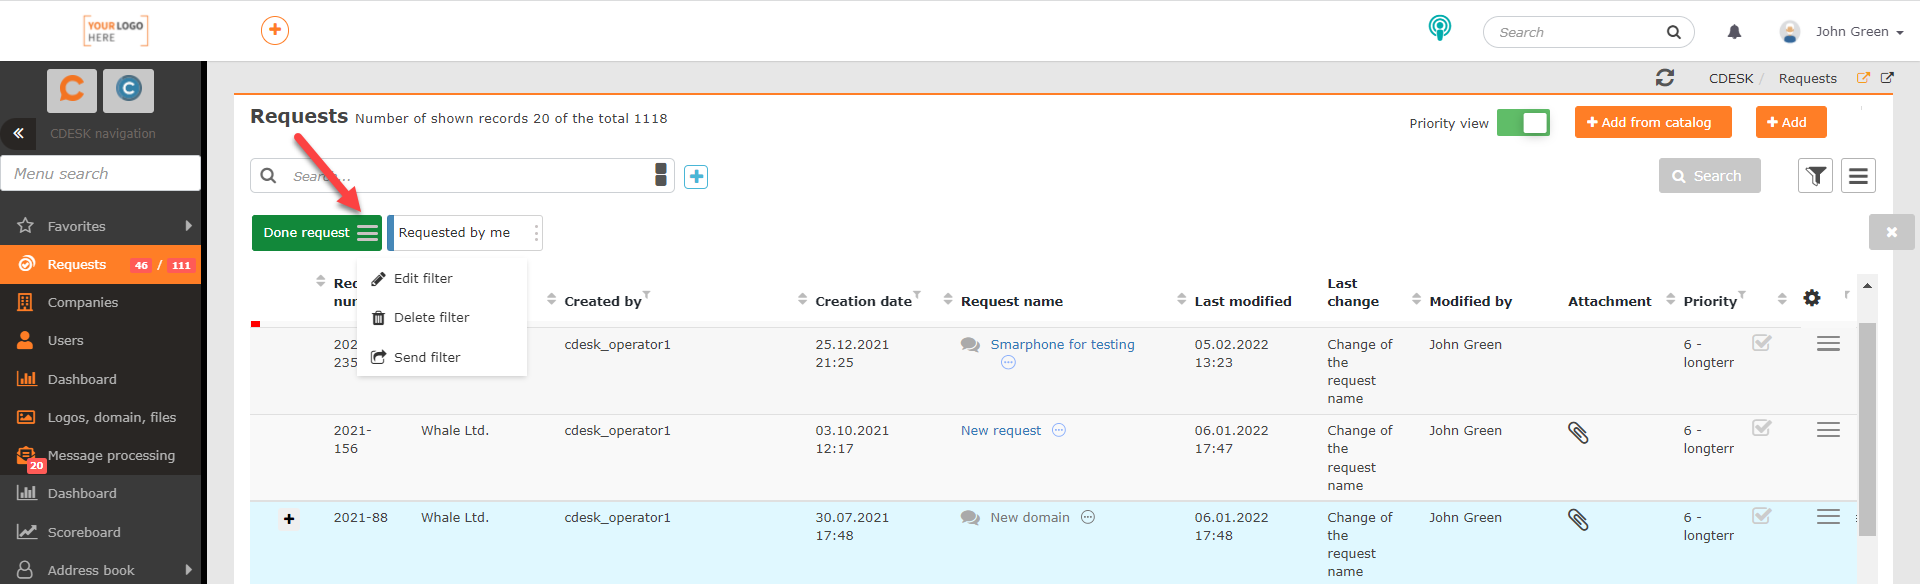
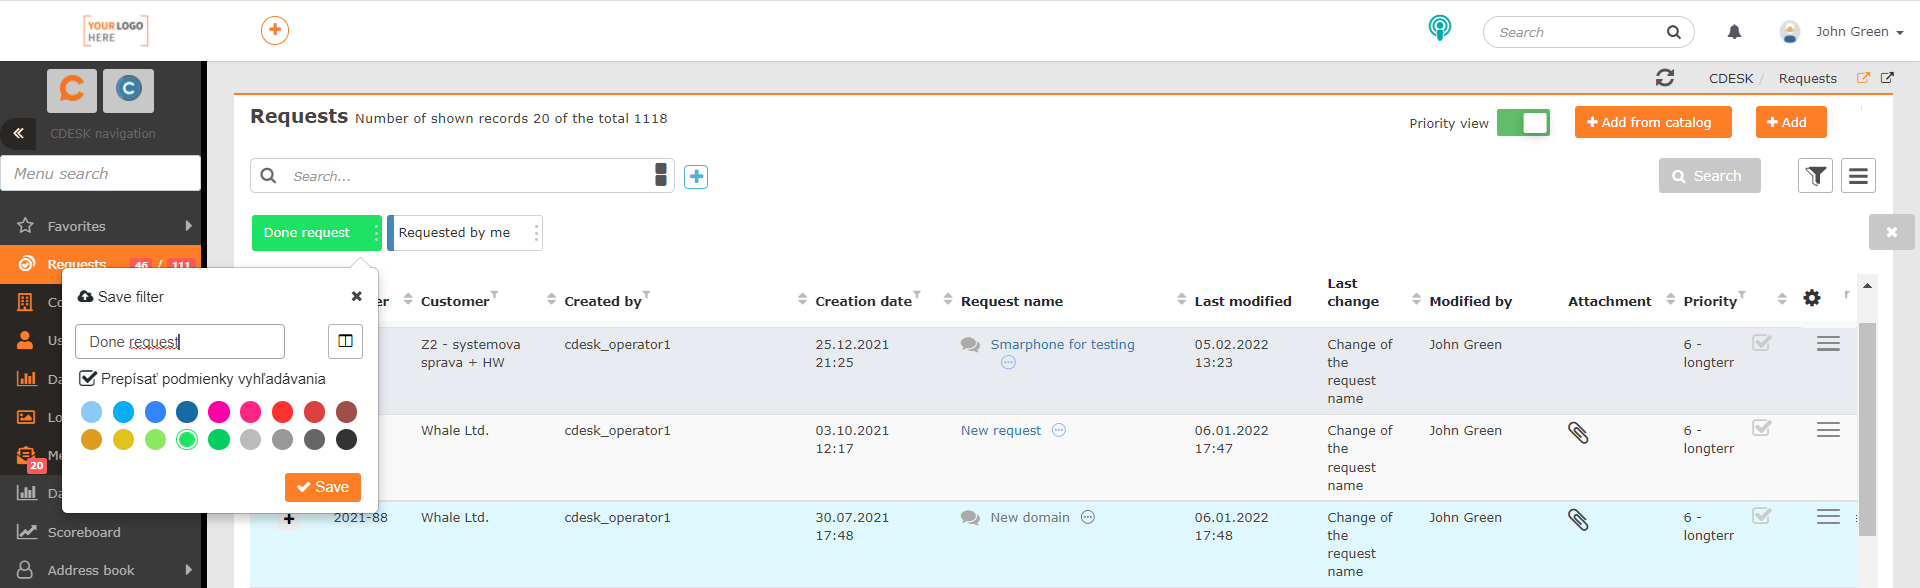
The buttons used to activate the saved filter have also been changed. Their order can be easily changed using Drag&Drop. The way of color differentiation of the active button has also been changed. When clicked, the entire button will be colored with the set color.

Each button also contains a menu that allows you to edit, send as well as delete the set filter.
You can also make changes to a filter that is not currently activated without overwriting the search conditions.
New Condition for Advanced Filter: Assignees – Group Members
With version 3.1.0, a new condition for the advanced filter has been added: Assignees – Group Members. The condition allows you to filter requests with a paired assignee who is/is not a member of the group set in the filter.

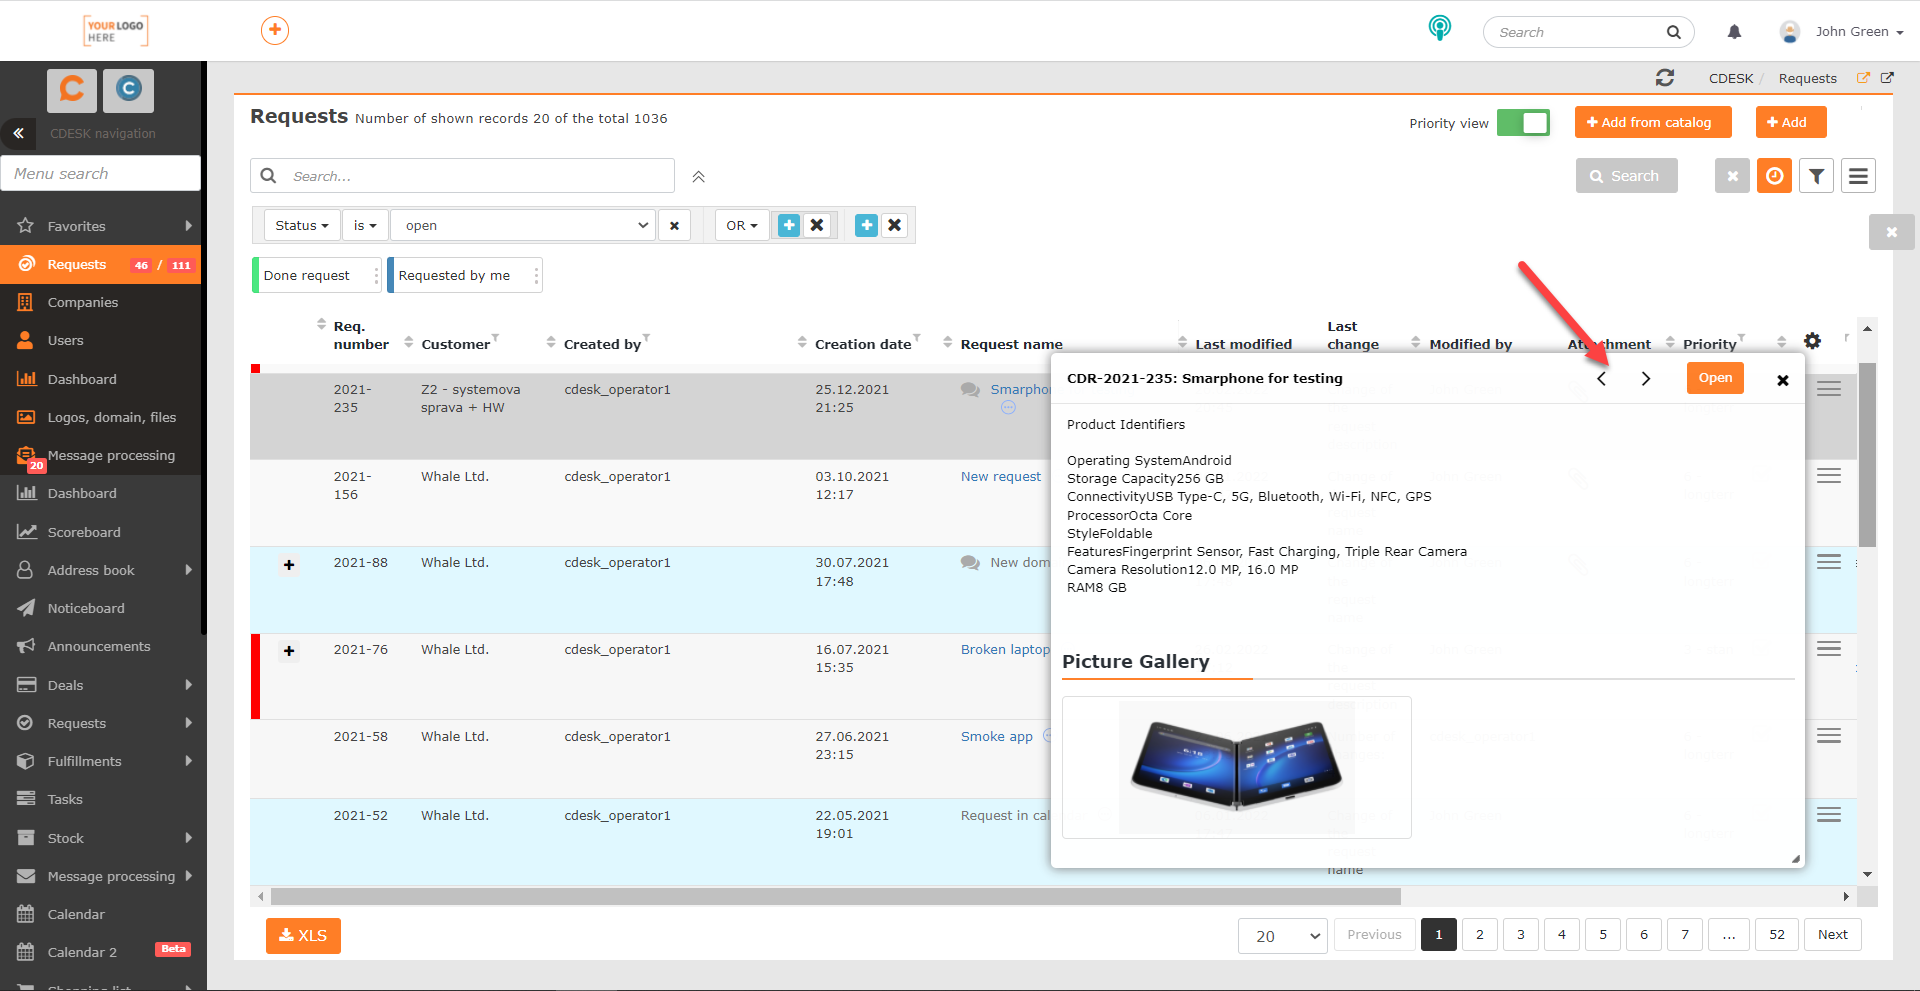
Buttons to Switch Between Requests in the Preview of the Request Detail in the List of Requests
Click on the three dots icon next to the request name to preview the request directly in the list of requests. With the latest update, buttons have been added in this preview to allow switching between the requests that are to be displayed in this preview. When switching, the requests are displayed based on their order in the list.
New Responsive Form Design for Accepting/Denying Request Completion from Mail Notification
Update 3.1.0 brings design improvements to many features and components of CDESK. One of them is a form to comment on the completion of a request, which opens when you click the Accept Completion/Deny Completion button in the mail notification. The functions of this form have not been changed. It continues to allow for quick and easy request completion without the need to log into CDESK.
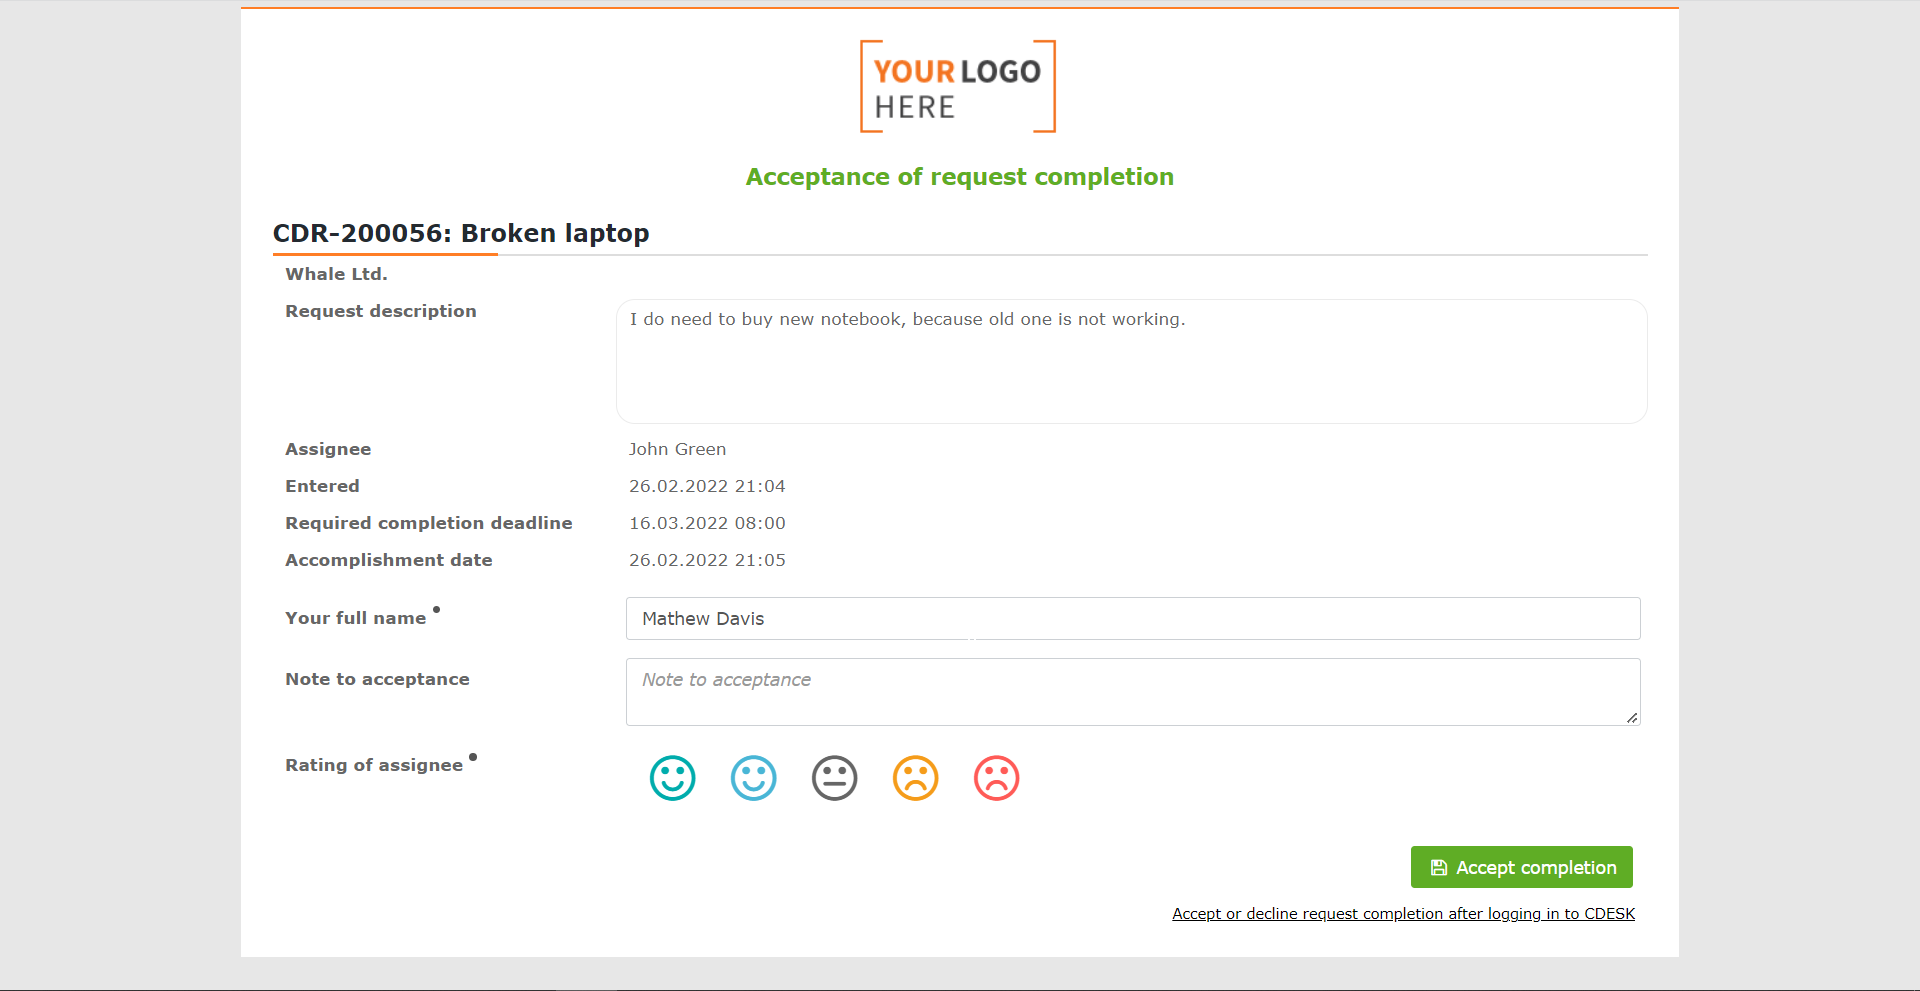
The form is also optimized for viewing on mobile devices. This allows you to make a statement on the request completion using your smartphone.

Favorites – Possibility Added to View Items in the First Level in the Pop-up Menu and Have Features Available in One Click
The Favorites function has been part of the pop-up menu for a long time, but with the latest update, it has been significantly improved. Items can be automatically added to the favorites based on how often the user accesses them. The user also has the option to choose which modules will not be automatically marked as favorites. It is also possible to disable the automatic marking of items as favorites and add items manually.

Favorite items can be displayed directly in the first menu level, while the remaining menu items can be set to collapse.
More information on favorites and their settings can be found in a separate article.
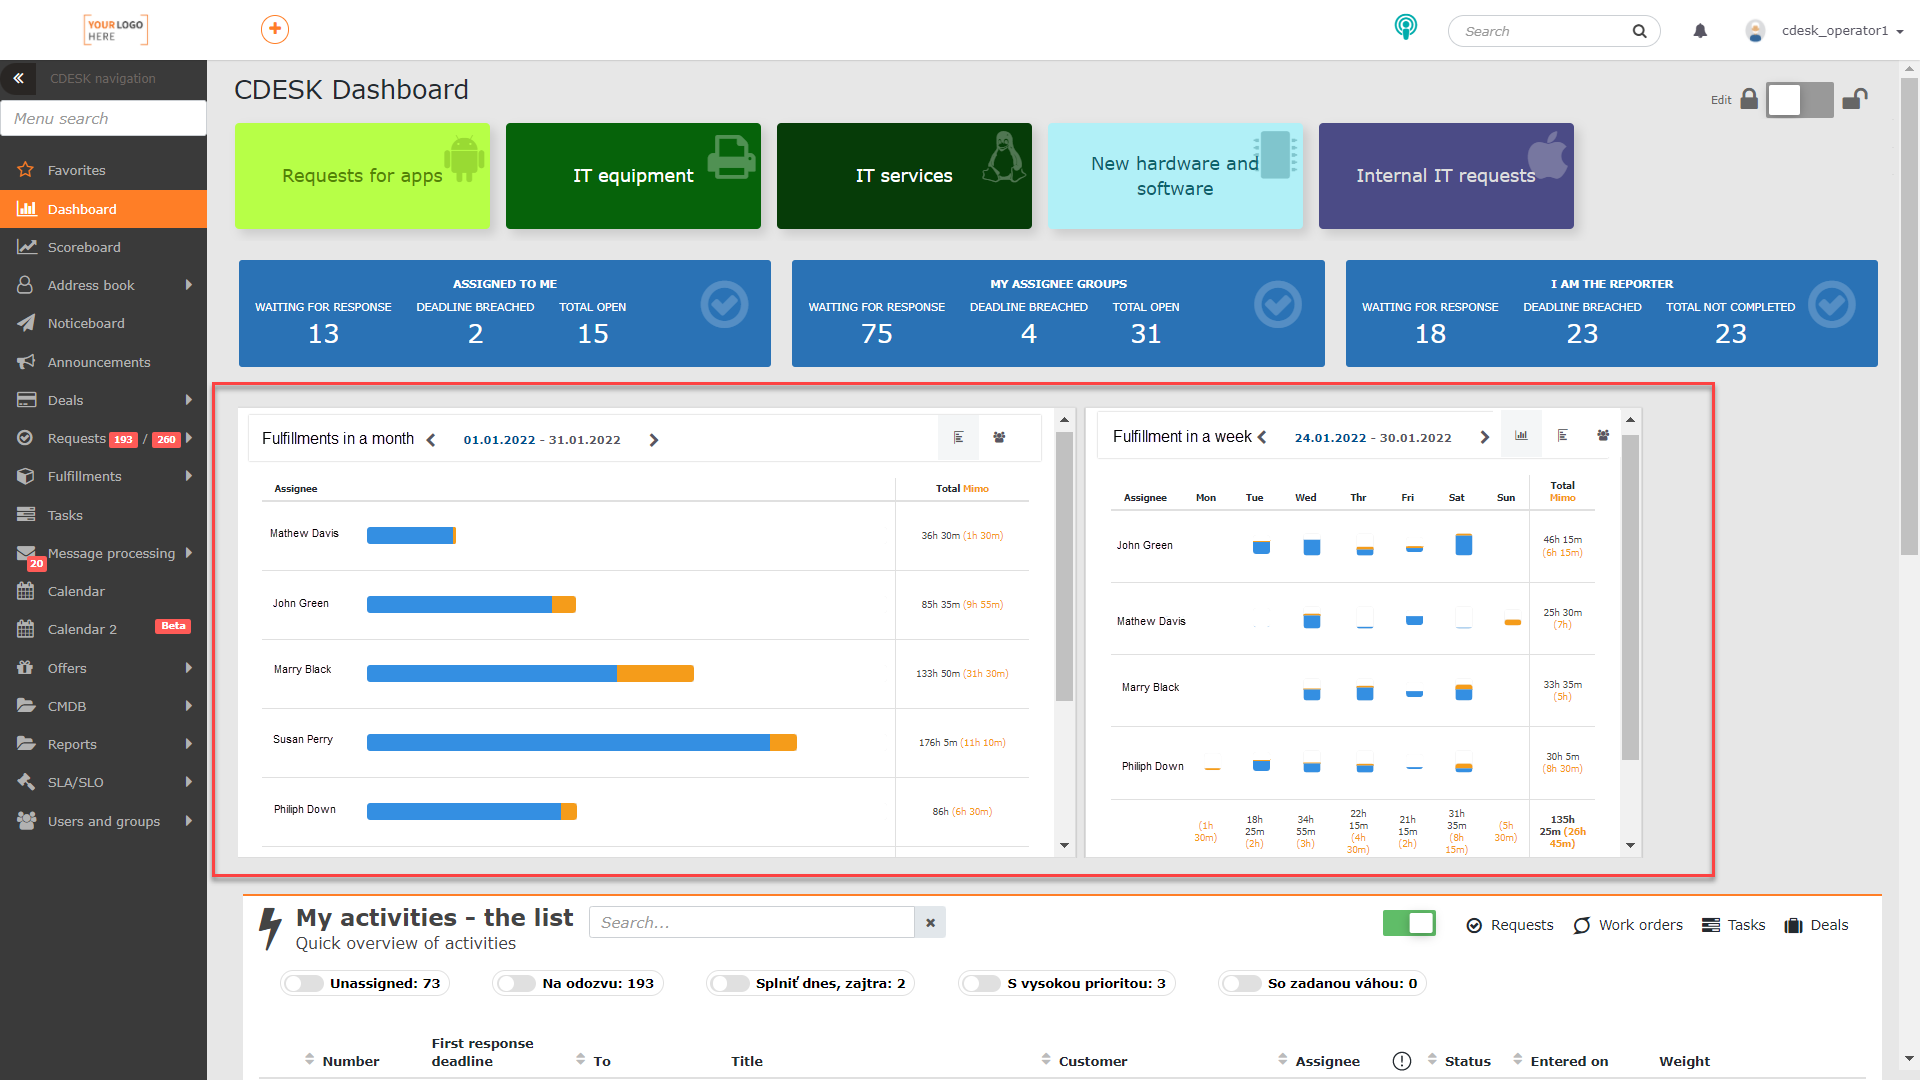
Widgets to Show Hours Worked on Fulfillments Weekly and Monthly
Dashboard now includes the first widgets that are focused on tracking reported time on invoice fulfillments. These are Weekly Fulfillments and Monthly Fulfillments. Both widgets graphically compare fulfillments during and outside working hours for the selected assignees in the specific week or month. In future updates, the widgets for requests will be added and the widgets for fulfillments will be extended to include internal fulfillments.
Possible Change of the Icon in the Browser Tab
The new update also brought the ability to set a custom icon to be displayed in the browser tab.
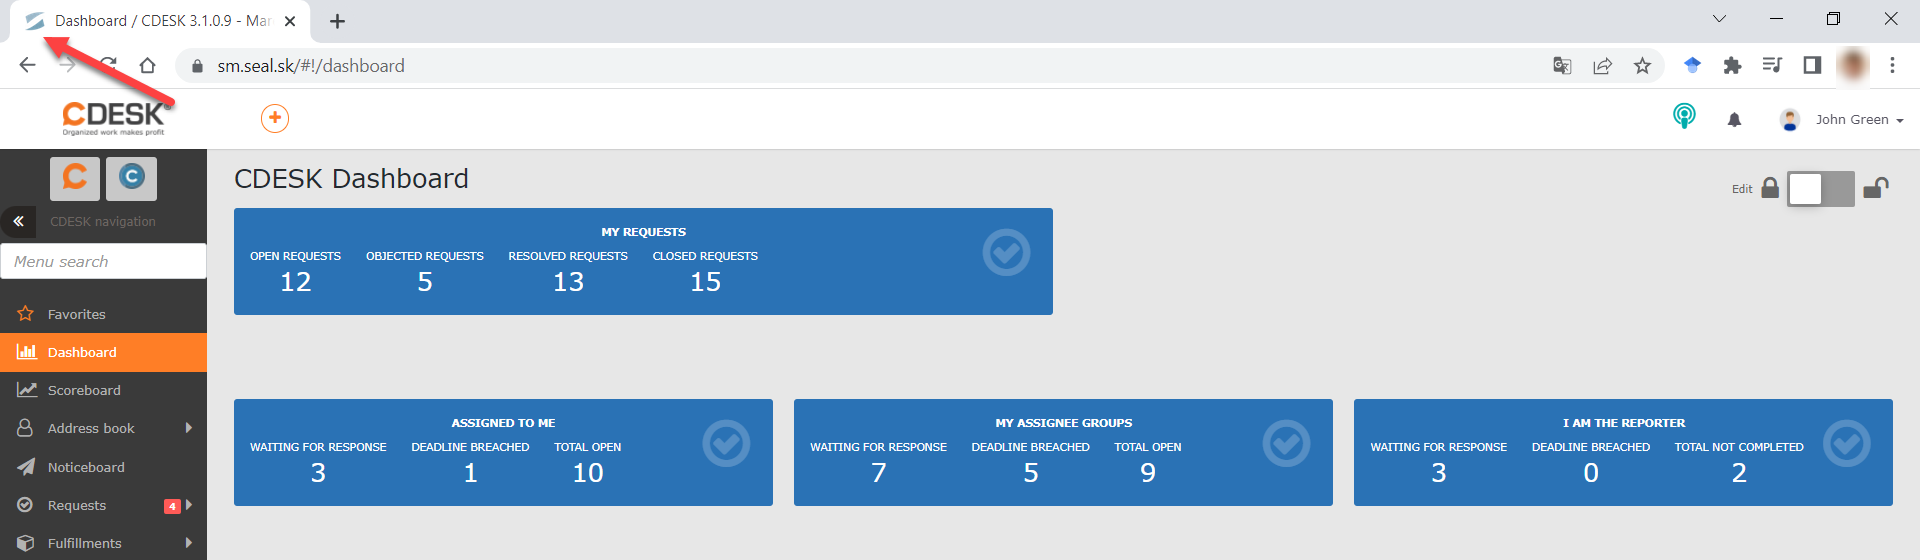
The icon can be set in Global Settings -> Logos, Domain, Files. To set the icon, you first need to enable custom domain of CM server, and then you can set a custom icon in the Favicon – Icon that Appears at the Beginning of the Tab in the Web Browser.
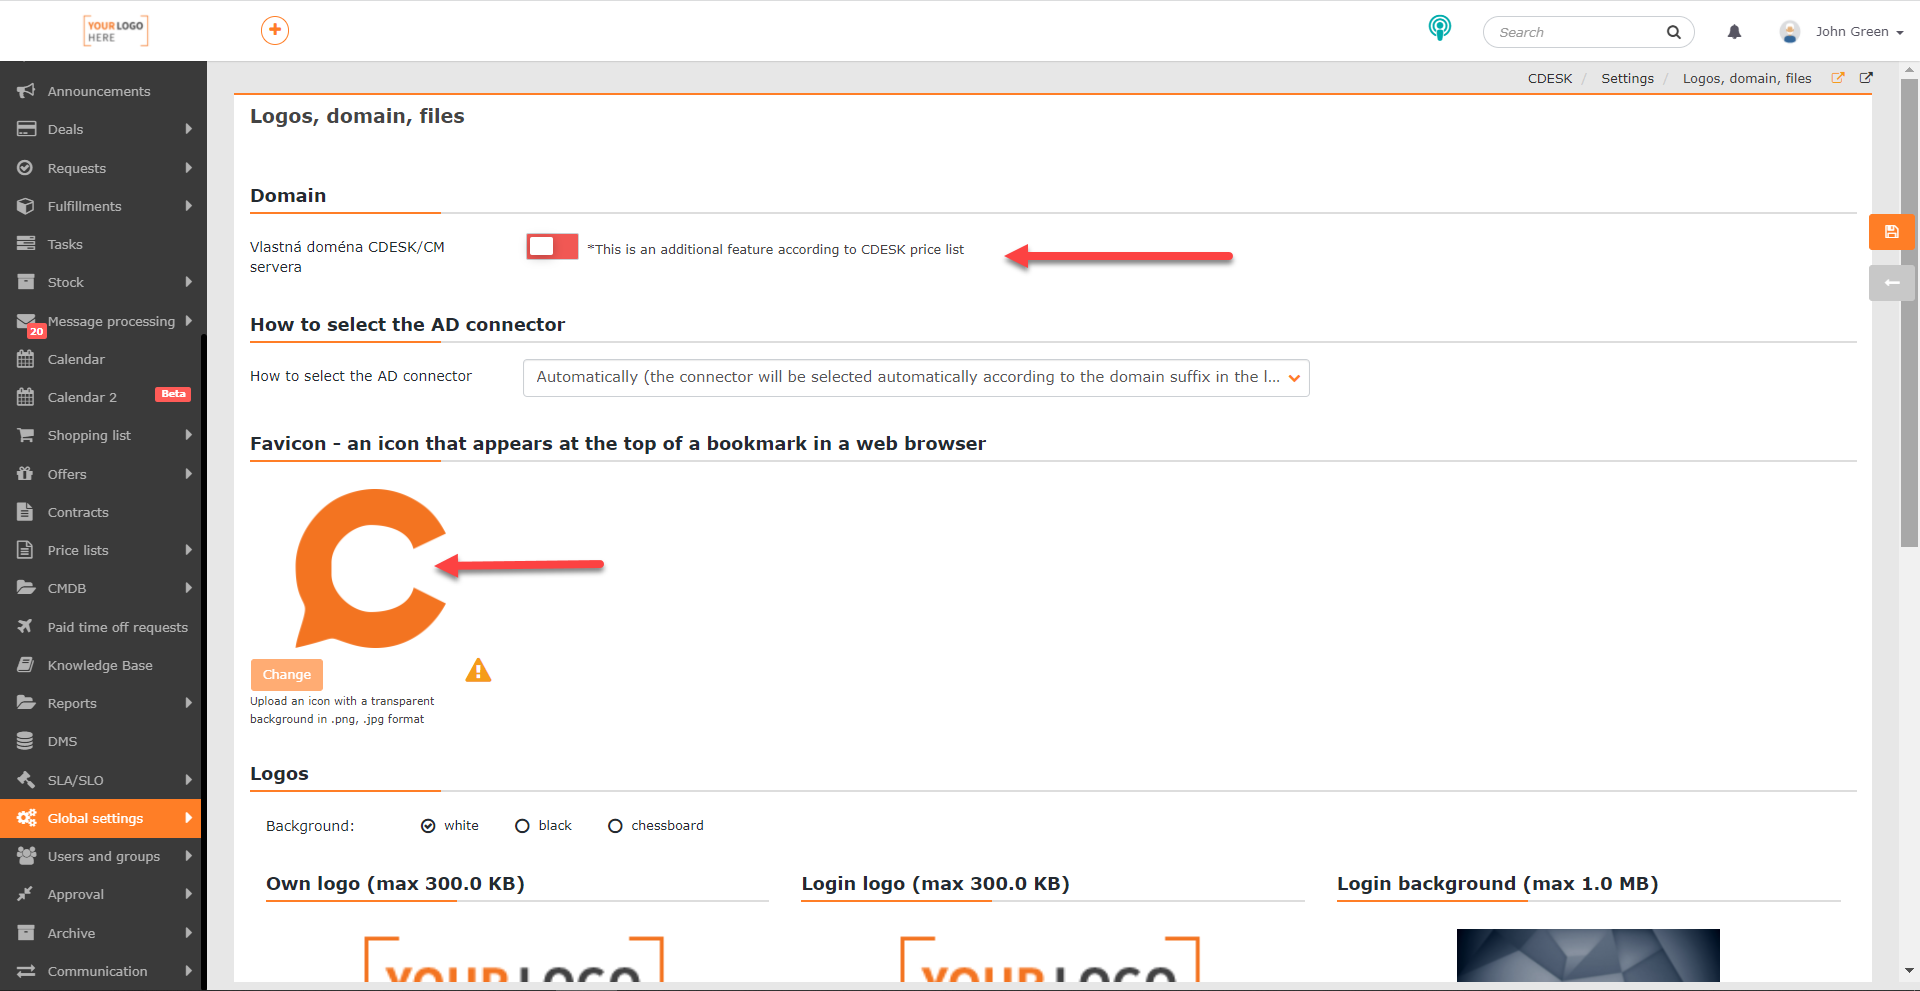
Enabling the custom domain of CM server is an extra-cost feature according to the CDESK Price List. After changing the icon, you may find that the original icon will still flash. It may not help to remove the cache file, as this file has its own per-browser management. We have not yet found an easy reliable way to remove the original icon from the repository and recommend leaving the removal to the browser’s own management. A possible solution is to rename the address book where the browser has user data. This will allow the browser to start storing new data again with the already new icon.
List of all news CDESK 3.0.194 >