ANNOUNCEMENTS
Page content
The Announcements module is used to display important posts. Posts are managed centrally – all users have the same content, which makes this module different from the Noticeboard module, where the user can move and delete posts as needed. Another difference is that posts in announcements may be limited in time.
If the Announcements module is not part of the menu, it must be first enabled in Global Settings->Announcements. The visibility of the module in the menu is subject to permissions. Permissions can be set in Users and Groups-> Users-> specific user-> Permissions Tab-> Announcements.
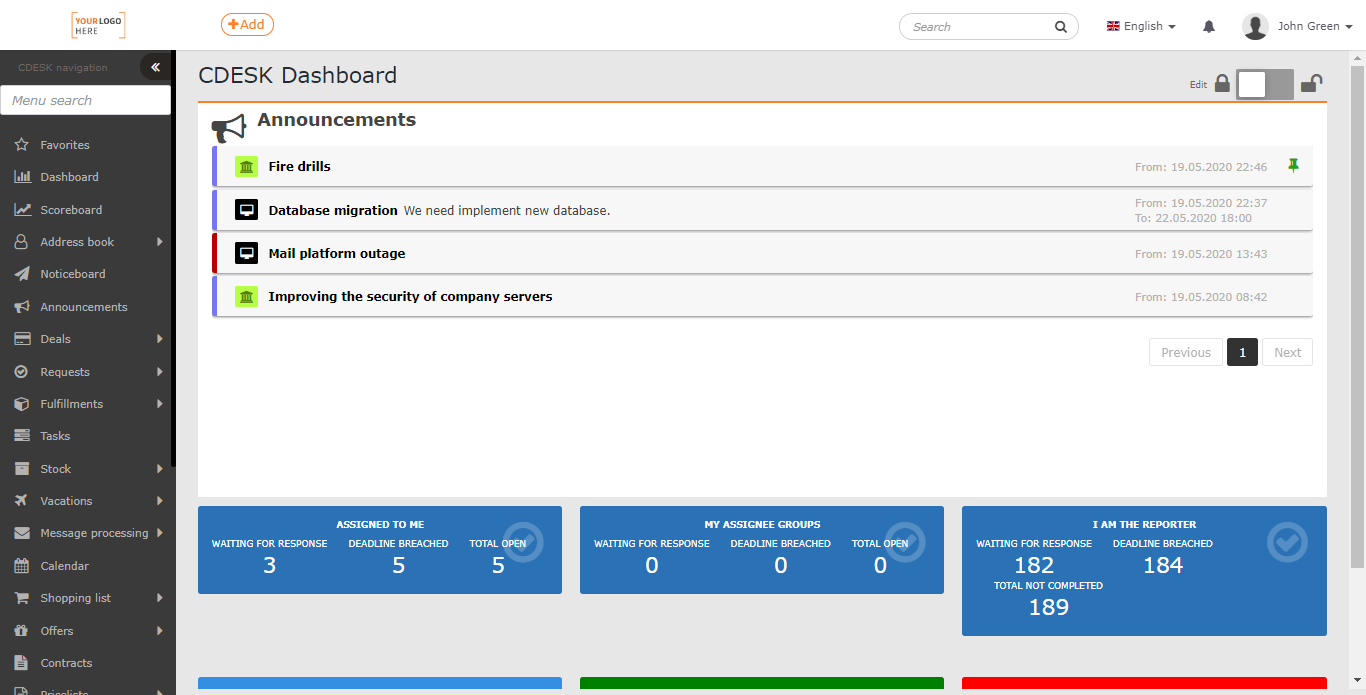
Announcements can also be accessed as a widget on the Dashboard.
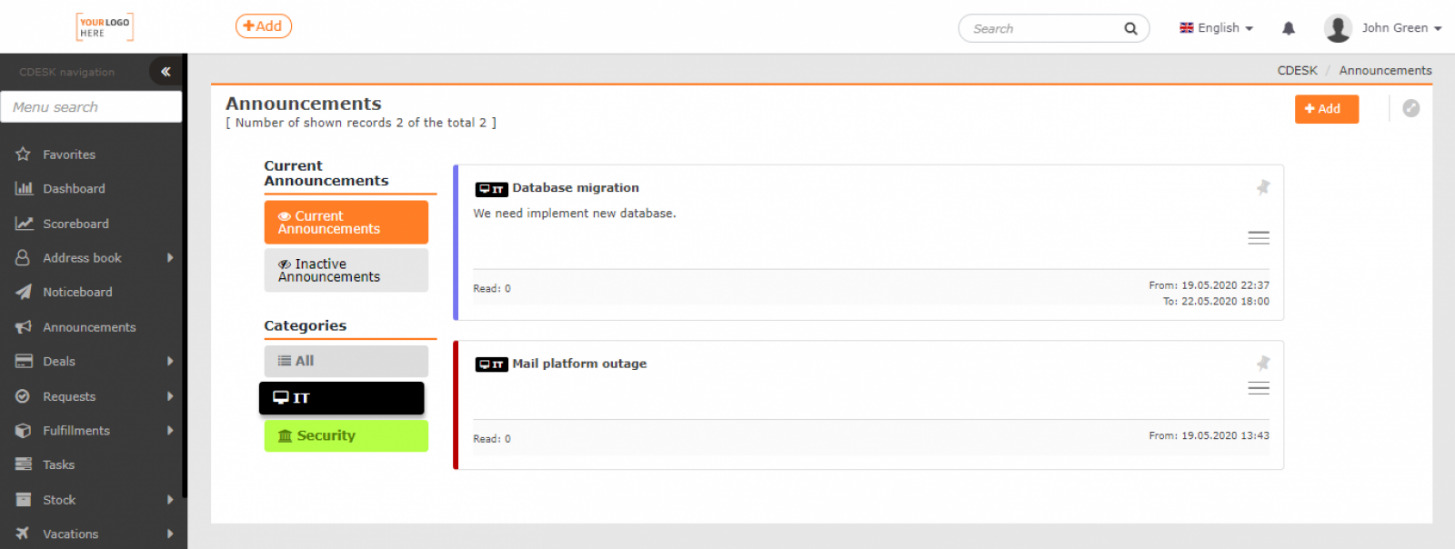
 List of Announcements
At the top of the Announcements module, there is the Add button, which is used to create new announcements. All notifications can be found in the Current Announcements section.
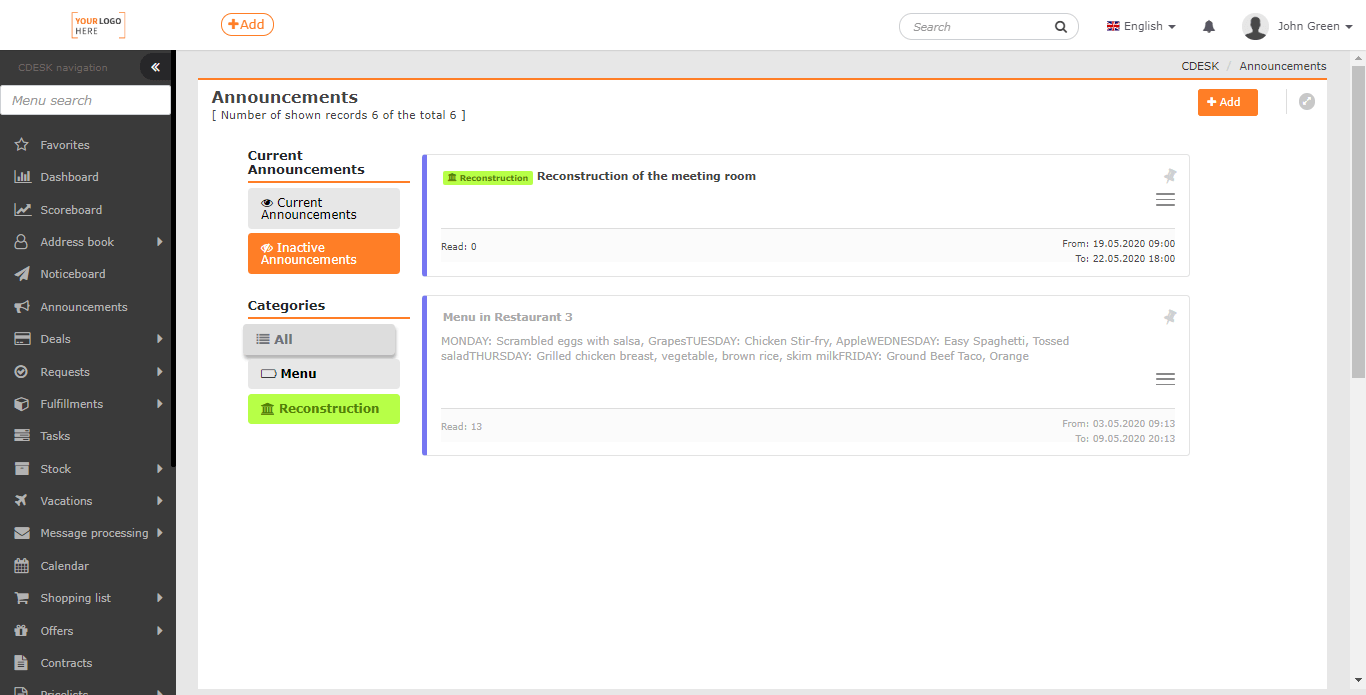
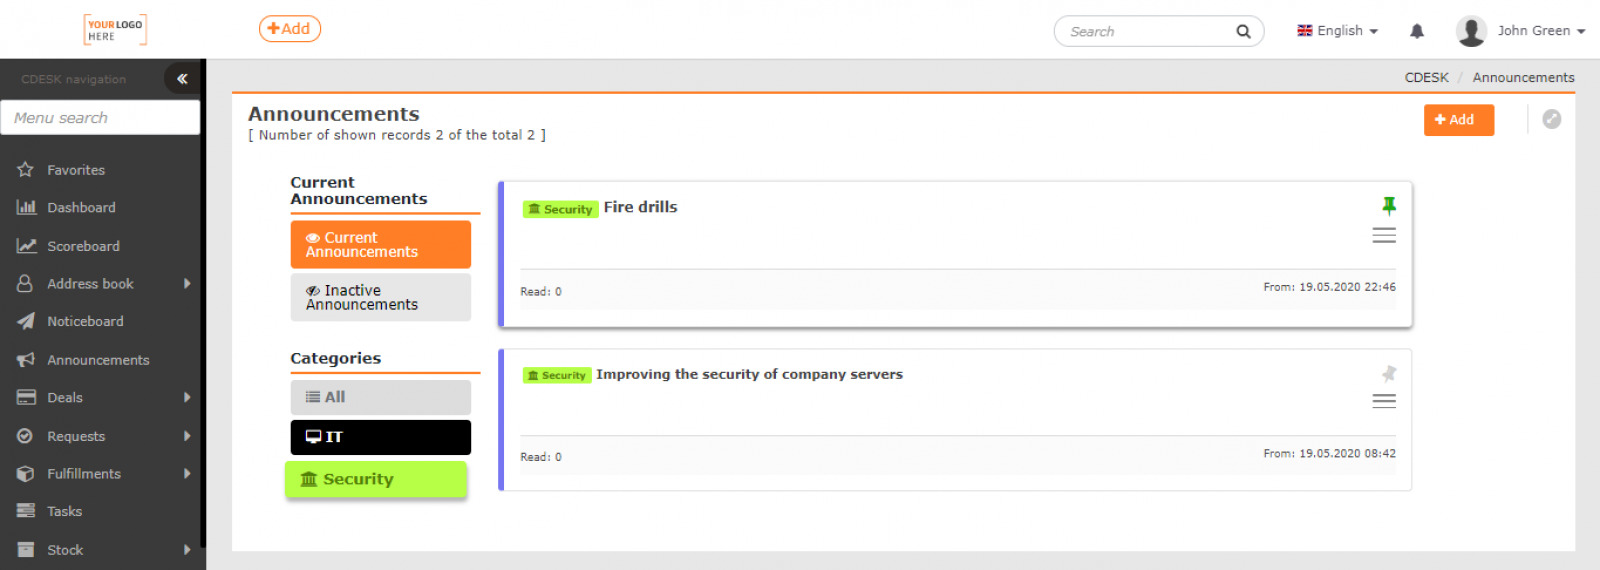
The section is divided into two parts: Current Announcements and Inactive Announcements. The priority is given to Current Announcements, which are more important to the user. The left edge of the announcement window is lined with a colored strip. It determines the type of announcement of the given post according to the categorization, which the user can set himself in the Global Settings. Inactive Announcements can be sorted in the same way.

The Inactive Announcements section contains announcements that have expired or are still up to date. The text of announcements that have expired is of grey color. Announcements that will be current in the future are of plain black color just like Current Announcements.

Both Active and Inactive announcements can be deleted or edited. These options are accessed through the context menu located in the lower right corner of each announcement.
Under Current Announcements, there is the Categories section. These are defined by the user in the Global Settings. Click on the window with the name of a certain category to display only posts belonging to this category. The category is set when creating an announcement and may be changed during editing.

Add new announcements
Only a user with appropriate permissions can add an announcement. Permissions can be set in Users and Groups-> Users-> specific user-> Permissions tab-> Announcements-> Records.
To add a new announcement, there is an Add button in the upper right corner. Click to open the window with a form. Mandatory data are marked with •.

Title – the title under which the post will be displayed. It should characterize the post clearly and concisely.
Type of the post – select from options that the user predefines himself. This option is only visible if the Obligatory option is selected in Global Settings ->Announcements.
Category of the post – categorization of posts increases clarity. Obligation to select as well as the predefined values are specified in Global Settings ->Announcements.
Pin the post – In the Current Announcements list, posts are displayed chronologically based on the date they were created. Important posts can be pinned – they will appear at the top of the list. If a user (post creator) pins multiple posts, they will be sorted chronologically again. The post is pinned when the switch ![]() is on. The pinned post is marked in the list by this icon
is on. The pinned post is marked in the list by this icon ![]() .
.

Start of validity – click on the Start of validity box to display the table where the date and time of the post validity start will be selected. To confirm the selection, click on the ![]() icon. Selecting the
icon. Selecting the ![]() option resets the selection to the date and time the user began creating the announcement.
option resets the selection to the date and time the user began creating the announcement.
End of validity – by clicking on this field, a window will appear with the option to select the end of the post validity. If the user does not select any time, the post will be visible until it is manually deleted.
Post content – field for entering accompanying text. The formatting controls can be found at the top of the window.
The post is saved by clicking on the Save icon. Selecting the Back option closes the form without saving the post.
Edit and access announcements
Only a user with appropriate permissions can edit announcements. You set permissions in Users and Groups-> Users-> specific user-> Permissions tab-> Announcements-> Records.
The saved post can be additionally edited by selecting the Edit option in the context menu ![]() . The same form opens as when adding a post. The edits you make will be saved by clicking the Save button. Select Back to return the post to its original form.
. The same form opens as when adding a post. The edits you make will be saved by clicking the Save button. Select Back to return the post to its original form.

Delete an announcement
Only a user with appropriate permissions can delete announcements. Permissions can be set in Users and Groups-> Users-> specific user-> Permissions Tab-> Notifications-> Records.
There are two ways to delete a post. Either directly by clicking Delete or by selecting Delete when editing.

Example of using announcements
In Global settings-> Announcements set the Type of Announcement as a mandatory item. You can then define the individual types in the code list. These will be, for example, Company Announcements and Outages. To make the option of category creation available, you need to set the announcement category selection to Optional or Obligatory. In the code list for categories, you can define two items, such as IT and Security.
In the Announcements module, you will then create a record of the planned database migration. When creating a post, you set the validity from the moment you want to inform about the planned outage until the expected end of the work. After this time, it will be deleted automatically. The announcement will be classified under the Company Announcements type and the IT category.
There will also be a fire drill for the company’s employees. The responsible person in the Announcements module creates a new record classified as the Company Announcements type. It will be included in the Security category. As this is an important announcement, the pin function is used to highlight it.
An announcement about improving the security of corporate servers could also be included in the Security category as a Company Announcement type.
Later, the company experiences a failure of a mail platform. The office manager will create a record in the announcements classified as Outages in the IT category. The manager sets the start of announcement validity, for example, the current day. They do not set the end of validity date yet and delete the announcement when errors are cleared.