ADDRESS BOOK – CONTACTS
Page content
Contacts
The Contacts can be found in Address Book->Contacts. If this menu item is not present, check the permission settings for the user. Permissions can be set in Users and Groups->Users->select a specific user->Permissions tab->Address Book->Contacts.
At the top of the window, there is a button Add a contact and a filter for easy search in the records. In this view, contacts from all the companies are displayed at once. To view all the contacts of a particular company, use a possibility of customizing the selection by searching according to a company name, or find the requested company in Address Book->Companies, edit the record and open the Contacts section.
The following contact types can be displayed in the list:
- – Contact – regular contact of customer’s contacts
- – Customer account – contact with basic access to the system
- – Computer user with registered C-Monitor client (available for CM IT Monitoring functionality)

Add a New Contact
To add new contacts, use the +Add a contact button in the top right corner of the contact list. Contacts can also be added via the Contacts tab related to a specific company
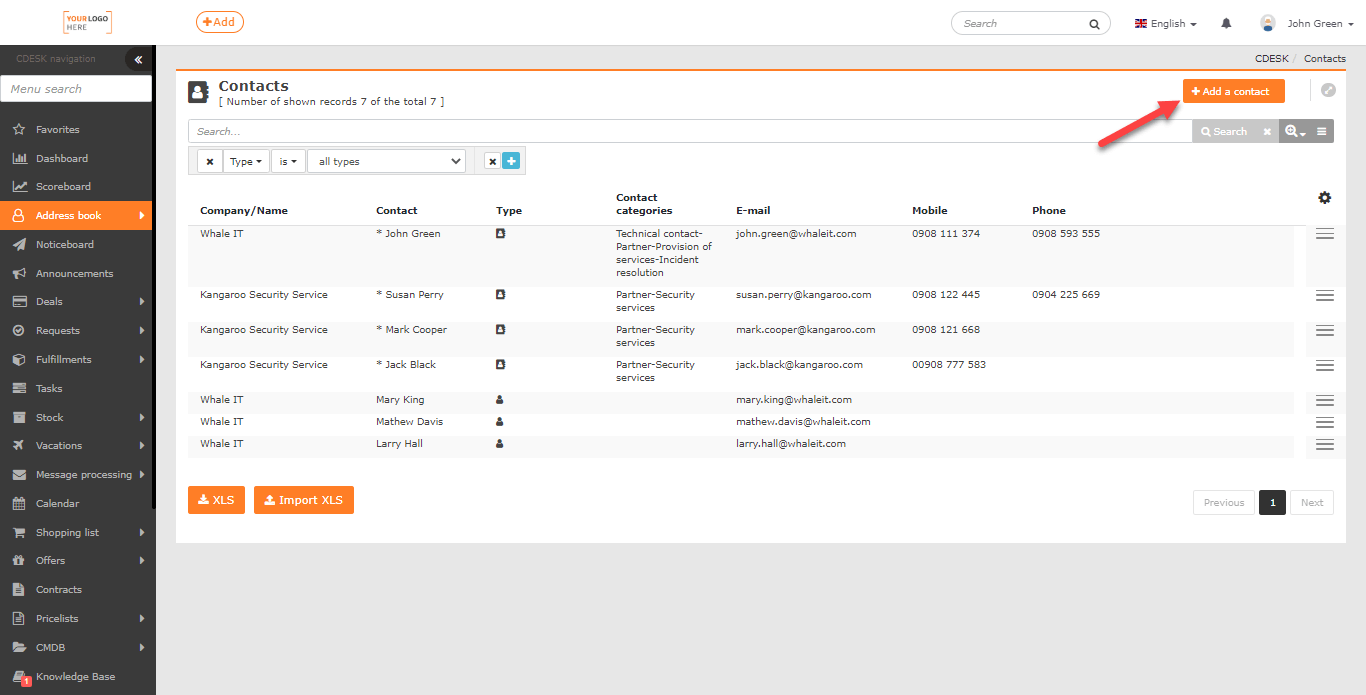
If the button for adding contacts doesn’t display, make sure you have the permission to create records. Permissions can be set in: Users and Groups->Users->select a user->Permission tab->Address Book->Contacts->Records.
Use the +Add a contact button to display a contact form. Required fields are marked with •. The contact form is divided into several logical units.
Contact Information
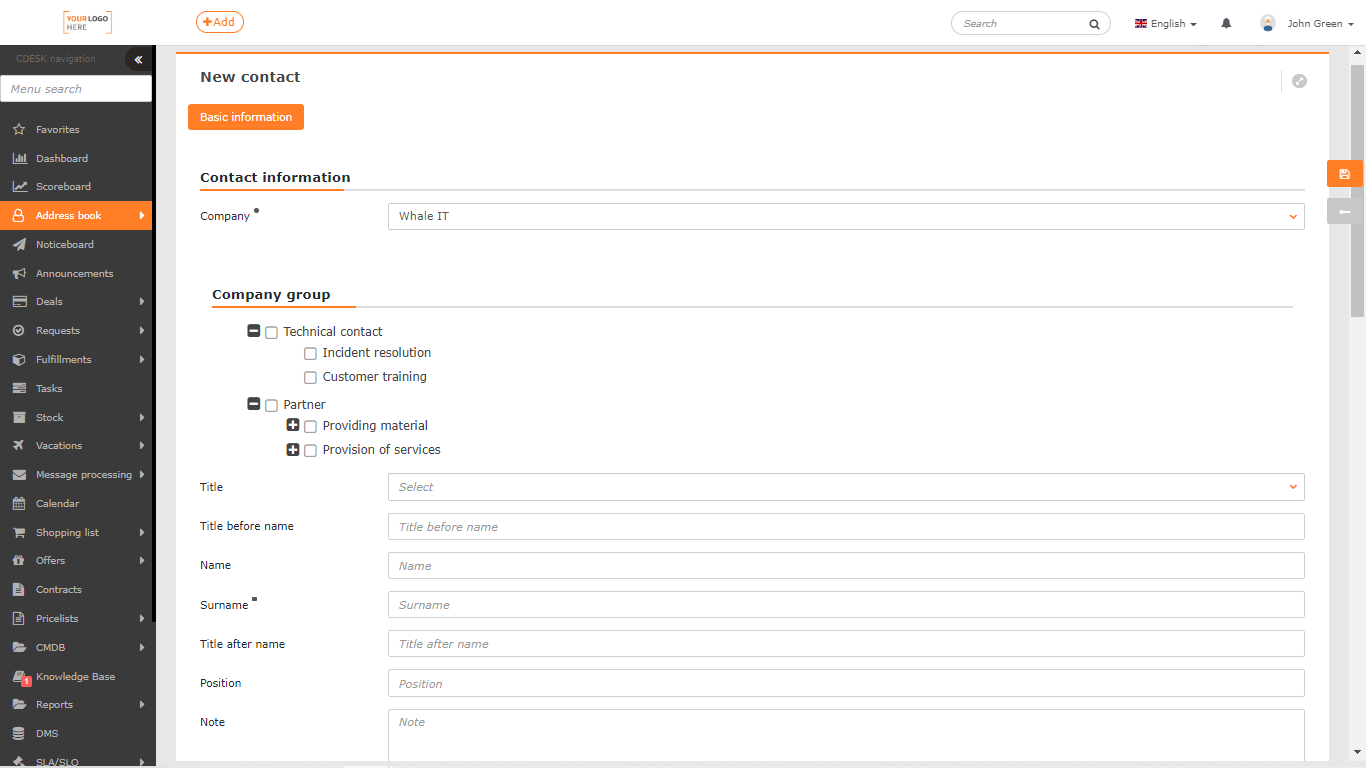
Company • – this field is only displayed when creating a contact from the list of contacts. It is used to select a company to which the contact will be assigned.
Contact categories – select a contact category. Categories can be set in: Global Settings->Address Book->Contacts.
Honorific – Mr. / Mrs. – select from the code list how to address the contact person.
Pre-nominal title – text field to enter the title before name
Name – text field to enter the contact’s name
Surname • – text field to enter the contact’s surname
Post-nominal title – text field to enter the title after name
Position – text field to enter the contact’s position
Note – text field to enter a note concerning the contact
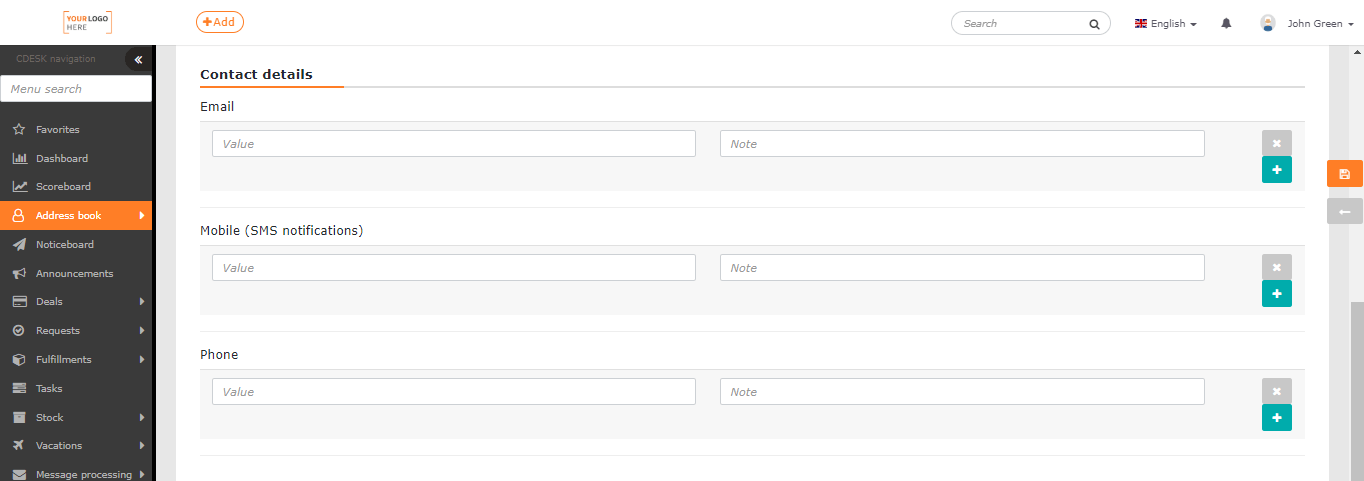
Contact information
This feature is used to record contact details such as email, mobile phone number and landline number. It is possible to record several contact details for each contact type. To distinguish the data, there is a field for a note (e.g. a phone number – private, business, etc.). To add another contact of the same type, use the +, button, to remove it, use ×.
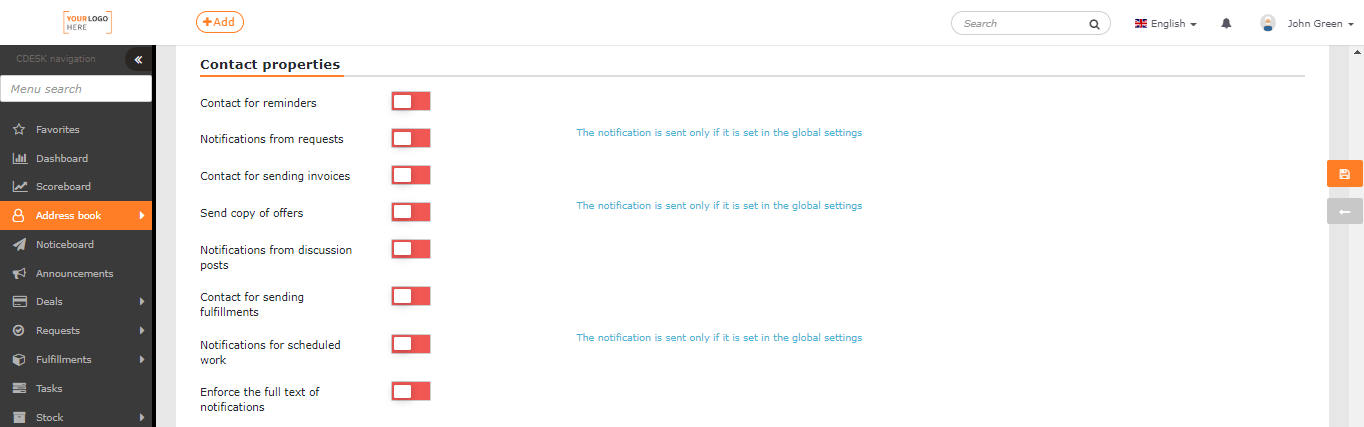
Contact properties
- Contact for reminders – the contact receives reminders concerning unpaid invoices.
- Notifications from requests – the contact receives notifications concerning new requests or status change for all customer requests. Notification is sent only if enabled in Global Settings ->Notifications->Basic Settings.
- Contact for sending invoices – the contact receives all invoices issued to the customer.
- Send copy of offers – the contact figures as a coordinator of offers for the customer.
- Notifications from discussion posts – the contact receives notifications when a new discussion post is added to one of customer requests.
- Contact for sending fulfillments – the contact receives notifications concerning all fulfillments of the assigned customer.
- Notifications for scheduled work – this contact receives notifications concerning all planned work of the assigned customer. Notification is sent only if it is also set in the Global Settings ->Notifications->Basic Settings.
- Enforce the full text of notifications – this contact receives full text notifications, even if simplified notifications are set in Global Settings ->Notifications->Basic Settings.
By switching the button on ![]() , the contact automatically receives the above-mentioned notifications and documents. By switching the button off
, the contact automatically receives the above-mentioned notifications and documents. By switching the button off ![]() , it is possible to manually assign the recipient of documents when sending them.
, it is possible to manually assign the recipient of documents when sending them.
Adress
This feature allows recording the contact’s address if it is located elsewhere than in the registered office of the company – detached office, branch and the like.

Additional properties
If additional properties are predefined in Global Settings->Address Book->Contacts, they allow posting additional information to the contact record.
For more information on defining additional properties, see Configuration Database CMDB->Additional Properties.

To save a contact, use the Save button in the bottom right corner of the form. Back closes the form without saving changes.
Edit a Contact
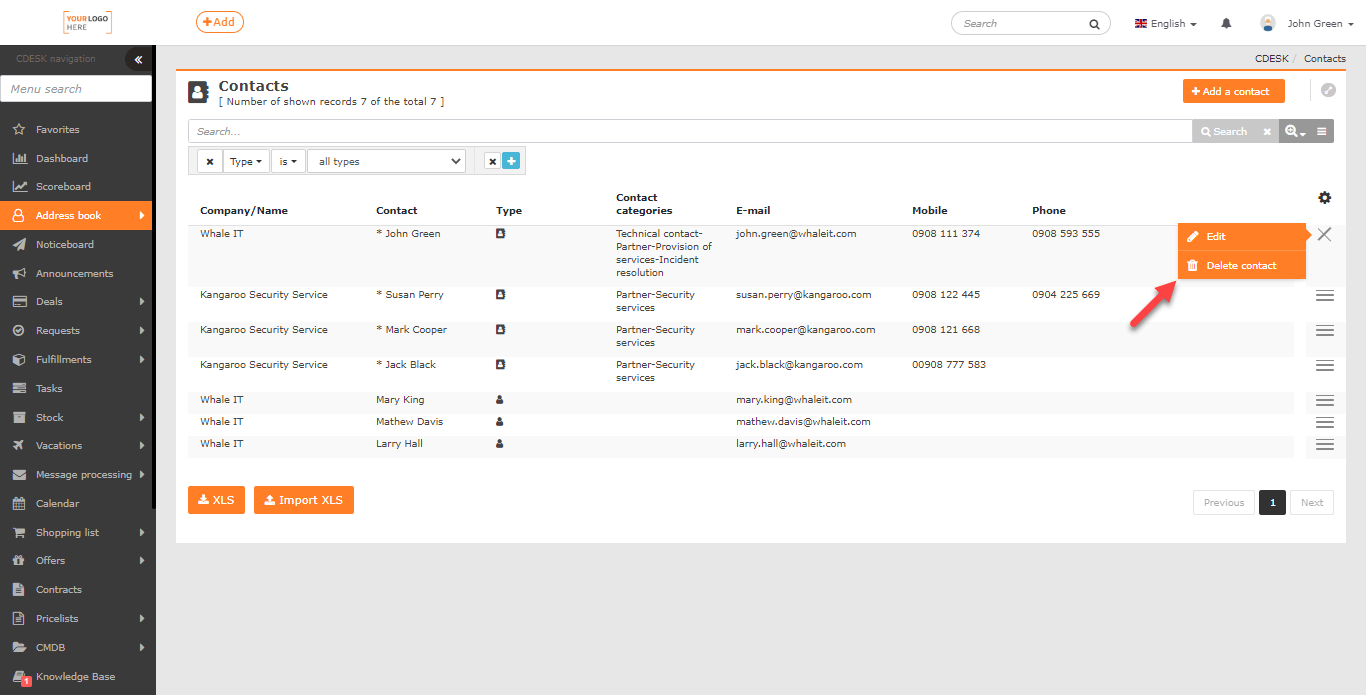
Contacts can be modified by double-clicking on the record, or by selecting the option from the context menu ![]() -> Edit.
-> Edit.
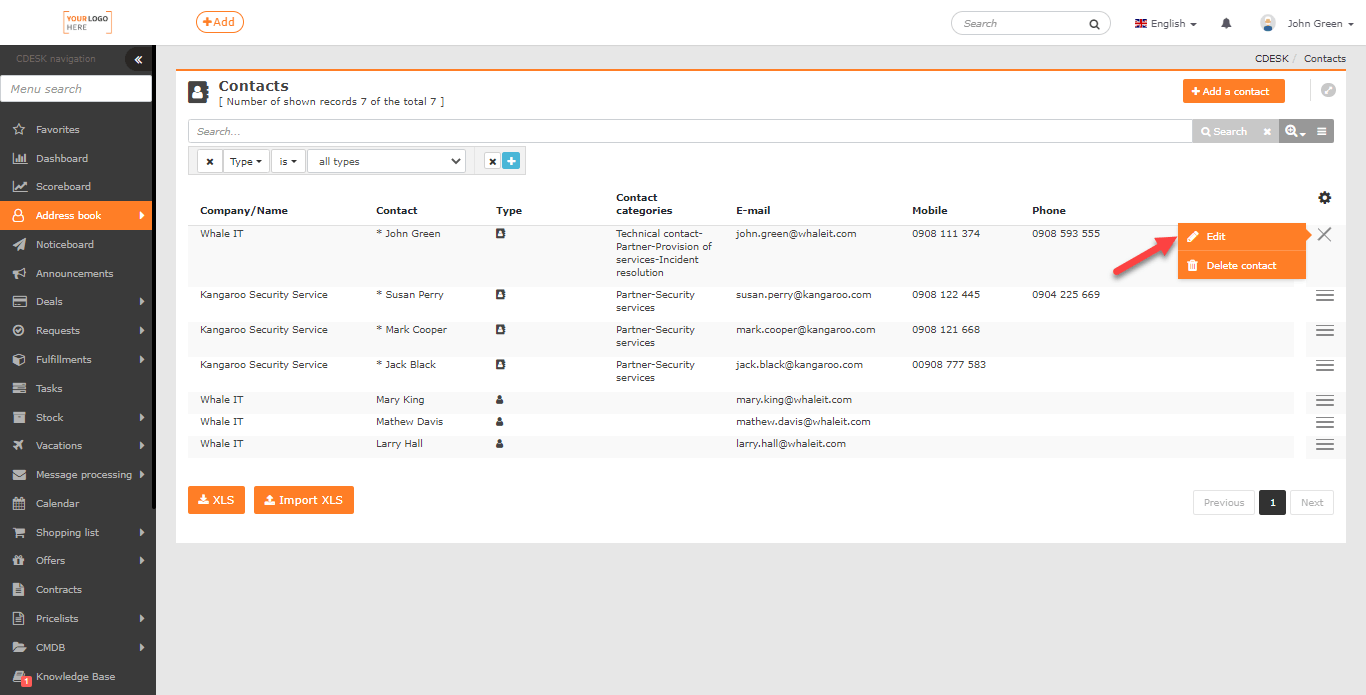
Only the user with appropriate permissions can edit records. Permissions are set in Users and Groups->Users->select a specific user->Permissions tab->Address Book->Contacts.
When editing a customer contact , a form identical to the one for adding a new contact is displayed.
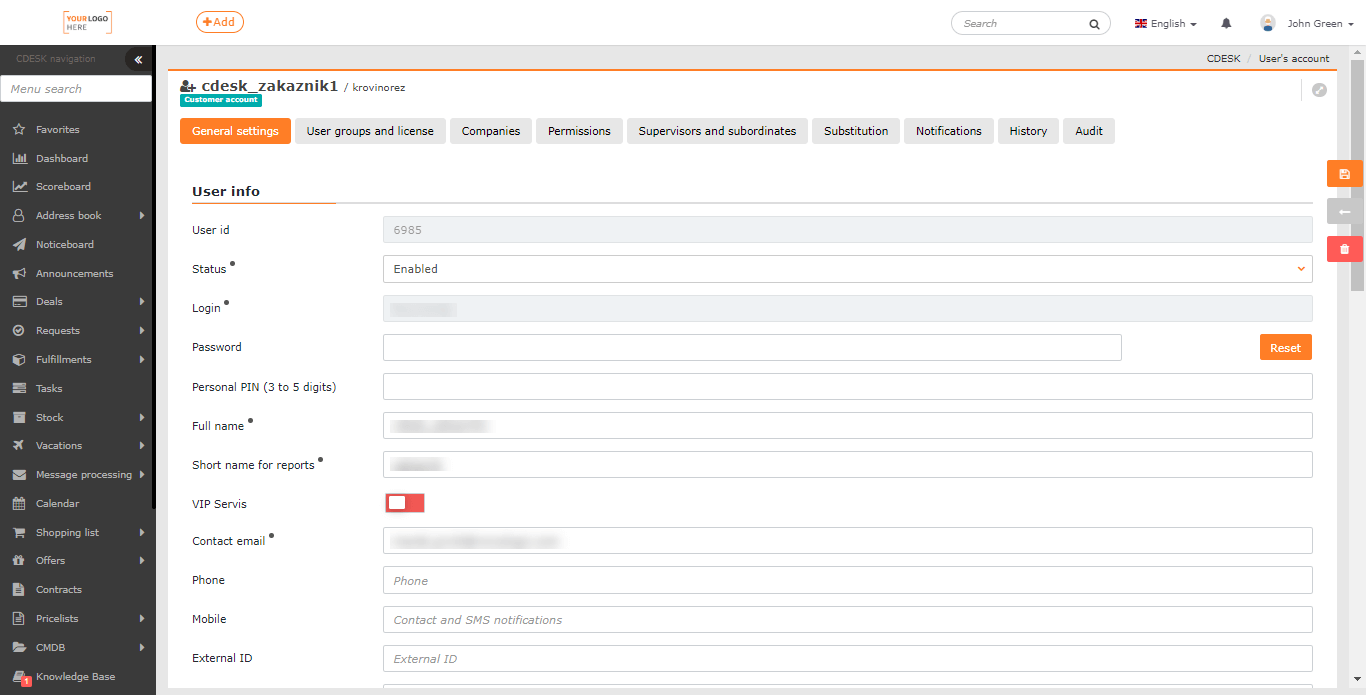
To edit a customer account , use the Go to customer account button in the bottom right corner of the form.
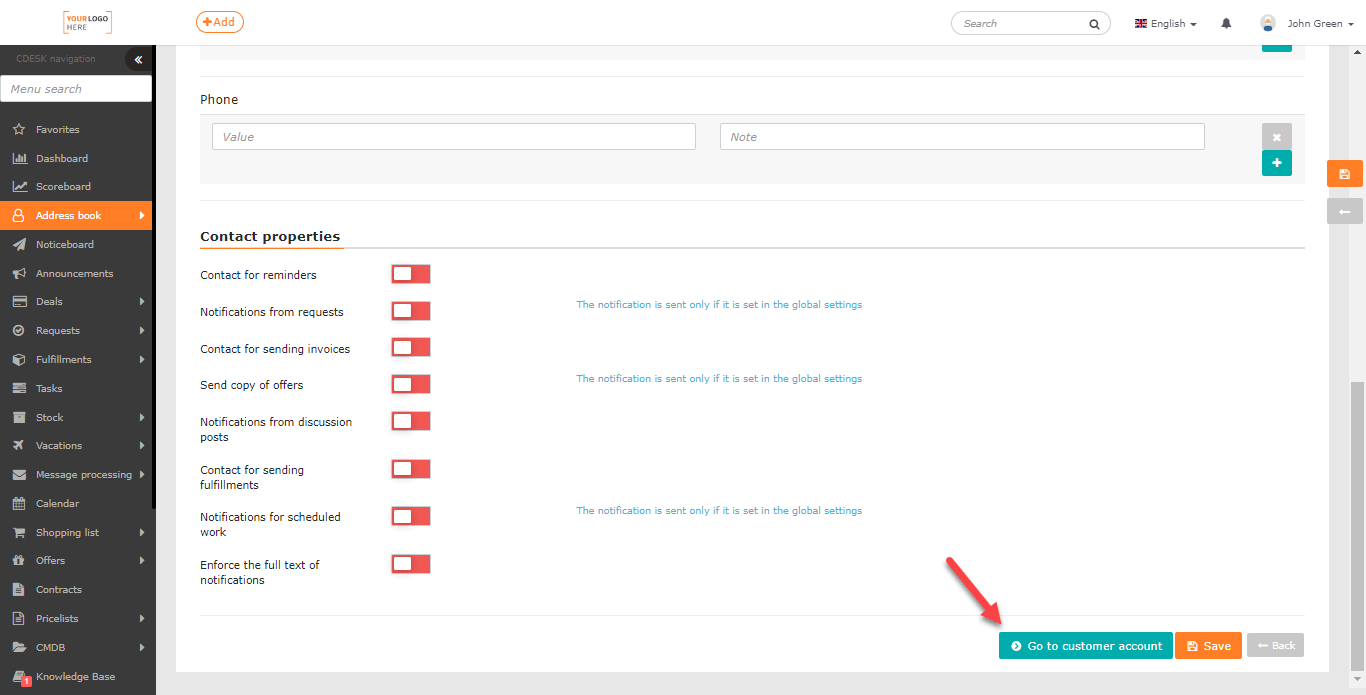
Click the Go to customer account button to open a form for editing the user account – for more information on managing user accounts, see article Users.
For the contact with registered computer ![]() , it is not possible to make changes through the CDESK application, because the contact details are bound to the C-Monitor client license (available for the CM IT Monitoring tool). It is incorporated in this section for completeness of the company contact list.
, it is not possible to make changes through the CDESK application, because the contact details are bound to the C-Monitor client license (available for the CM IT Monitoring tool). It is incorporated in this section for completeness of the company contact list.
Search in the List of Contacts
The list of contacts list includes a full-text search field that searches by name, company name and e-mail address.

Below the full-text search, there is a field to configure the advanced filter. The following conditions can be inserted into the advanced filter:
- Any column
- Contact Categories
- Mobile
- Contact
- Company / Name
- Phone
- Type
- Time of Creation

For a more detailed description of the search tool, as well as procedures on how to save and submit a custom filter, see Search and Advanced Filters.
Or find the requested company in the Address Book->Companies, open it and go to Contacts section.
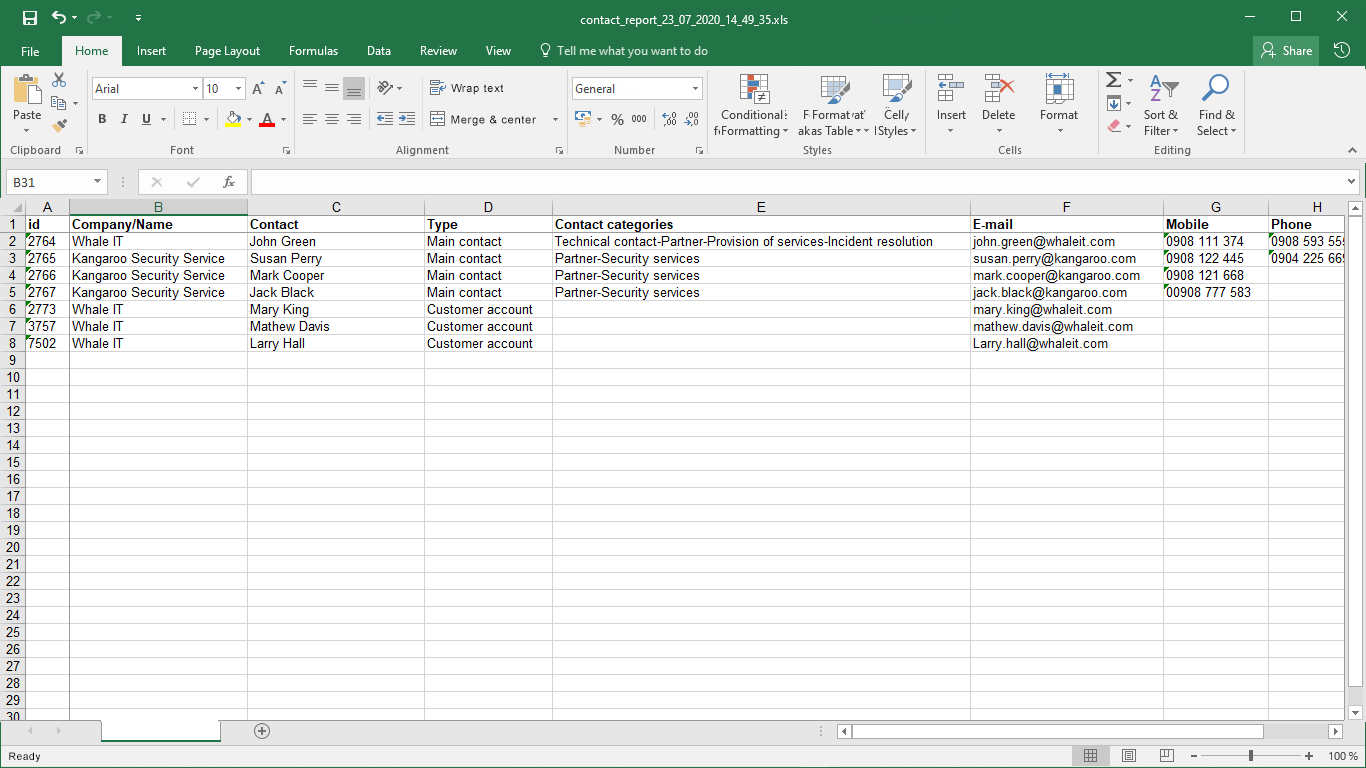
Export a Record
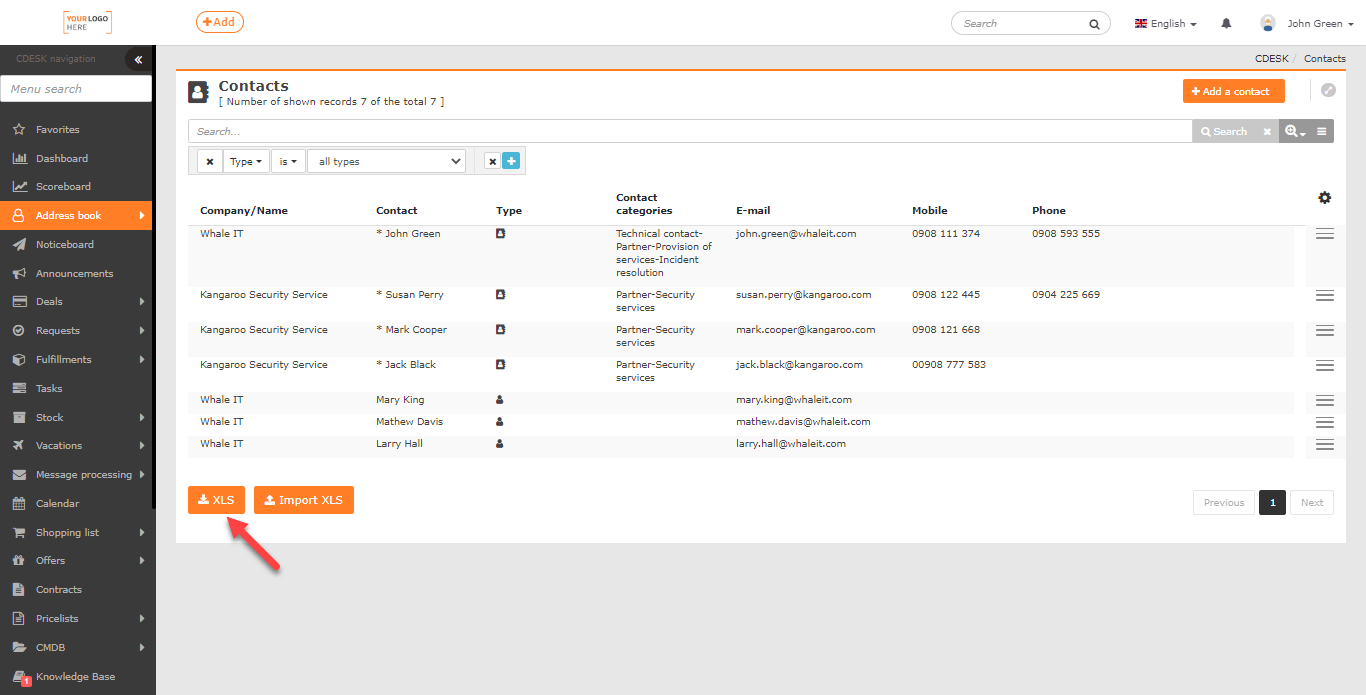
In the bottom left corner of the contact list, there is an XLS button for exporting the list in XLS format. The button for exporting tasks can be made available / unavailable to users in Permissions. Permissions can be set in Users and Groups->Users->select a user->Permissions tab->Address Book->Contacts->Export.
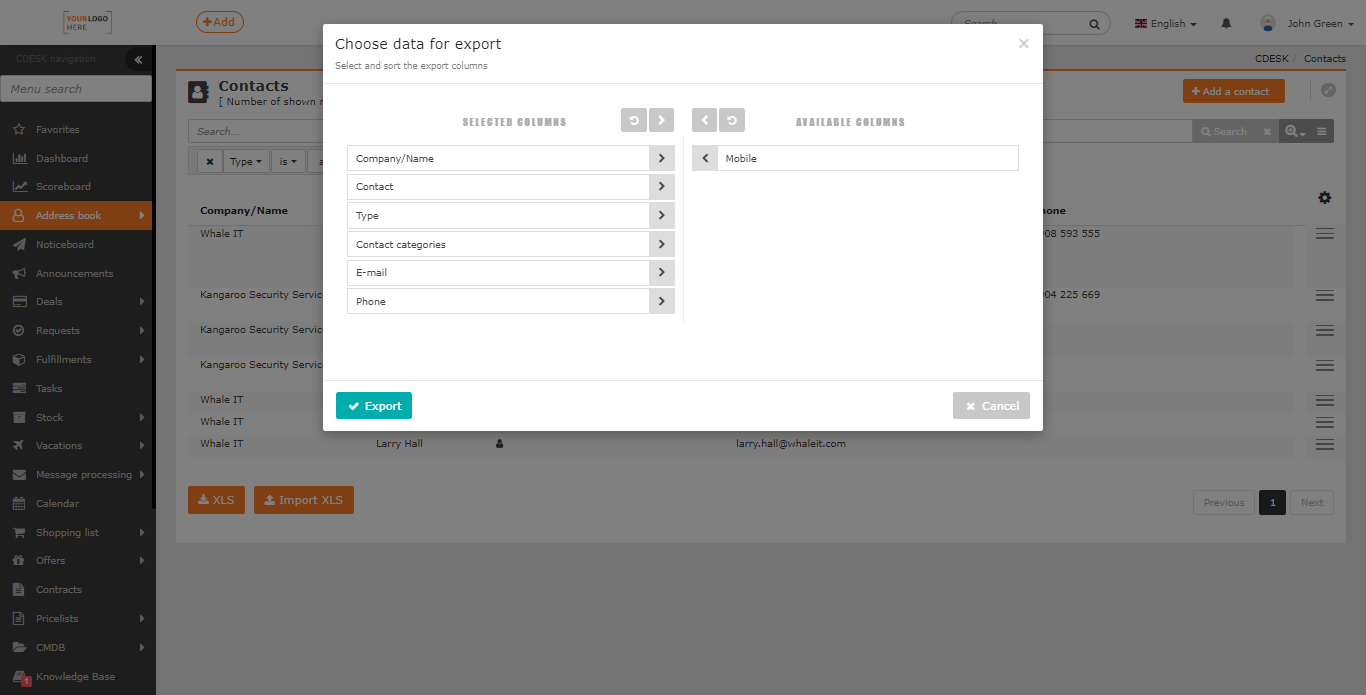
Click the button to open a new window in which you can select the columns to export. If you want to export all columns, you do not need to select them individually. Click < to select them all. The order of columns in this list also determines their order in the export. If you wish to have the columns in the default order, click >and the columns will be sorted. After selecting the columns, create an export using the Export, button located in the bottom left corner of the window. Select Cancel to return to the task list without creating an export.
Delete a Contact
Contact can be deleted by selecting the option from the context menu ![]() -> Delete a contact, in the contact list, or by editing the export and using the Delete button at the bottom of the form. Only users with appropriate permissions can delete contacts.
-> Delete a contact, in the contact list, or by editing the export and using the Delete button at the bottom of the form. Only users with appropriate permissions can delete contacts.