CDESK Desktop Application – Useful for CDESK GOLD Users
We would like to highlight some useful features that can be of benefit also to users with a GOLD license, i.e. users who have unlimited access to the web interface.
Spreadsheet Editing as in Excel (CDESK GOLD License Required)
Spreadsheet editing allows you to move and edit items as in Excel. The spreadsheet editing feature is supported for almost every module.
You may encounter modal windows also in spreadsheet editing, as the cell format requires it. This is the case when the cell contains HTML content and the table itself displays the strings as plain text. To ensure that the HTML formatting is not lost during input and editing, an auxiliary modal window is displayed.
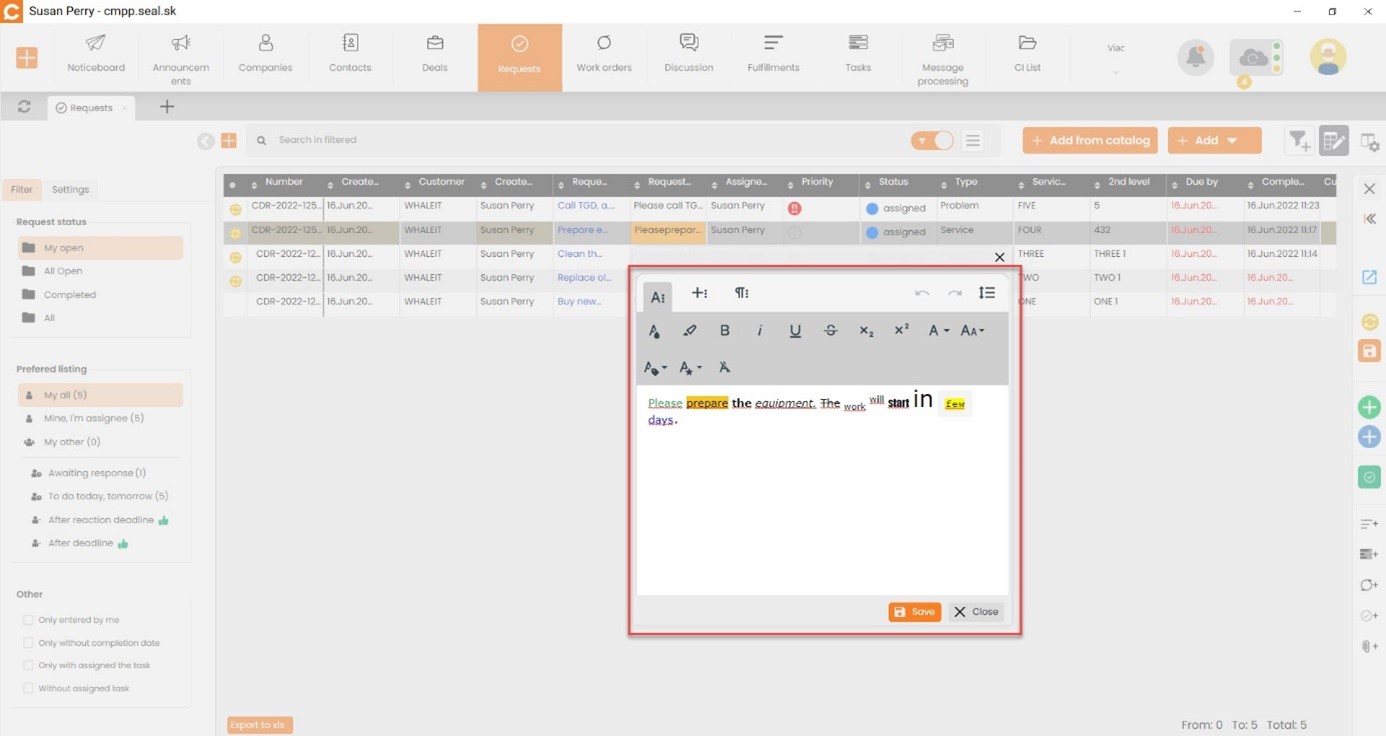
Use the ENTER button to enter the item you want to edit. Use the ESC key to exit the item. Use the “Save” button to save the edited text. The F2 keyboard shortcut also allows you to enter a description in spreadsheet editing.
Use arrow keys to move horizontally and vertically by individual cells in the item. In the selected cell you want to edit, start typing and the text will be added directly. The similarity of spreadsheet editing can be compared to Excel. If there is already a similar value in the column, the repeating content will appear in parallel when typing using spreadsheet editing.
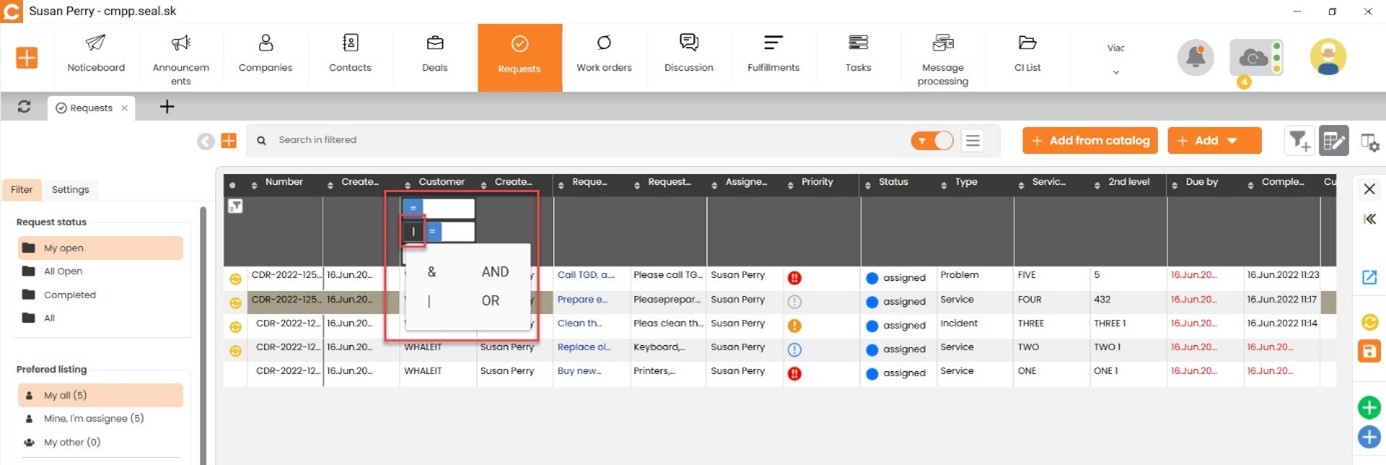
Flexible Filter Over Each Column and Saving Set Filter
Another advantage offered by the CDESK Desktop Application is filtering in any column. Just click on the column name and the filtering conditions are displayed.
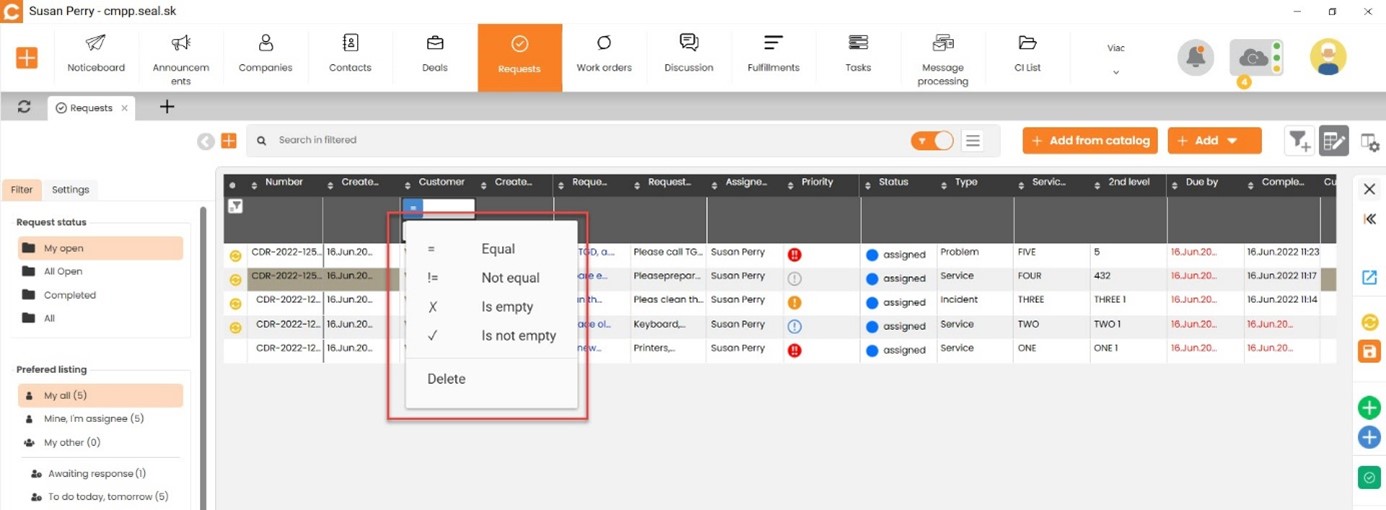
The filters set over the columns have an “AND” relationship in between then. You can combine “AND” and “OR” within a single column.
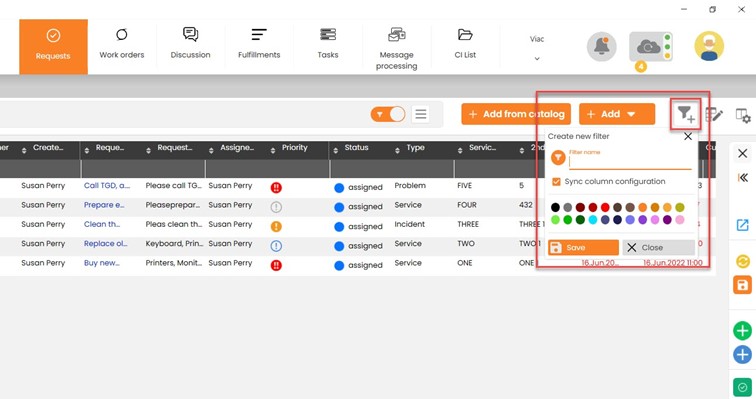
The quick filter settings can be saved under a button and thus quickly applied in the future. The button is created via the funnel icon with the ‘+’ sign in the upper right part.
Instant Search for Data in the Top Search Box at the Same Time as Typing
Records can also be searched using the top search box. Results are instantly displayed as you type.
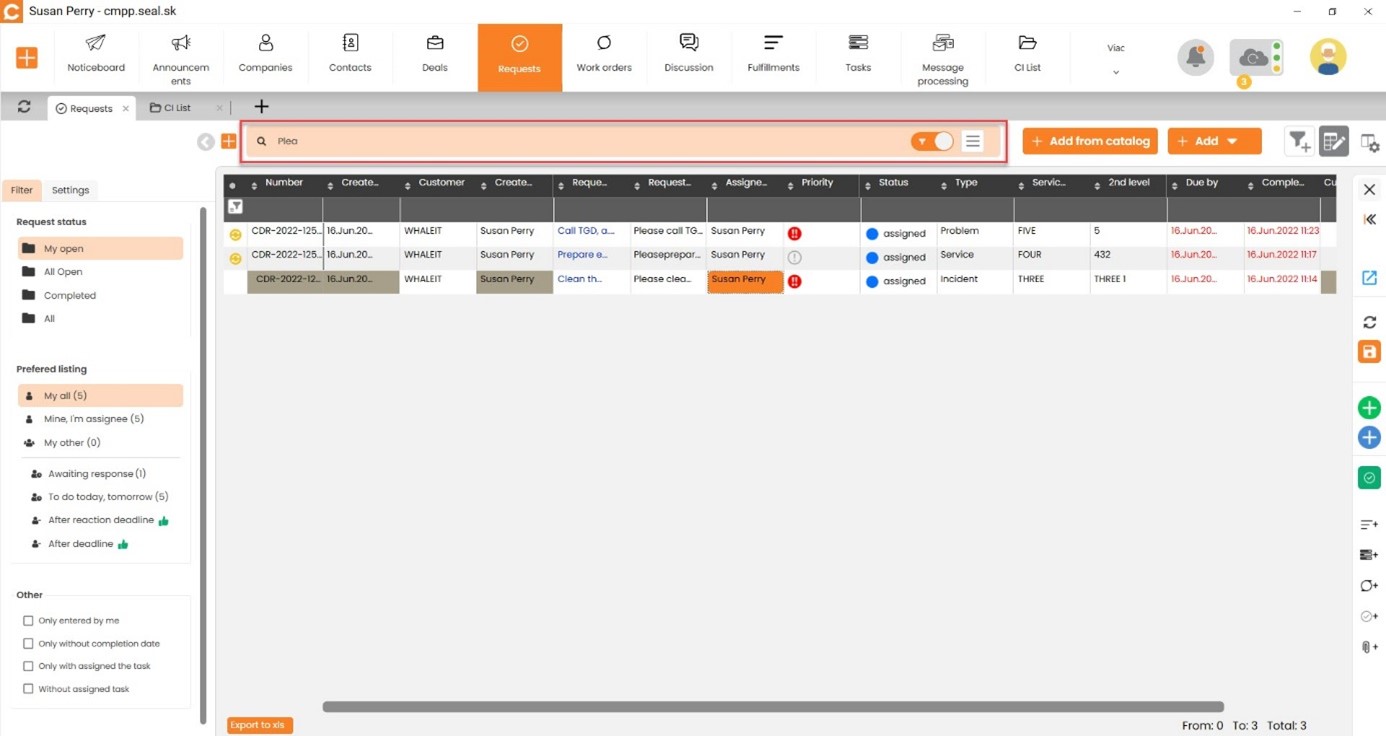
In the top search box, it is possible to search even if other filters are enabled elsewhere (left panel, quick filter above columns). To do this, use the toggle at the end of the top search box: turn it off to search for the entered text in all available records.

You can also control the range of the fields the top search box will search in. Set the search range via the hamburger menu at the end of the top search box.

Right Panel with Record Preview and Editing
When you click on an item in any module, the right panel displays the contents of the selected item from the record. Individual actions are described below.
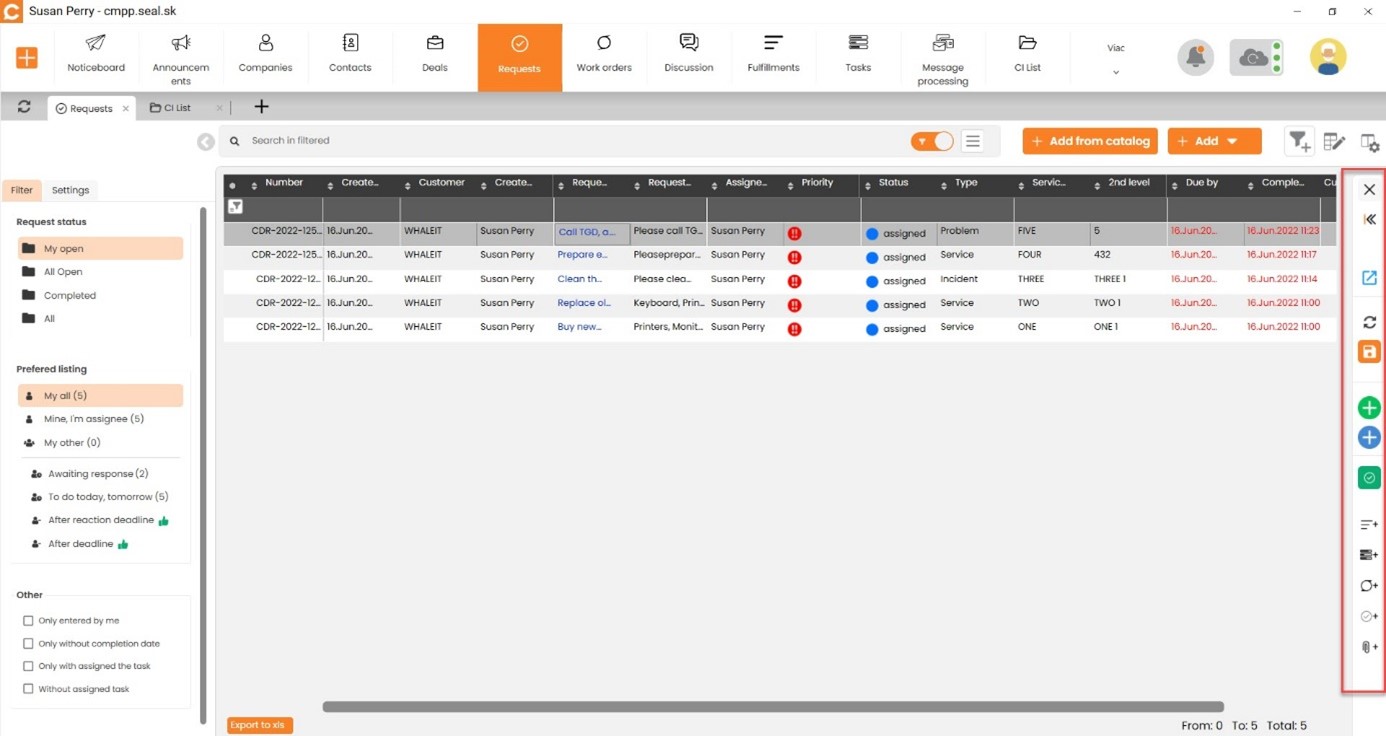
The right panel allows you to view the request in multiple levels.
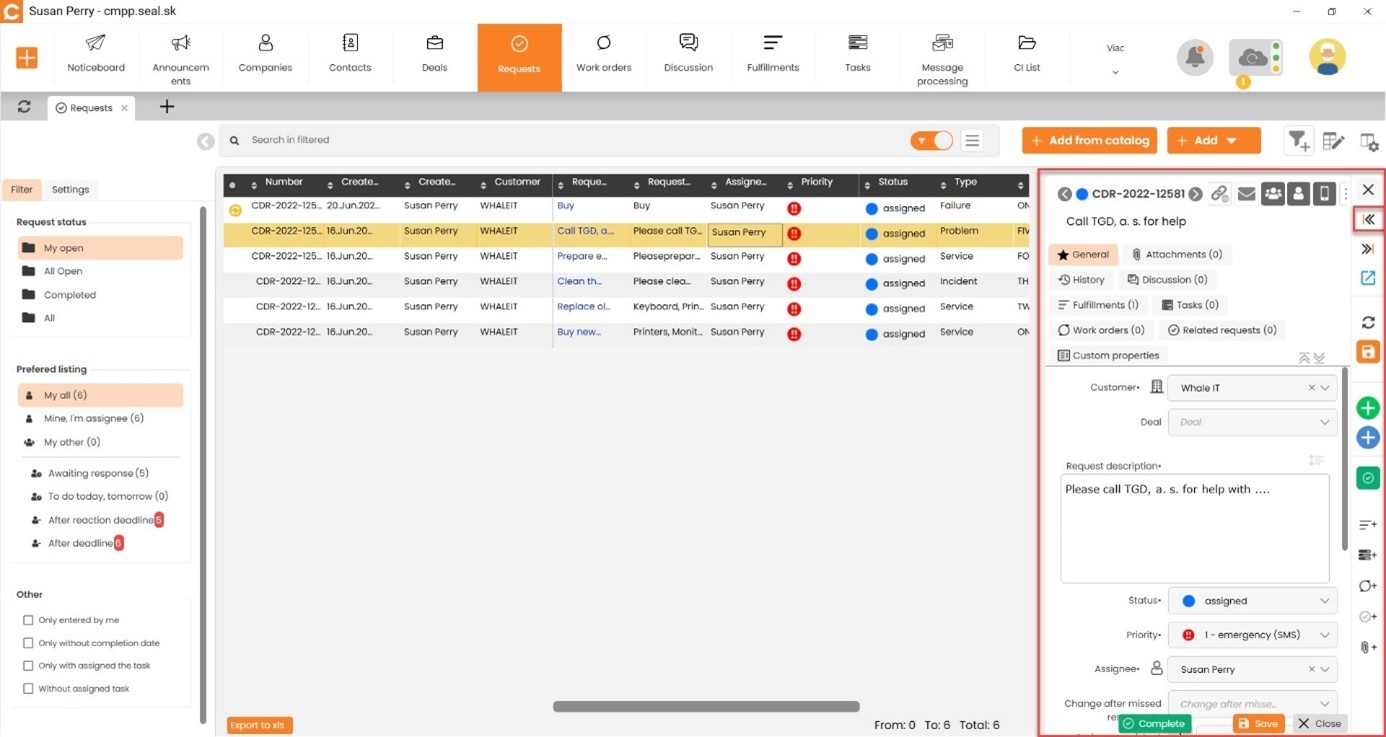
Quick Functions on the Narrow Right Panel with Buttons
Through the right panel you can choose between quick shortcuts such as rolling out the request in two levels and then scaling it down:

In addition to the functions mentioned below, the right panel allows you to directly open the modal window.

The following items are synchronization, save, add discussion post, post for assignees, complete, add fulfillment, add task, add work order, related requests, and attachments.
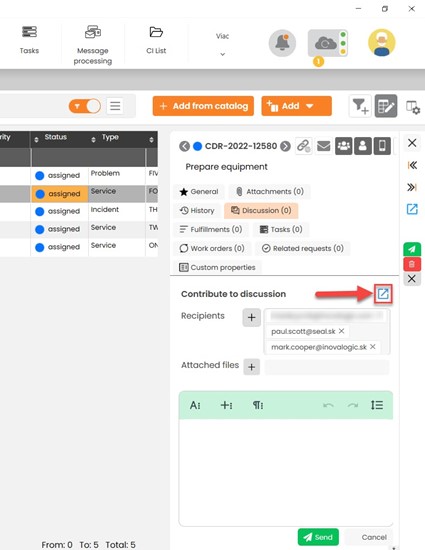
Discussion in the Request
The right panel of the request allows quicker access to the discussion using a button or tab. The right panel also contains a function to open a modal window with discussion.
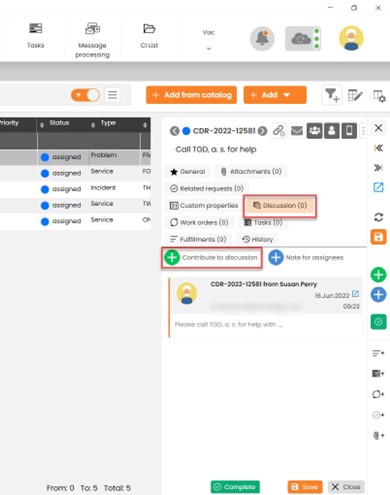
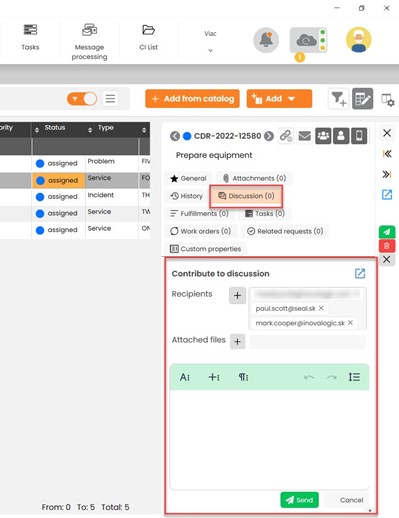
The discussion can also be opened in a modal window directly via the right panel.
New Ways to Add Records
There are several new ways of adding records in the CDESK Desktop Application compared to the web interface. There is row adding, which is particularly suitable for the CMDB configuration database of objects, Fulfillments, Tasks. For adding with data repetition, the row adding method with the transfer of data from the filter can help you. Adding via the right panel is simplifying. The closest to the web interface is adding via a modal window. The different methods of adding from the web interface are described in the following text.
- Add via right panel
- Add via new row directly in the list
- Add via new row using filter
- Add via new tab
- Add via modal window
Add via Right Panel
If you choose “Add via right panel”, the right panel is opened and you can add e.g. a task.

After selecting “Add via the right panel”, the panel will be rolled out in the first level. Using arrows located below the “X” icon used to exit the window, the panel level can be scaled up and down as needed. This is followed by the “Open in modal window”, “Synchronize”, “Save” and “Delete” buttons.

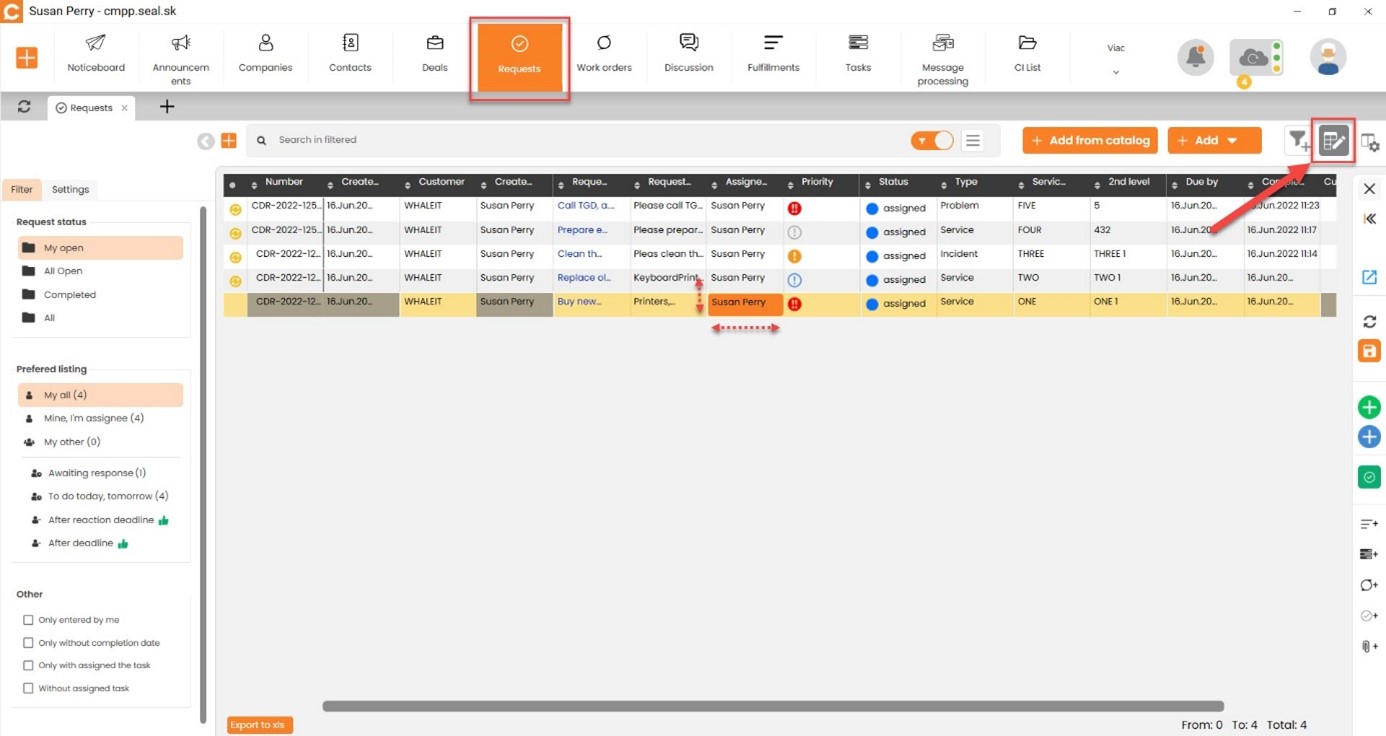
Add via New Row Directly in the List
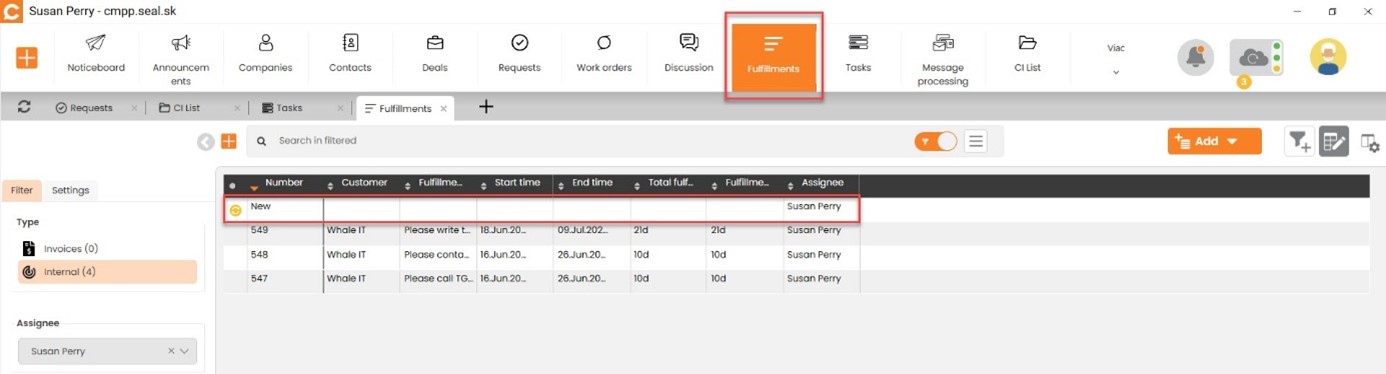
Among one of the most useful features that CDESK Desktop Application offers is the “Add via new row”. With this feature, you don’t need to open any additional windows and simply add and type information exactly where you need it, which saves you time and work.

When you add a new row, the sync box appears right at the beginning of it. We explain more about synchronization in further tips. We are still in the spreadsheet editing, where you can just start typing right away. Even though it is a new row first in the order, it is automatically pre-filled when you type text that already exists in that column.
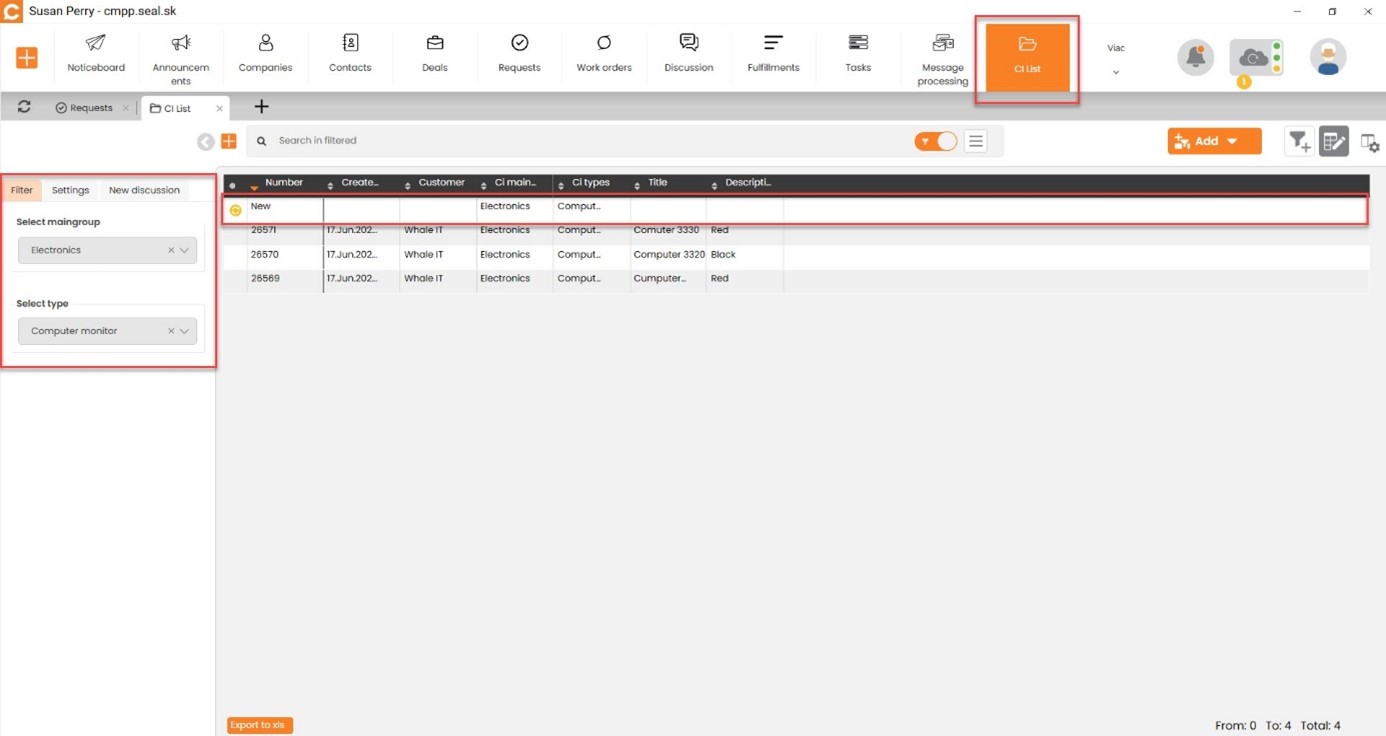
Add via New Row Using Filter
If you have selected the type in the left filter, just click on “Add via new row using filter” after setting the window and rows will be added to which you just need to add the necessary information. The best use of this feature is if you enter objects in the CMDB into a configuration database with a certain equal value.

The row that appears after adding can be filled in by typing directly as in the case of the “Add via new row” option.
The button is at your disposal non-stop and you can set it according to your own needs. It helps you work faster and more efficiently.
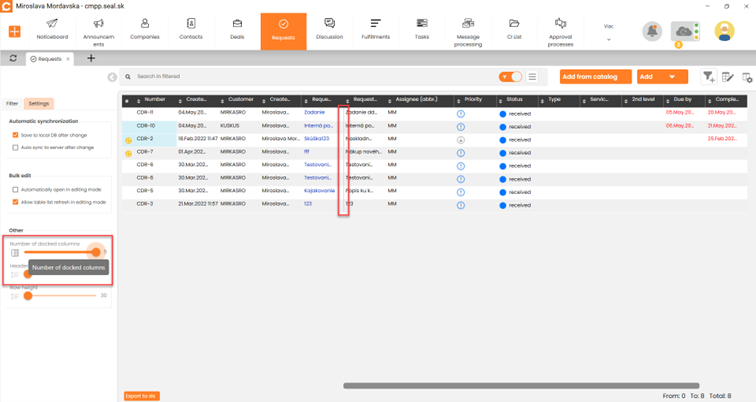
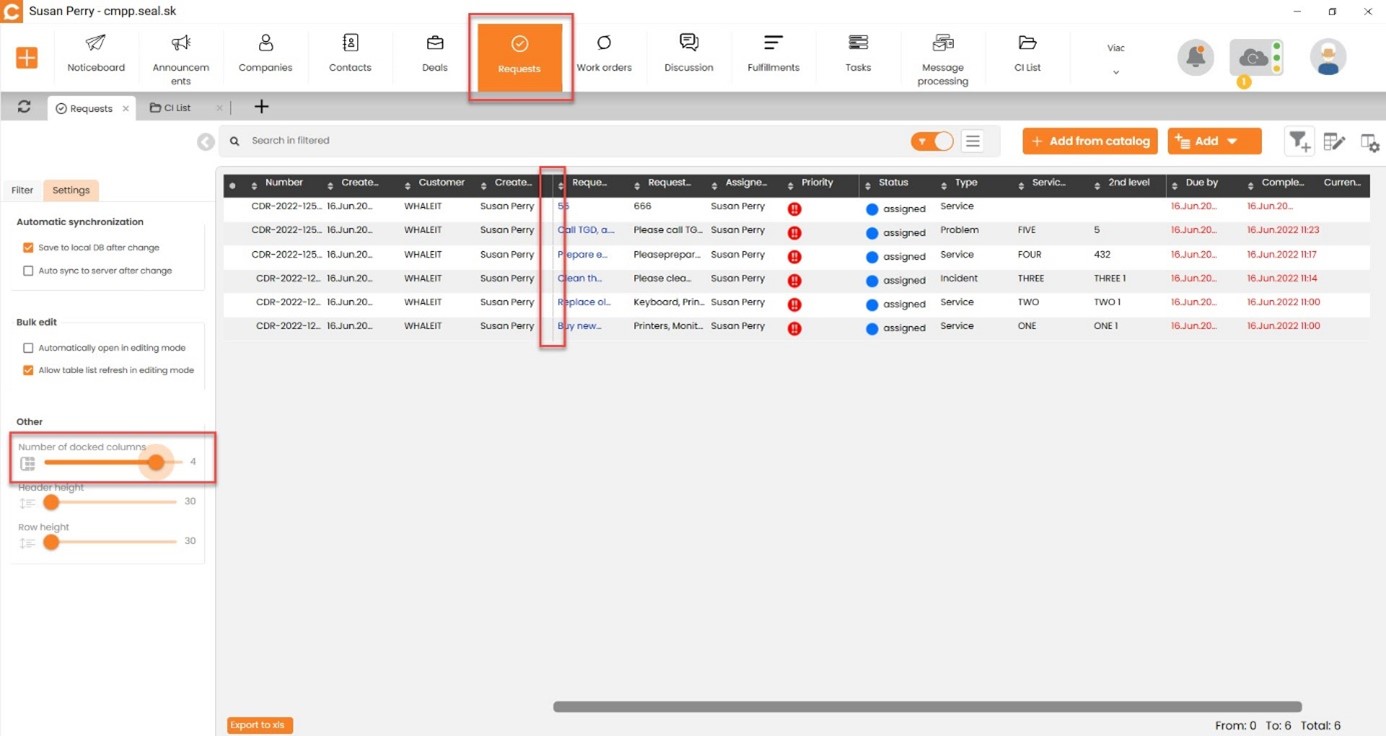
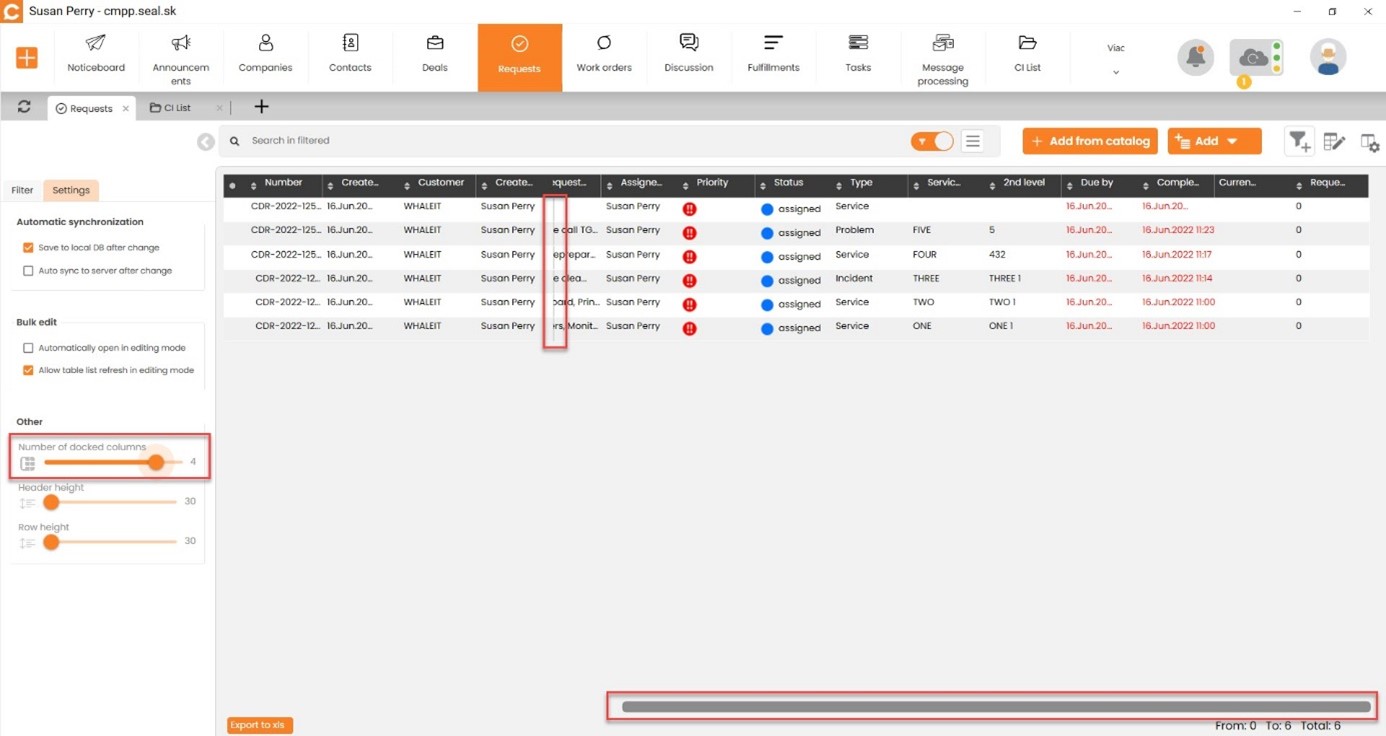
Optional Column Anchoring
Anchoring columns may resemble Excel. One way to anchor a column is by direct right-clicking on it. You can change the anchoring of columns at any time as you wish.
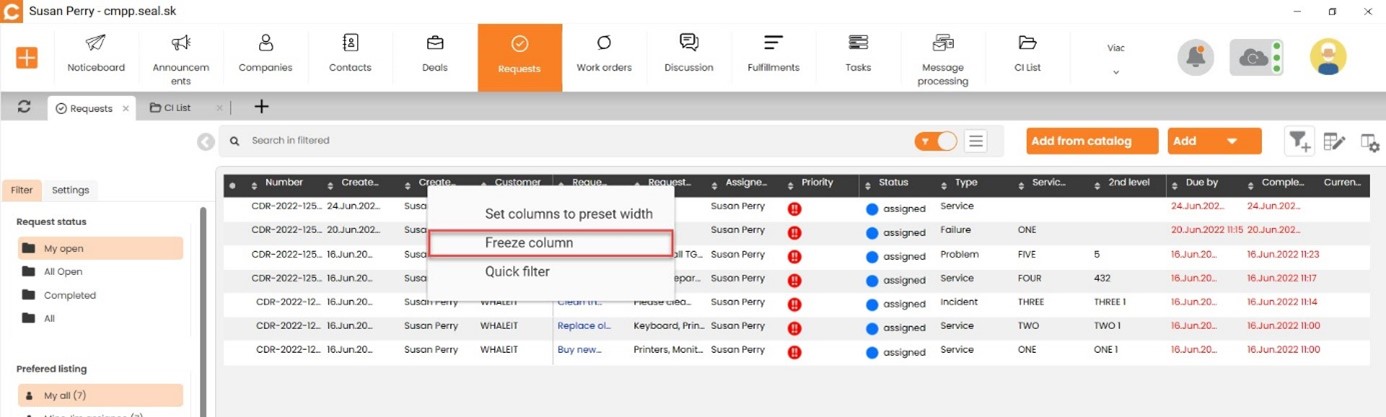
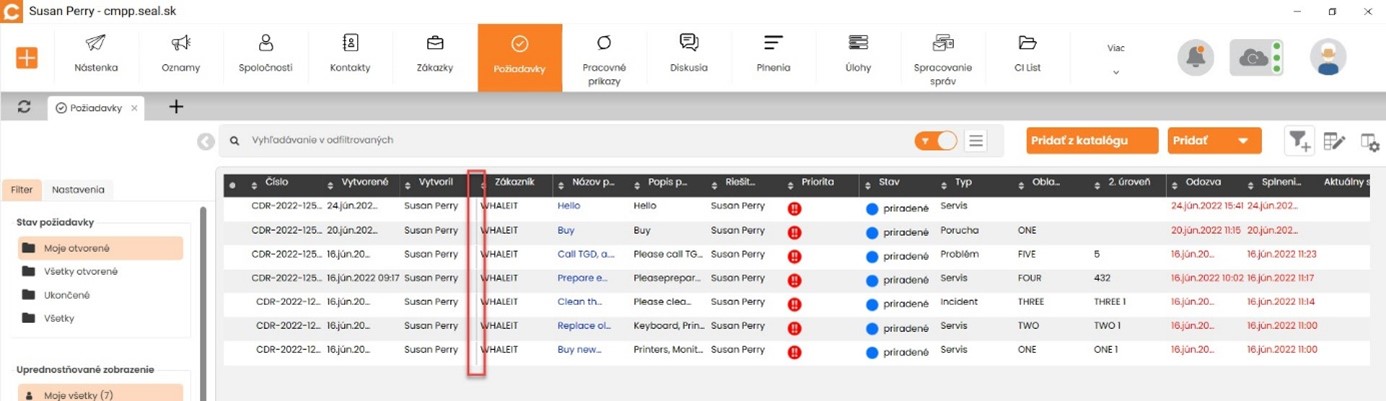
As an additional option for anchoring columns in the CDESK Desktop Application, this feature is available with a prompt possibility to customize the number of anchored columns in the left panel. The setting makes environment more pleasant and easier to work in.
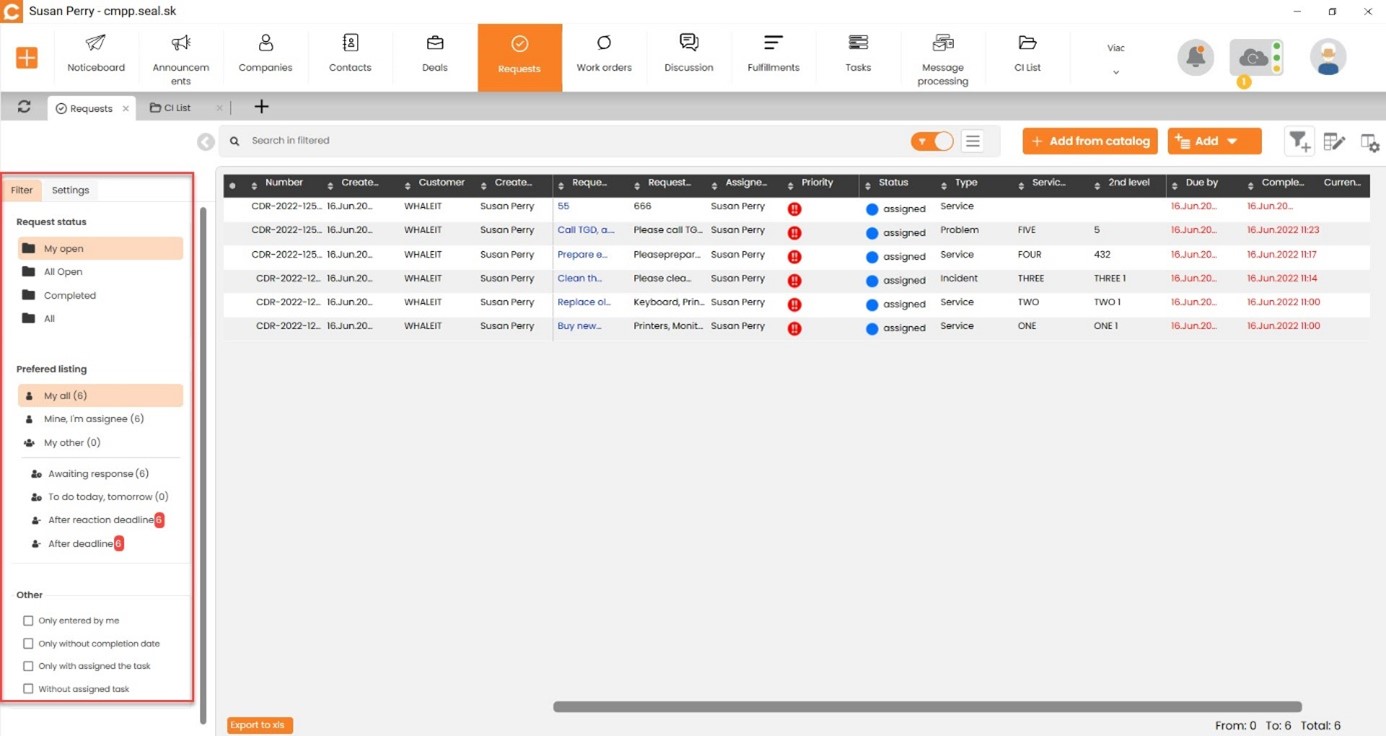
Quick Navigation in Requests Using Filters in the Left Panel
Use filters in the left panel of requests to switch as in ‘folders’. We have selected default filters for you that you are likely to use the most. They cannot be changed. For your own filter setup, we recommend you creating your own filters.